Blacksmiths will frequently work to a customer’s commission, and sometimes those commissions can be somewhat unusual. [Copperrein] had just such a piece of work come his way, a ceremonial sword to be made from a supplied collection of iron and steel items. To render them into something useful he had to melt them together, and the story of how he did that is particularly interesting.
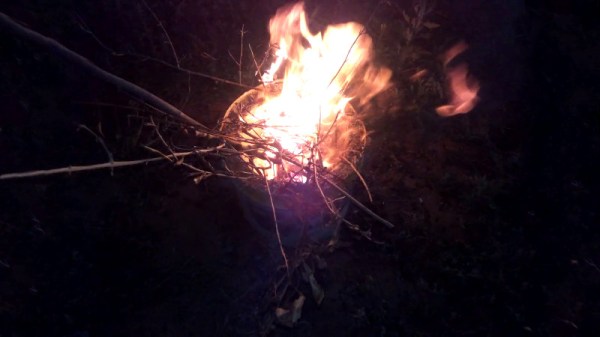
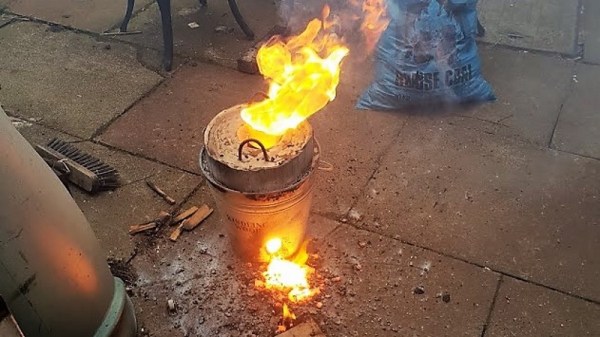
We’re introduced to the Aristotle furnace, a fairly simple top-fed air blast charcoal furnace capable of melting almost any ferrous scrap into a so-called “bloom”, a lump of iron with some slag and carbon inclusions. These furnaces are often built as holes in the ground, but he’s made his atop a portable forge at working height to save bending over it for seven hours.
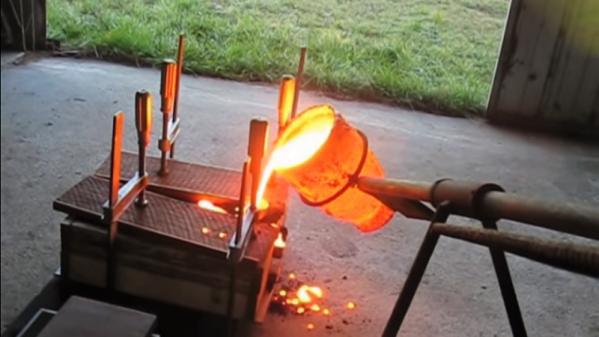
The source material was a very mixed bag, so the first order was to strip it in an acid bath of any coatings which might contaminate the resulting bloom. The parts, including things as diverse as a huge wrought-iton bolt, a scythe blade, and a pair of dividers, were then cut into small pieces one by one and fed into the furnace. They melt as they progress down through the furnace, resulting in a bloom of iron. The bloom is impure and will need significant working to expel any inclusions, but the final result will be something like the wrought iron of old. Let’s hope he has a power hammer, working the bloom would be hard work by hand!
If this catches your attention, you may be interested in a bit of blast furnace iron smelting. And of course, there is also our ongoing blacksmithing series to get you going at the anvil. You could even make a nail.
Via Reddit.
Thanks [Mike] for the tip.