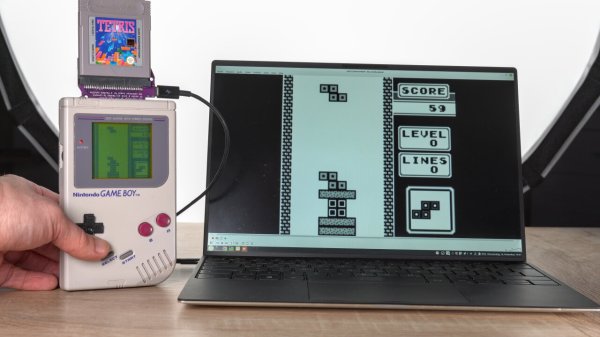
Whether you’re into chiptune or just playing Tetris on original hardware, you might like rocking a heavily-customized Game Boy. Lovely flashing LEDs can only improve the aesthetic, so if that’s what you’re after, you might consider the ARCCore board from [NatalieTheNerd].
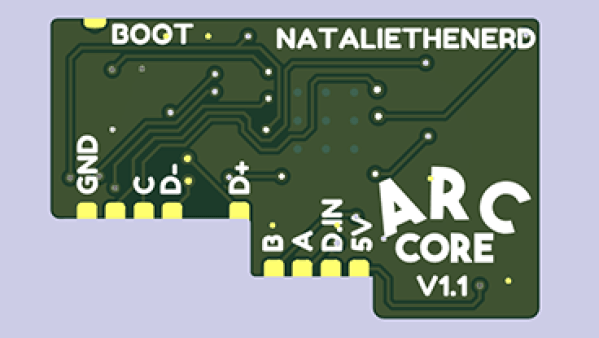
The board is a compact and easy way to drive some addressable LEDs, with a form factor designed to take up a small amount of space when stuffed into a Game Boy or other game console. It rocks an RP2040 microcontroller set up to drive a strip of WS2812B LEDs. Three buttons are used to configure the color and brightness settings. The board is designed to run on 3.3 to 5 V, thanks to an onboard buck converter. It’s capable of delivering enough juice to run up to 10 RGB LEDs, though you could potentially use more if you ran them from external power.
You can use just about any microcontroller on the market today to run addressable LEDs if you so desire. If you want a compact drop-in solution that takes up less space, though, you might find the ARCCore useful. If you’ve got your own nifty kit for running addressable LEDs, don’t hesitate to share it with the broader hacker massive — hit the tipsline!