Review: Calculator Kit Is Just A Few Hacks From Greatness

While most people are satisfied with a calculator application on their smartphone these days, there’s still something to be said for the old fashioned desk calculator. Maybe it’s the fact the batteries last long enough that you can’t remember the last time you changed them, or the feel of physical buttons under your fingers. It could even be the fact that it keeps your expensive smartphone from needing to sit out on the workbench. Whatever the reason, it’s not uncommon to see a real-life calculator (or two) wherever solder smoke tends to congregate.

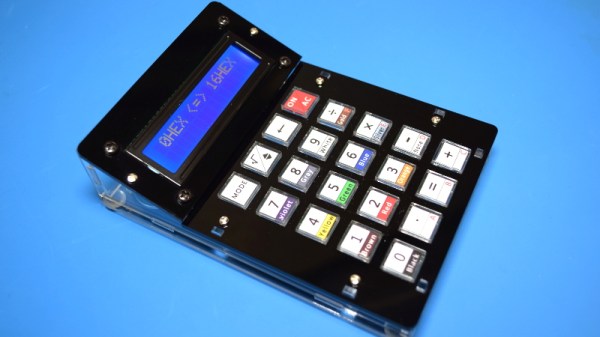
Which is precisely the idea behind this DIY calculator kit. Available from the usual overseas retailers for about $15 USD, it has some hobbyist-oriented features such as the ability to decode resistor color bands, convert hexadecimal numbers, and calculate resistor values for driving LEDs. If you’re going to keep a knock-around calculator on your bench, why not build the thing yourself?

Given the dual nature of this product, a DIY electronics kit and a functional desk calculator for electronic hobbyists, it seems only appropriate to review both aspects of it individually. Which is good, since there may be more to this product than just the sum of its parts.

Continue reading “Review: Calculator Kit Is Just A Few Hacks From Greatness”

A Microcontroller Display With A Classic Twist

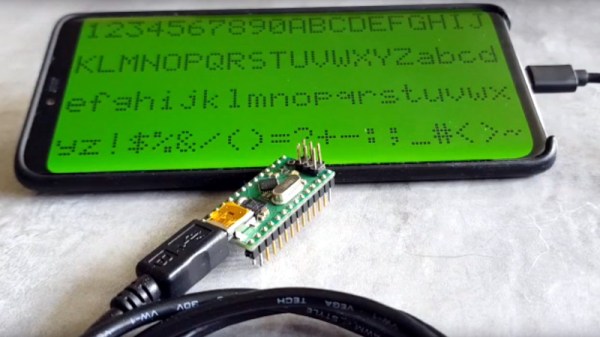
In a fit of lock-down-induced boredom, [Peter Z] has turned his smartphone into an LCD screen (simulation) via an Android app (German language, Google Translate link), so that a mobile device can be plugged into your favourite microcontroller and the classic HD44780 LCD look can be replicated on its screen.

It doesn’t speak standard HD44780, but rather a custom UART serial protocol, so if you’re looking for something to replace a busted LCD, this isn’t your bag. But if you are looking for a large UART terminal for debugging, with a nice aesthetic, you win.

We’d guess that a serial-to-Bluetooth converter could also be made to function, with a bit of work. The protocol is trivial too, meaning that almost any microcontroller could make use of it. All the code as well as the APK is available from the forum linked above, and there is a YouTube video of it in operation below.

The number one complaint in the comments is going to be that this doesn’t emulate a HD44780, so if that’s really what you want, read this deep-dive into the HD44780 and get hacking.

Continue reading “A Microcontroller Display With A Classic Twist”

Adding Character To The C64

The venerable Commodore 64, is there anything it can’t do? Like many 1980s computer platforms, direct access to memory and peripherals makes hacking easy and fun. In particular, you’ll find serial & parallel ports are ripe for experimentation, but the Commodore has its expansion/cartridge port, too, and [Frank Buss] decided to hook it up to a two-line character LCD.

Using the expansion port for this duty is a little unconventional. Unlike the parallel port, the expansion port doesn’t have a stable output, as such. The port contains the data lines of the 6510 CPU and thus updates whenever RAM is read or written to, rather then updating in a controlled fashion like a parallel port does. However, [Frank] found a way around this – the IO1 and IO2 lines go low when certain areas of memory are written to. By combining these with latch circuitry, it’s possible to gain up to 16 parallel output lines – more than enough to drive a simple HD44780 display! It’s a testament to the flexibility of 74-series logic.
It’s all built on a C64 cartridge proto-board of [Frank]’s own design, and effort was made to ensure the LCD works with BASIC for easy experimentation. It’s a tidy mod that could easily be built into a nice enclosure and perhaps used as the basis for an 8-bit automation project. Someone’s gotta top that Amiga 2000 running the school district HVAC, after all!

Manual LCD Makes Information Display Tedious, Educational

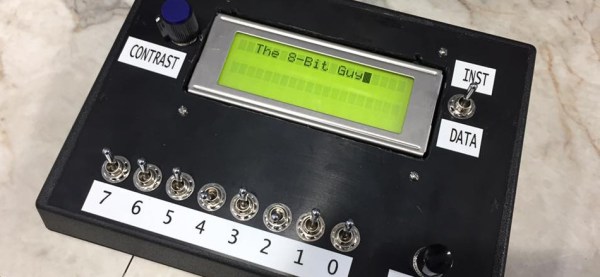
The HD44780 is one of the first chips we learned about as a kid, and chances are good you’ve used one in your project at some point, and almost certain that you’ve interacted with one in your life. The character LCD is ubiquitous, easy to interface, and very robust. They come in sizes from 8 x 1 to 20 x 4 and even larger, but they almost all have the same pinout, and there are libraries in many embedded environments for interacting with them. [The 8-Bit Guy] decided to interface with one using just switches and a button, (YouTube, embedded) with the intent of illustrating exactly how to use them, and how easy they are.

Continue reading “Manual LCD Makes Information Display Tedious, Educational”

Tetris Everywhere: Character LCD Edition

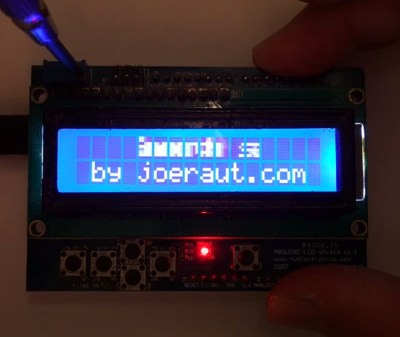
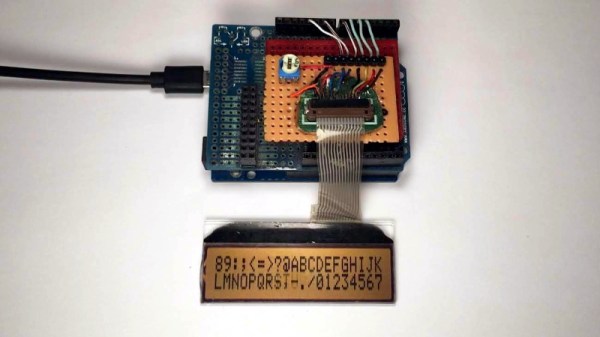
Cheap character LCD displays are more versatile than we give them credit for. Most of the cheapies have a 5×8 character display, which looks blocky but legible when you have an appropriate font. Where it gets fun is that most of the LCD displays also let you upload custom characters.

Taking this to the extreme, [numeric] abused the user-defined characters to write a tiny game of Tetris that would run in the 10×16 frame that you get when you combine four characters together. It’s tiny, it’s monochrome, and doesn’t play the Troika theme (which may be a good thing), but it’s playable. Check out the video below.

Continue reading “Tetris Everywhere: Character LCD Edition”

Upgrading Old Synths To OLED

Roland’s Alpha Juno 2 is an analog, polyphonic synth made in the mid-80s. While it isn’t as capable as the massive synths made around that time, it was very influential synth for the techno scenes of the late 80s and early 90s.

[Jeroen] is lucky enough to have one of these synths, but like all equipment of this era, it’s showing its age. He wanted to replace the character LCD in his Alpha Juno 2 with an OLED display. The original character LCD was compatible with the Hitachi HD44780 protocol, and still today OLEDs can speak this format. What should have been an easy mod turned into editing hex values on the EEPROM, but he still got it to work.

While the original character LCD could display one line of 16 characters, the ROM in the synth didn’t know this. Instead, the display was organized as a 2×8 display in software, with line one starting at address 0h, and line two starting at 40h. For a drop-in replacement, [Jeroen] would need a display the characters organized in this weird 2×8 format. None exist, but he does have a hex editor and an EEPROM burner.

With the Alpha Juno’s firmware in hand thanks to someone who does a few firmware hacks to this synth, [Jeroen] had everything he needed. All that was left to do was going through the code and replace all the references to the second line of the character LCD.

After burning and installing the new ROM, the OLED display was a drop-in replacement. That meant getting rid of the whiney EL backlight in the original display, and making everything nice and glowy for a few nights on a dark stage.

Door Lock Provides Peace Of Mind With Real-Time Security

arduino door lock

[HSP] got tired of locking his door with a key, so he decided to upgrade to a keypad system which he’s designed himself.

It uses an Arduino Mega with the standard 44780 display, a standard keypad, and the “key override” (shown above) for fun. The locking mechanism is a standard 12V actuator based lock which was modified to run off of only 7.5V, by softening up the spring inside and running it upside down (as to let gravity help do the work). The whole system draws less than half a watt on standby, and engaging the lock peaks at only 4-7W.

What’s really clever about this design is how he locks it from inside the room. He’s programmed the Arduino to write 1 to address 128 of the EEPROM — at power on it will increment this by 1, and after 5 seconds, it will reset to 1. This means it can detect a quick power cycle, so you can lock the door by turning it off, turning it on for a few seconds, and turning it off and on again — he did this so he didn’t have to make a button or console, or any kind of wireless control on the inside. Continue reading “Door Lock Provides Peace Of Mind With Real-Time Security”