Wherever you are in the world, the chances are that a large portion of your utility bill is for heating. This was certainly the case for [Christian Haschek], who realized he can use a cryptocurrency mining rig to offset some of his heating costs.
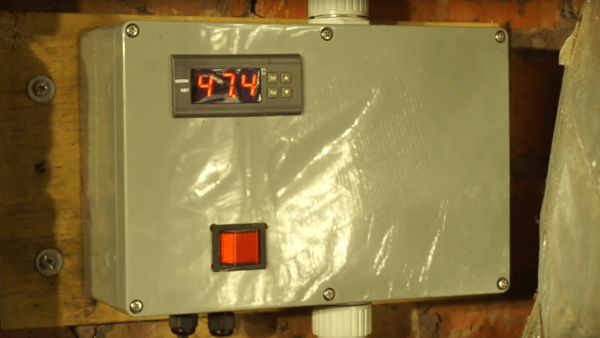
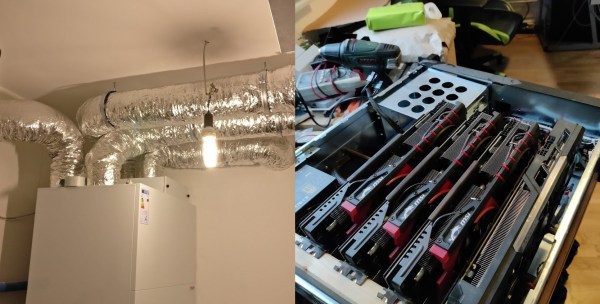
[Christian]’s central ventilation and water heating is handled by a heat pump, which uses a lot of electricity, especially in the Austrian winter. When it draws in cool air, it first needs to heat it to the thermostat temperature before venting it to the house. Cryptocurrency mining rigs are also heavy electricity users, but they also produce a lot of heat, which can be used to preheat the air going to the heat pump. [Christian] had four older AMD R9 390 GPUs (equivalent to the Nvidia GeForce GTX 970) lying around, so he mounted them in a server case and piped the heat pump’s air intake through the case.
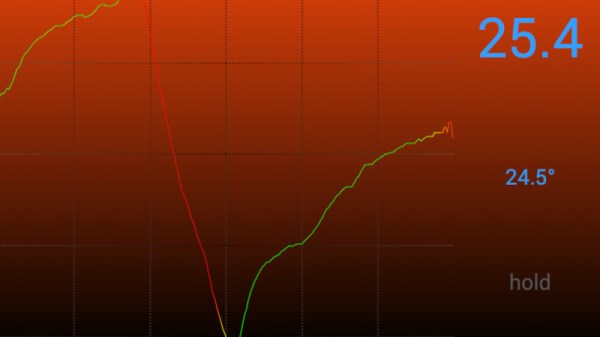
At the time he did the tests, earnings from mining were enough to cover half of his heating bill, even after paying for the mining rig’s electricity. That is not taking into account the electricity savings from the preheated air. He only shows the results of one evening, where it dropped his electricity usage from around 500Wh to below 250Wh. We would like to see the long-term results, and it would be an interesting challenge to build a model to calculate the true costs or savings, taking into account all the factors. For instance, it could be possible to save costs even if the mining rig itself is running at a slight loss.
Of course, this is not a new idea. A quick internet search yields several similar projects and even some commercial crypto mining space heaters. We do like the fact that [Christian] reused some hardware he already had and integrated it into his central heating rather than using it as a mobile unit.
When [Christian] isn’t building crypto heaters, he can be found flooding phishing scams with fake data, or tracking down corporate spies.