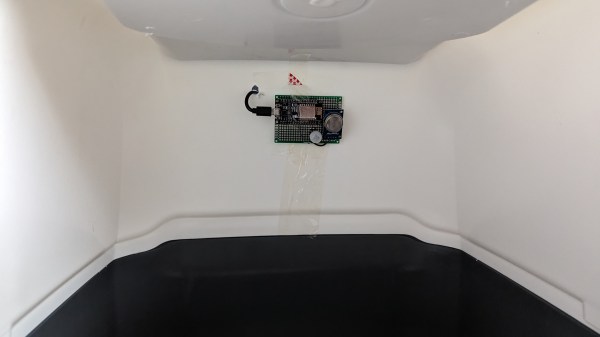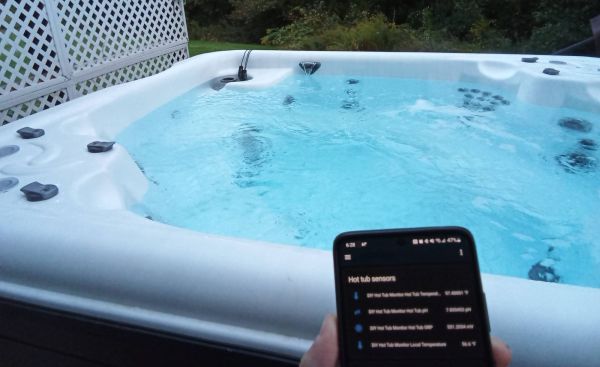
Like swimming pools, hot tubs need regular monitoring to ensure their water stays clean and clear. An average person might take a water quality reading once or twice a week using test strips, but such a low sampling rate obviously won’t do for a hacker. [Stephen Carey] has therefore built a hot tub monitor that checks the water quality every minute and reports it on a neat mobile dashboard.
[Stephen]’s system uses commercially available sensors that track pH levels and Oxidation-Reduction Potential (ORP), both basic measurements that indicate water quality. A second set of sensors keeps track of the temperature of the water and the outside air, which should help in finding insulation failures and keeping energy use under control.
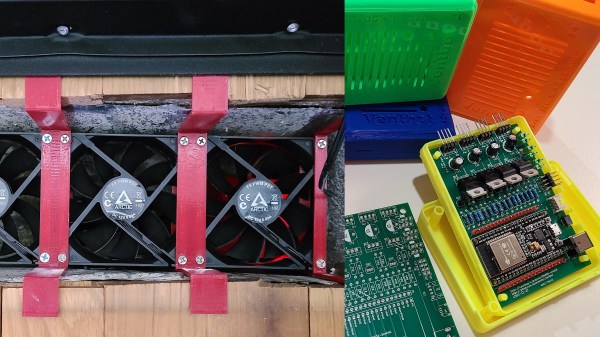
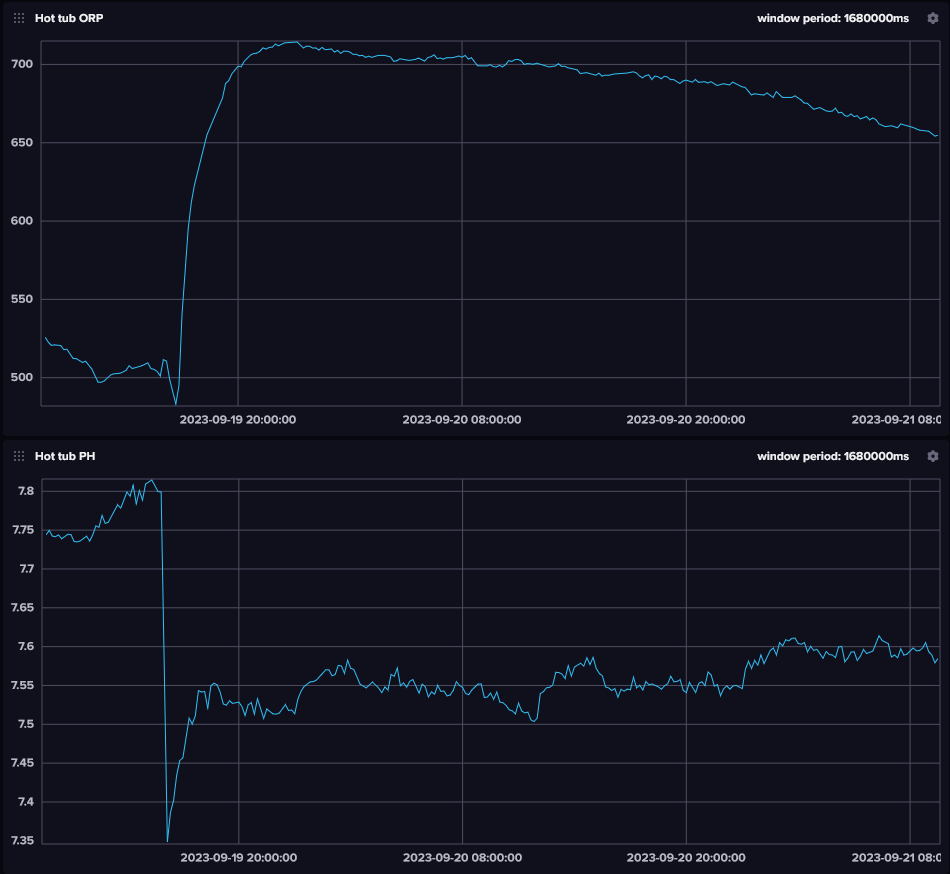 An ESP32 reads the sensors and sends out the data through WiFi. [Stephen] programmed the ESP32 in MicroPython, using an MQTT driver to connect it to Home Assistant. By looking at the graphs generated, you can tell when someone entered the tub from a step change in pH and ORP. It’s even possible to generate alerts when any of the values drift outside their acceptable range – we can already imagine an alarm going off when someone enters without having showered first.
The system also has a calibration mode to check the sensors against a well-defined buffer solution. As with many chemical sensors, the pH and ORP probes gradually lose their active material and need to be replaced after about a year. Good ones aren’t cheap, but [Stephen] has found pretty decent low-cost alternatives on AliExpress that should be fine for a home setup.
If you also want your tub or pool to be actively managed, you’ll need a more complex system, perhaps even one that can also dispense chemicals. If your hot tub is heated by a wood fire, however, all you need is a way to alert the person tending the fire.