Given how important our Sun is, our ancestors can be forgiven for seeing it as a god. And even now that we know what it actually is and how it works, it’s not much of a reach to think that the Sun pours forth evil spirits that can visit disease and death on those who bask too long in its rays. So an amulet of protection against the evil UV rays is a totally reasonable project, right?
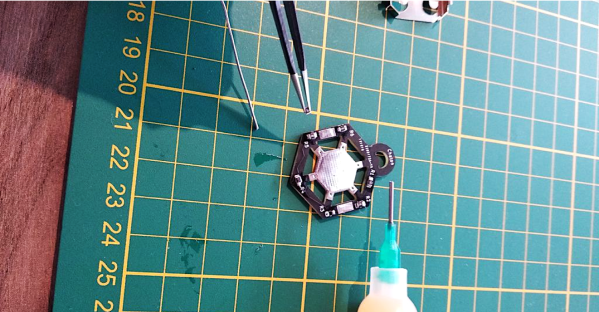
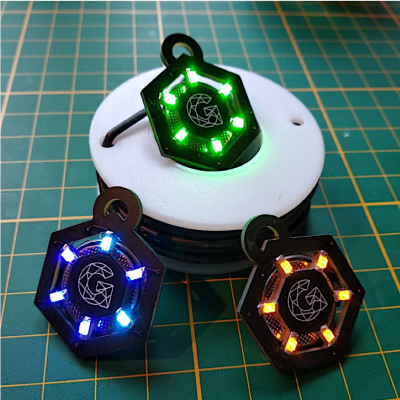
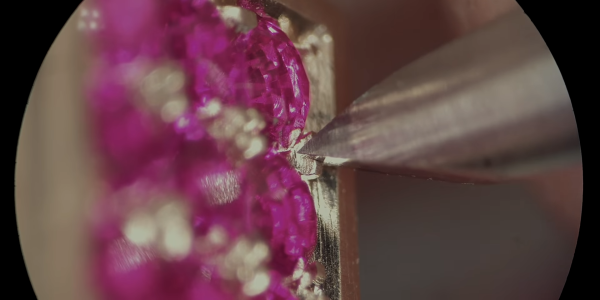
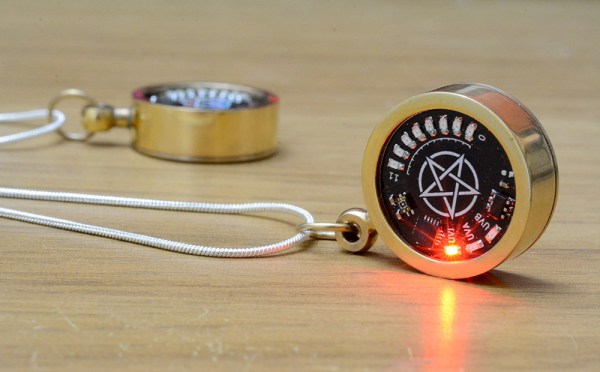
As is often the case with [mitxela]’s projects, especially the more bedazzled ones, this one is approximately equal parts electronics and fine metalworking. The bulk of the video below focuses on the metalwork, which is pretty fascinating stuff. The case for the amulet was made from brass and sized to fit a CR2032 coin cell. The back of the amulet is threaded to act as a battery cover, and some fancy lathe work was needed there. The case was also electroplated in gold to prevent tarnishing, and lends a nice look when paired up with the black solder mask of the PCB.
On the electronics side, [mitxela] took pains to keep battery drain as low as possible and to make the best use of the available space, choosing an ATtiny84 to support a TTP223 capacitive sensing chip and a VEML6075 UV sensor. The touch sensor allows the wearer to wake the amulet and cycles through UV modes, which [mitxela] learned were not exactly what the sensor datasheet said they were. This required a few software hacks, but in the end, the amulet does a decent job of reporting the UV index and looks fantastic while doing it.
Continue reading “Tiny Talisman Warns Wearer About UV Exposure”