Trust me, you don’t have to build your own keyboard from the deskpad up to be happy or feel like one of the cool kids. Sure, it doesn’t hurt, but not everyone is able to or even wants to start from next to nothing. Take [Roger] for example. [Roger] started with a stock mechanical keeb — the Ultimate Hacking Keyboard (UHK) — which can be outfitted with magnetic add-on modules such as a thumb key cluster, trackball, trackpoint, and touch pad, and made it his own.
While the stock board that you choose may not be so option-laden, there are plenty of other things one can do to customize things, and [Roger] did basically all of them. The Kailh browns that the UHK came with were too loud, so [Roger] swapped them out for Zilent V2 Silent tactiles and dampened the case with plenty of neoprene foam.
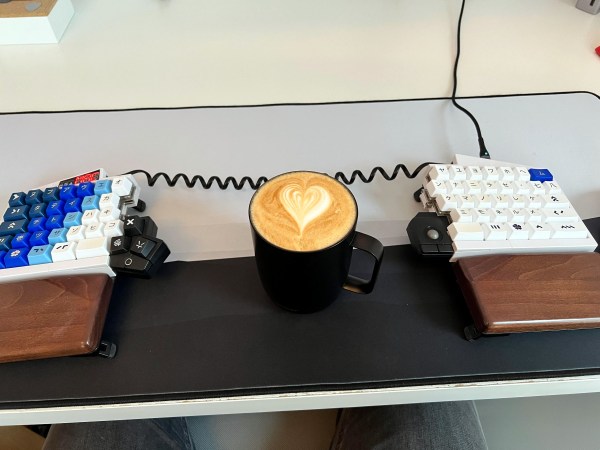
[Roger] frequently switches between two keyboard layouts, which got confusing at times. But instead of boring blank keycaps, he scrounged around until he found a cool set. (We do like the way they look with the wood wrist rests.) Speaking of those wrist rests, the right one is carved out and hiding a 10,000 mAh power bank, because [Roger] also made the UHK wireless using one of those often-out-of-stock BT-500 Bluetooth adapters. This allows him to switch between two PCs with a keyboard shortcut.
Think you want to go split, but not sure about key wells and column stagger and all that jazz? Something like the UHK is a good place to start, because it takes the familiar brick wall layout and breaks it into two pieces. No idea what you want? Check out the split keyboard finder.
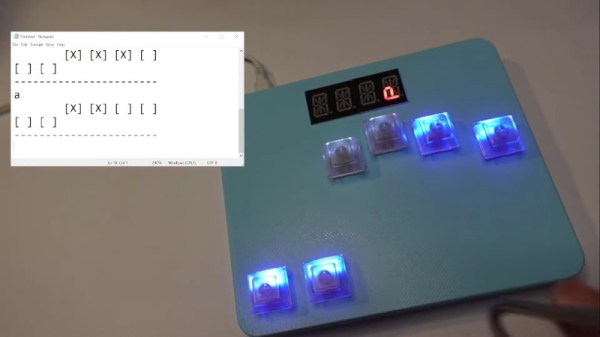


 Finding himself in such a boat, [Fletcher]’s solution was to build