The Bluetooth LCD Sniffer You Didn’t Know You Needed

At one time or another, we’ve all suffered through working with a piece of equipment that didn’t feature a way to export its data to another device. Whether it was just too old to offer such niceties, or the manufacturer locked the capability behind some upgrade, the pain of staring at digits ticking over on a glowing LCD display and wishing there was a practical way to scrape what our eyes were seeing is well known to hackers.

That was precisely the inspiration for DoMSnif, the dot matrix LCD sniffer that [Blecky] has been working on. Originally the project started as a way to record the temperature of his BRTRO-420 reflow oven, but realizing that such a device could have widespread appeal to other hardware hackers, he’s rightfully decided to enter it into the 2019 Hackaday Prize. If perfected, it could be an excellent way to bolt data capture capabilities to your older devices.
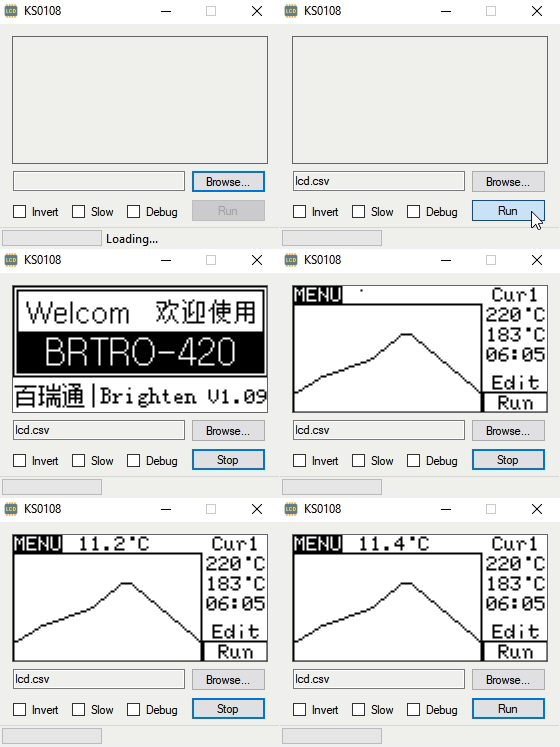
The first phase of this project was figuring out how to capture and parse the signals going into the device’s KS0108 LCD. Getting the data was certainly easy enough, he just had to hook a logic analyzer up between the display and the main board of the device. Of course, figuring out what it all means is a different story.

After running the oven for a bit with the analyzer recording, [Blecky] had more than enough data to get started on decoding it. Luckily, the layout of this fairly common 128×64 pixel display is well documented and easy enough to understand. With a little work, he was able to create a tool that would import the captured data and display it on a virtual LCD.

Unfortunately, the Bluetooth part is where things get tricky. Ultimately, [Blecky] wants to ditch the logic analyzer and use a Adafruit Feather nRF52 Bluefruit to capture the signals going to the LCD and pipe them to a waiting device over Bluetooth. But his testing has found that the nRF52’s radio is simply too slow. The display is receiving data every 14us, but it takes the radio at least 50us to send a packet.

[Blecky] is looking at ways around this problem, and we’re confident he’ll crack it. The solution could be in buffering and compressing the data before sending it out, though you’d lose the ability to monitor the display in real-time. Even if he has to abandon the Bluetooth aspect entirely and make the device wired, we still think there would be a market for an easy to use hardware and software solution for scraping LCD data.

Level Converters To Make All Your Hardware (5.5V And Under) Play With Each Other

txb0108-level-converters-ks0108-stellaris-launchpad

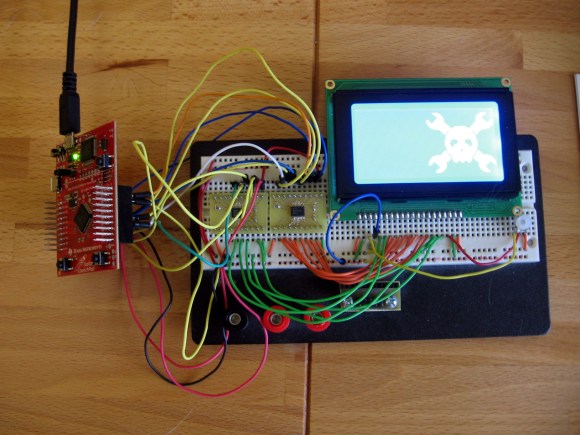
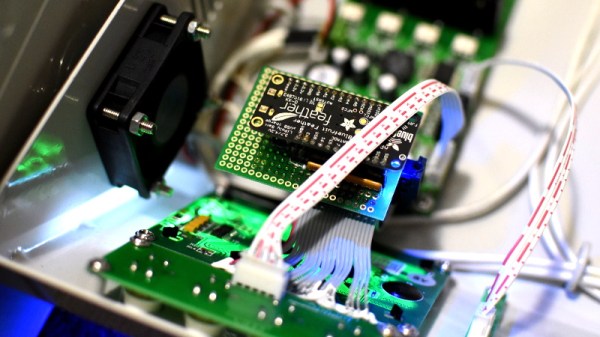
I finally set aside some time for one of my own projects. I have been playing around with ARM microcontrollers a lot lately and wanted to try out my GLCD display that uses the KS0108 protocol. It’s 5V but I had heard that some of these displays will work with 3.3V TTL. But the datasheet tells me otherwise. I tried using a pull-up resistor to 5V and configuring the Stellaris Launchpad pins to open drain, but the low voltage wasn’t getting below the 0.3V threshold needed by my display. My only choice was to use some type of level conversion. I actually ended up driving the KS0108 using a pair of TXB0108 level converters.

I figured this had to have been done before so I check over at Sparkfun. Their offerings are either one-way or have a direction pin that you must drive yourself. I figured there had to be a bi-directional solution and a search over at Mouser led me to the TXB0108. It is exactly what I was looking for and as you can see I etched my own circuit boards to make the TSSOP chips breadboard compatible. I’ve documented the process you can find the code and board files at my post linked above.

Update: one of the Reddit comments mentions this chip is available on a breakout board from Adafruit if you’re interested.

Overclocked ATmega32 Gaming

With more pixels and more objects to track you’re going to need to get that AVR running pretty fast to get the job done. But [Vladutz2000] figured why stop at 16 MHz when you can overclock an ATmega32 to 27 MHz for a faster gaming experience?

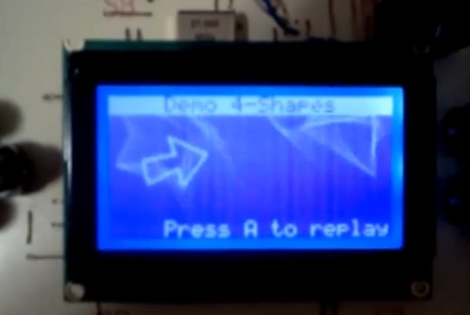
This build may not be as colorful as Super Pixel Bros, but choosing a KS0108 graphic LCD certainly brings a lot more definition to the images. You can see in the video after the break that the AVR does an excellent job of generating and animating multiple objects. It doesn’t take much to put this together yourself but if you want the board layout done for you, you’re out of luck. The hardware for the project is installed on a PCB that was hand-drawn with an etch resist marker. Continue reading “Overclocked ATmega32 Gaming”

Space Invaders Clock 6 Years Ahead Of Pong Clock

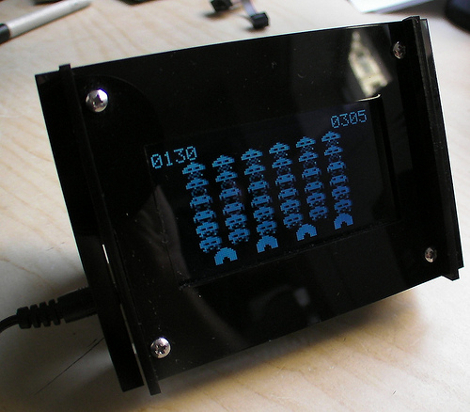
Space Invaders came out in 1978, six years after Pong. That means this Space Invaders clock uses newer technology, right? Nope, it’s the same hardware as the Adafruit Pong Clock with some updated firmware. Still, as you can see after the break, the effect is pretty nice. Pong was cool, but having a clock that scrolls through several classic games would be cooler.

[Dataman], the guy responsible for this firmware hack shared his code. It should be easy enough to alter it for any clock using a KS0108 graphic LCD screen. So what’s next? Can someone pull off a black and white Ms. Pac-Man that looks decent on the 128×64 display?

Continue reading “Space Invaders Clock 6 Years Ahead Of Pong Clock”

Yet Another Pong-clock

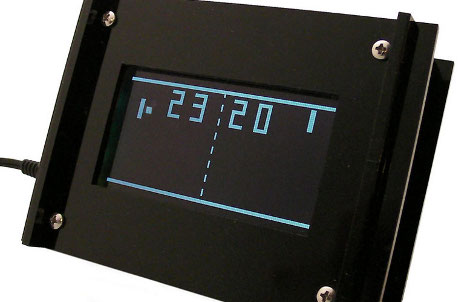
[PT] let us know that Adafruit Industries has just release a pong clock kit. The $80 price tag might seem a bit steep but it does come with a custom-ordered KS0108 display in order to get white on black like the classic video game, as seen after the break. Also included is the laser-cut case, an ATmega328 microcontroller, RTC, and all the other bits needed to get this working.

We just saw a pong clock built on a breadboard using a KS0108 display but that one used a PIC processor. Adafruit always open-sources their designs and code so you can head over to the kit details page if you already have the hardware on hand to throw this together.

Continue reading “Yet Another Pong-clock”

AVR Tetris

Tetris, the timeless classic, is one of those concepts that someone will try to run on every conceivable hardware platform. I took on the challenge of programming a Tetris clone from the ground up using hardware I had on hand. At the heart of the build is an ATmega168 microcontroller. The game displays on a KS0108 128×64 LCD module with five momentary push switches to provide directional, rotational, and input controls. You can see the resulting monochrome action embedded after the break.

I had several goals in mind while writing the code for the game.  I wanted the code to be portable so that the size of the board and type of screen used could be easily changed. With that in mind I developed the trunk for a Nokia 3595 cellphone screen and a parallel branch for the graphic LCD. Originally I was working with an ATmega8 but upgraded so that I could operate at the 3.3v the cell phone screen required.

The firmware for the graphic LCD branch compiles to just over 6 kB which means it can still be run on a mega8. Also, the ATmega168 is the same processor used in the Arduino Duemilanove so another Tetris port is not out of the question. I just got a hold of my first Arduino so we’ll see if I find time to start a new branch in the code.

Continue reading “AVR Tetris”

Embedded Games: Rogue

Here’s a handheld version of Rogue. Rogue is one of the first graphical computer games and takes the player through a dungeon-exploring adventure. [Manuel] built this around a PIC 16F876 microcontroller and a KS0108 graphic LCD screen.

Hot on the heels of the pixellated Mario game, these embedded handhelds make for fun projects and great gifts. There are few parts used and [Manuel] etched his own PCB. Take a look at the schematic, this is a great platform to start with but the sky’s the limit on writing your own games.