Beam Dump Makes Sure Your Laser Path Is Safely Terminated

Between hot things, sharp things, and spinny things, there’s more than enough danger in the average hacker’s shop to maim and mutilate anyone who fails to respect their power. But somehow lasers don’t seem to earn the same healthy fear, which is strange considering permanent blindness can await those who make a mistake lasting mere fractions of a second.

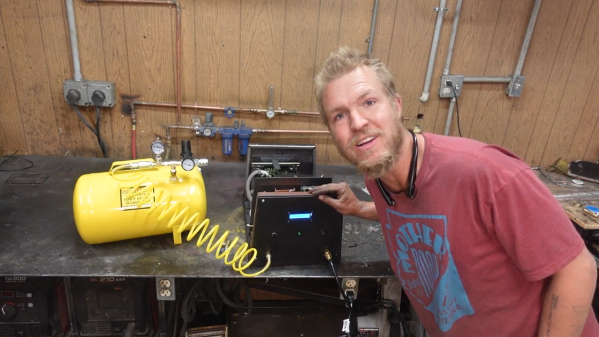
To avoid that painful fate, high-power laser fan [Brainiac75] undertook building a beam dump, which is a safe place to aim a laser beam in an experimental setup. His version has but a few simple parts: a section of extruded aluminum tubing, a couple of plastic end caps, and a conical metal plumb bob. The plumb bob gets mounted to one of the end caps so that its tip points directly at a hole drilled in the center of the other end cap. The inside and the outside of the tube and the plumb bob are painted with high-temperature matte black paint before everything is buttoned up.

In use, laser light entering the hole in the beam dump is reflected off the surface of the plumb bob and absorbed by the aluminum walls. [Brainiac75] tested this with lasers of various powers and wavelengths, and the beam dump did a great job of safely catching the beam. His experiments are now much cleaner with all that scattered laser light contained, and the work area is much safer. Goggles still required, of course.

Hats off to [Brainiac75] for an instructive video and a build that’s cheap and easy enough that nobody using lasers has any excuse for not having a beam dump. Such a thing would be a great addition to the safety tips in [Joshua Vasquez]’s guide to designing a safe laser cutter.

Continue reading “Beam Dump Makes Sure Your Laser Path Is Safely Terminated”

Micromachining Glass With A Laser — Very, Very Slowly

When it comes to machining, the material that springs to mind is likely to be aluminum, steel, or plastic. We don’t necessarily think of glass as a material suitable for machining, at least not in the chuck-it-up-in-the-lathe sense. But glass is a material that needs to be shaped, too, and there are a bunch of different ways to accomplish that. Few, though, are as interesting as micromachining glass with laser-induced plasma bubbles. (Video, embedded below.)

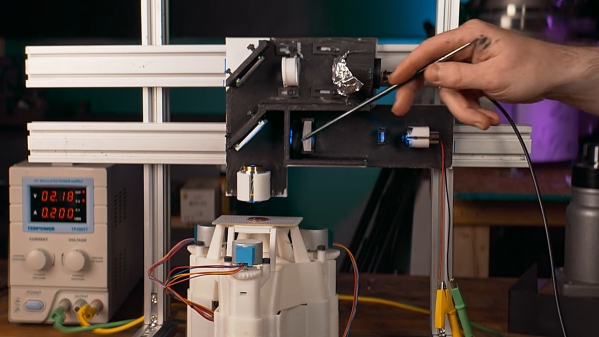
The video below is from [Zachary Tong]. It runs a bit on the longish side, but we found it just chock full of information. The process, formally known as “laser-induced backside wet-etching,” uses a laser to blast away at a tank of copper sulfate. When a piece of glass is suspended on the surface of the solution and the laser is focused through the glass from the top, some interesting things happen.

The first pulse of the laser vaporizes the solution and decomposes the copper sulfate. Copper adsorbs onto the glass surface inside the protective vapor bubble, which lasts long enough for a second laser pulse to come along. That pulse heats up the adsorbed copper and the vapor in the original bubble, enough to melt a tiny bit of the glass. As the process is repeated, small features are slowly etched into the underside of the glass. [Zachary] demonstrates all this in the video, as well as what can go wrong when the settings are a bit off. There’s also some great high-speed footage of the process that’s worth the price of admission alone.

We doubt this process will be a mainstream method anytime soon, not least because it requires a 50-Watt Nd:YAG fiber laser. But it’s an interesting process that reminds us of [Zachary]’s other laser explorations, like using a laser and Kapton to make graphene supercapacitors.

Continue reading “Micromachining Glass With A Laser — Very, Very Slowly”

No Doorknobs Needed For This Nitrogen Laser Build

Sometimes the decision to tackle a project or not can boil down to sourcing parts. Not everything is as close as a Digi-Key or Mouser order, and relying on the availability of surplus parts from eBay or other such markets can be difficult. Knowing if and when a substitute will work for an exotic part can sometimes be a project all on its own.

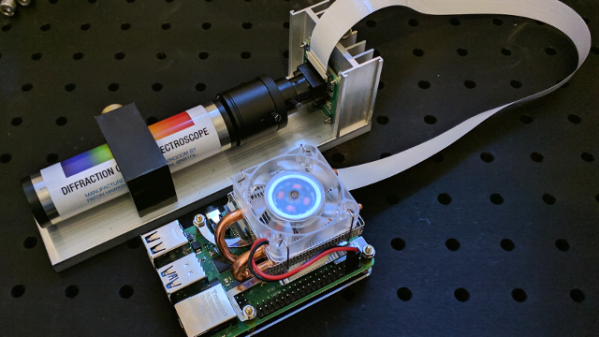
Building lasers is a great example of this, and [Les Wright] recently looked at substitutes for hard-to-find “doorknob” capacitors for his transversely excited atmospheric lasers. We took at his homebrew TEA lasers recently, which rely on a high voltage supply and very rapid switching to get nitrogen gas to lase. His design uses surplus doorknob caps, big chunky parts rated for very high voltages but also with very low parasitic inductance, which makes them perfect for the triggering circuit.

[Les] tried to substitute cheaper and easier-to-find ceramic power caps with radial wire leads rather than threaded lugs. With a nominal 40-kV rating, one would expect these chunky blue caps to tolerate the 17-kV power supply, but as he suspected, the distance between the leads was short enough to result in flashover arcing. Turning down the pressure in the spark gap chamber helped reduce the flashover and prove that these caps won’t spoil the carefully engineered inductive properties of the trigger. Check out the video below for more details.

Thanks to [Les] for following up on this and making sure everyone can replicate his designs. That’s one of the things we love about this community — true hackers always try to find a way around problems, even when it’s just finding alternates for unobtanium parts.

Continue reading “No Doorknobs Needed For This Nitrogen Laser Build”

Cutting Balsa Wood With Air (Oh, And A Laser)

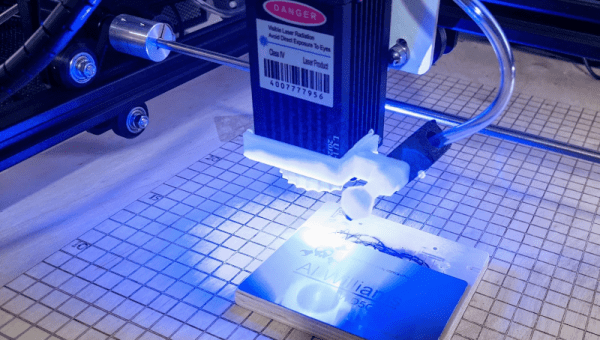
[DIY3DTech] likes using his Ortur laser cutter for balsa wood and decided to add an air assist system to it. Some people told him it wasn’t worth the trouble, so in the video below, he compares the results of cutting both with and without the air assist.

The air assist helped clear the cut parts and reduced charring in the wood. The air system clears residue and fumes that can reduce the effectiveness of the laser. It can also reduce the risk of the workpiece catching on fire.

Continue reading “Cutting Balsa Wood With Air (Oh, And A Laser)”

Laser-Induced Graphene Supercapacitors From Kapton Tape

From the sound of reports in the press, graphene is the miracle material that will cure all the world’s ills. It’ll make batteries better, supercharge solar panels, and revolutionize medicine. While a lot of applications for the carbon monolayer are actually out in the market already, there’s still a long way to go before the stuff is in everything, partly because graphene can be very difficult to make.

It doesn’t necessarily have to be so hard, though, as [Zachary Tong] shows us with his laser-induced graphene supercapacitors. His production method couldn’t be simpler, and chances are good you’ve got everything you need to replicate the method in your shop right now. All it takes is a 405-nm laser, a 3D-printer or CNC router, and a roll of Kapton tape. As [Zach] explains, the laser energy converts the polyimide film used as the base material of Kapton into a sort of graphene foam. This foam doesn’t have all the usual properties of monolayer graphene, but it has interesting properties of its own, like extremely high surface area and moderate conductivity.

To make his supercaps, [Zach] stuck some Kapton tape to glass slides and etched a pattern into with the laser. His pattern has closely spaced interdigitated electrodes, which when covered with a weak sulfuric acid electrolyte shows remarkably high capacitance. He played with different patterns and configurations, including stacking tape up into layers, and came up with some pretty big capacitors. As a side project, he used the same method to produce a remarkable effective Kapton-tape heating element, which could have tons of applications.

Here’s hoping that [Zach]’s quick and easy graphene method inspires further experimentation. To get you started, check out our deep-dive into Kapton and how not every miracle material lives up to its promise.

Continue reading “Laser-Induced Graphene Supercapacitors From Kapton Tape”

The Ground Beneath Your Feet: SuperAdobe Construction

Homes in different parts of the world used to look different from each other out of necessity, built to optimize for the challenges and benefits of local climate. When residential climate control systems became commonplace that changed. Where a home in tropical south Florida once required very different building methods (and materials) compared to a home in the cold mountains of New England, essentially identical construction methods are now used for single-family homes in any climate. The result is inefficient and virtually indistinguishable housing from coast to coast, regardless of climate. As regions throughout the world are facing increasingly dire housing shortages, the race is on to find solutions that are economical and available to us right now.

The mission of CalEarth, one of the non-profits that Hackaday has teamed up with for this year’s Hackaday Prize, is to address that housing shortage by building energy-efficient homes out of materials already available in the areas that they will be built. CalEarth specializes in building adobe, or earth, homes that have a large thermal mass and an inexpensive bill of materials. Not only does this save on heating and cooling costs, but transportation costs for materials can be reduced as well. Some downside to this method of construction are increased labor costs and the necessity of geometric precision of the construction method, both of which are tackled in this two-month design challenge.

Continue reading “The Ground Beneath Your Feet: SuperAdobe Construction”

World’s Smallest Benchy Shows Off What 3D-Printing Can Do For “Microswimmers”

We’ve said it before, but we cast a wary eye at any superlative claims that come our way. “World’s fastest” or “world’s first” claims always seem to be quickly debunked, but when the claim of “World’s Smallest Benchy” is backed up by a tugboat that two dozen E. coli would have a hard time finding space on, we’re pretty comfortable with it.

Of course the diminutive benchmark was not printed just for the sake of it, but rather as part of a demonstration of what’s possible with “microswimmers”, synthetic particles which are designed to move about freely in microscopic regimes. As described in a paper by [Rachel P. Doherty] et al from the Soft Matter Physics lab at Leiden University, microswimmers with sizes on the order of 10 to 20 μm can be constructed repeatably, and can include a small area of platinum catalyst. The catalyst is the engine of the microswimmer; hydrogen peroxide in the environment decomposes on the catalyst surface and provides a propulsive force.

Artificial microswimmers have been around for a while, but most are made with chemical or evaporative methods which result in simple shapes like rods and spheres. The current work describes much more complex shapes — the Benchy was a bit of a flex, since the more useful microswimmers were simple helices, which essentially screw themselves into the surrounding fluid. The printing method was based on two-photon polymerization (2PP), a non-linear optical process that polymerizes a resin when two photons are simultaneously absorbed.

The idea that a powered machine so small could be designed and manufactured is pretty cool. We’d love to see how control mechanisms could be added to the prints — microfluidics, perhaps?