Driving A Nokia QVGA Screen With Arduino (or Any UC)

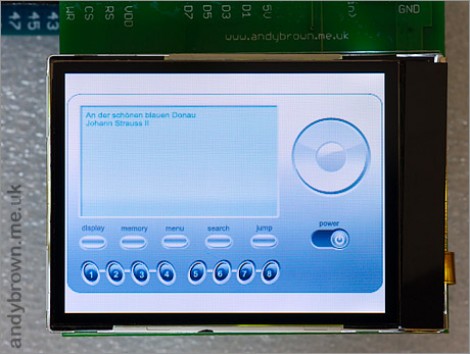
This is a Nokia 6300 screen. It’s a 320×240 display that has about 2″ of diagonal viewing area and boasts 24-bit QVGA TFT technology. It’s going to look fantastic in your next project and it won’t be hard to get up and running thanks to the hardware and software guide which [Andy Brown] put together. He chose this display because of its features, but also because it’s really easy to source and can be had for $5-7 delivered. The guide is aimed at working with the Arduino MEGA, but we’re sure you can port it for just about any microcontroller you’d like.

Much like the FPGA PSP display we just looked at, [Andy] chose to design his own PCB to host the LCD. This makes it a snap to attach the LCD — literally, since he managed to source the correct snap-in connector. The board also hosts a constant-current LED driver which takes care of the backlight, and allowed him to build in a level converter (since the screen communicates at 3.3V but Arduino uses 5V logic).

The software tutorial is lengthy but impressive. We’re surprised at the performance he gets out of the AVR chip. See the screen cycle through a set of demos after the break.

Continue reading “Driving A Nokia QVGA Screen With Arduino (or Any UC)”

Driving A PSP Screen With An FPGA

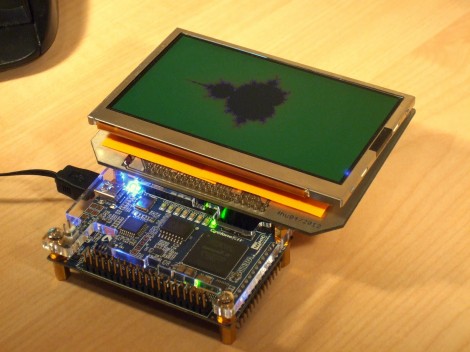
Here’s [FlorianH’s] setup for driving a PlayStation Portable screen with an FPGA. He’s using the DE0-Nano board to do this, and the first order of business was to establish a way to connect the two. He did a great job of etching his own breakout board, which has some traces that are less than 10 mils thick. Soldering the connectors for the screen was a bit of a challenge, and he shared several pictures of the process for your enjoyment.

With everything hooked up he fired it up with just a couple of lines of code to draw a test pattern. From there it was on to building a more intensive driver. [FlorianH] mentioned to us that he’s just starting to learn about FPGAs after having worked extensively with 8-bit microcontrollers. He’s been documenting his work on his site, and finds himself frequently referencing his own material so remember how he did things. Our vicarious enjoyment is an unintended (but welcomed) consequence of that habit.

Remote Shutter Module Uses LCD Screen For Setup

Here’s a full-featured remote shutter project which [Pixel-K] just finished. It seems that he’s interested in taking time-lapse images of the cosmos. Since astrophotography happens outside at night, this presented some special design considerations. He wanted something that he could configure in the dark without zapping his night-vision too much. He also wanted it to be easily configured with a pair of gloves on.

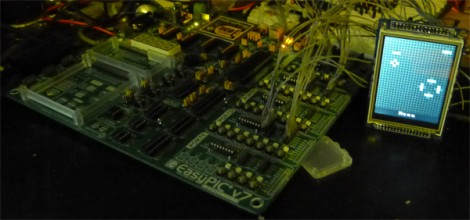
The project enclosure is a 4x AA battery box. He removed the partitions between each cell, leaving plenty of room for the guts. Inside you’ll find a lithium battery and a micro-USB recharger board. It powers the Arduino mini pro which drives the 1.8″ LCD screen and actuates the optoisolator which is responsible for triggering the camera. On the right you can see the clear knob of the clickable rotary encoder. All of the user settings are chosen and selected using just this one knob.

He’s already tried it out on a 6-hour shoot and had no battery life problems or other issues.

Pimp My Scooter

[Glen] built this shiny party machine out of a pretty sad-looking scooter. We’d bet you’re wondering why we think it’s a party machine when it looks so common? The only real giveaway in this photo is the custom exhaust, but hidden in the body of the beast is 720 Watts of party power plus a whole bunch of extras.

When he gets where he’s going, [Glen] parks his ride and lifts up the seat to unfold the entertainment. Attached to the underside of the saddle is a 720 Watt audio amplifier. It drives one big speaker under the seat, as well as two tweeters and two mid-range speakers that were fitted into the front console. But these days a party isn’t a party without some video, and that’s why you’ll also find a 7-inch LCD screen suspended from the upright seat. Tunes and videos are supplied by an iPod touch up front, or the PC he built into the ride. All it’s missing is a gaming console!

Continue reading “Pimp My Scooter”

Teaching BeagleBone To Play With LIDD Displays

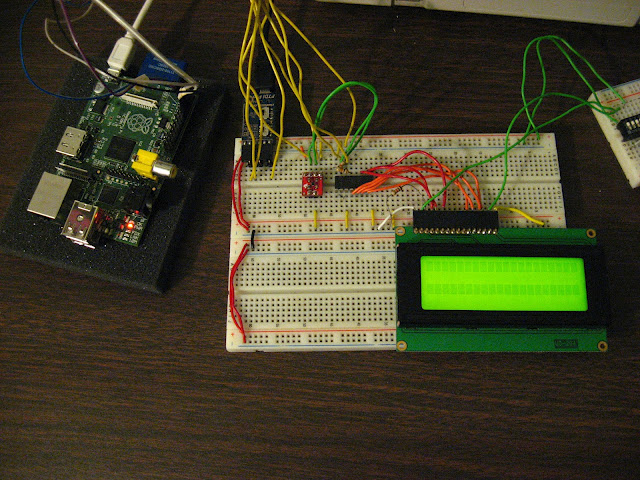
[Chris] hasn’t managed to get his hands on a Raspberry Pi yet, so he ordered a BeagleBone and got down to business. He was surprised to find that there isn’t much info out there about using LIDD type displays with the hardware. This protocol is used in many of the 320×240 smart LCD modules on the market, so he hammered out his own drivers and is sharing the details.

The system is designed to run a Linux kernel and [Chris] has chosen to go with Angstrom. His journey started by working out how to compile and patch the kernel himself. From there it was just a matter of getting the pin mapping right, and compiling a driver (it sounds way too simple when put like that).

Apparently he’s pretty close to getting the X desktop environment up and running. No idea what he plans for the hardware, but we’re all for people sharing their work to make it easier for others. Thanks!

Arduino BASIC Interpreter Using LCD, Keyboard, And SD

This Arduino BASIC interpreter will make a really fun one-day project if you’ve already got the parts on hand. [Usmar A. Padow] put together an Arduino Uno, SD card, four line character LCD, and PS/2 keyboard. but he’s also included alternative options to go without an LCD screen by using a computer terminal, or without the SD card by using only the Uno’s RAM. As you can see in his demo after the break, this simple input/output is all you need to experiment with some ancient computing.

It’s hard for us to watch this and not think back to an orange or green monochrome display. Just like decades past, this implementation of BASIC has you start each line of code with a line number, and doesn’t allow for character editing once the line has been input. The example programs that [Usmar] shows off are simple to understand but cover enough to get you started if you’ve never worked with BASIC before.

Last August we saw another hack which ported Tiny BASIC to the Arduino. You may want to take a gander at that one as well.

Continue reading “Arduino BASIC Interpreter Using LCD, Keyboard, And SD”

Text Adventures For Arduino Starting With Hunt The Wumpus

Let’s be honest, you’re going to have trouble getting kids to play text-based adventure games these days. But this is one way to get them interested. This weekend you should get together with niece, nephew, son, or daughter and help them build their own hardware and program it with an adventure game. One last project before school’s out and the weather’s nice.

This is [Dan’s] shiny example of Hunt the Wumpus. He used Adafruit’s RGB LCD shield for Arduino. It’s got a character LCD and five buttons. But you can easily breadboard this yourself using a few tactiles plus a screen and uC of your own choosing. One nice touch with this one is the RGB backlight which is used to add an element of danger to the story line. He also mentions a few bugs in the Arduino language which he found while setting up the game.

We’ve been meaning to make our version of Zork using an Arduino, GLCD, and PS/2 keyboard ever since we read “Ready Player One”. This is just a bit more encouragement to get moving on that project.

[Thanks PT]