We love a good clock build around here, especially if it tells time in a unique way. This 4-stroke digital clock designed by [lagsilva] takes the checkered flag in that category. As it displays the time, it also demonstrates the operation of an internal combustion engine. The numbers take the form of pistons and dance an endless repetition of intake, compression, combustion, exhaust.
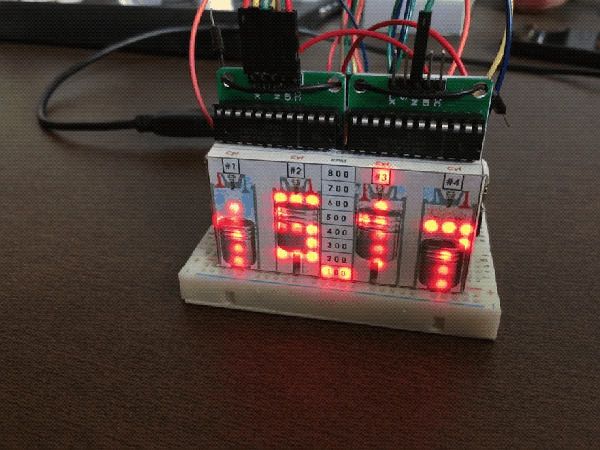
The clock’s digits are made from two LED matrices driven by an Arduino Uno and a couple of MAX7219 driver boards. The dots that form the digits move up and down the matrices in 1-3-4-2 firing order. As each piston-digit reaches top dead center, its number lights up. This makes it easy to see the firing order, even at higher RPM values.
Our favorite thing about this clock is the variable RPM setting. There’s a 10k pot around back that adjusts the speed of the pistons between 100 and 800 RPM, and it’s configured to accurately represent piston movement at each increment. Floor it past the break to watch the clock rev up and slow back down.
Although it’s difficult to read the time at 800 RPM, it’s awesome to see a real-time visualization of cylinder movement at the average idle speed of a passenger car. We think it might be neat to rev the engine another way, like with an arcade throttle lever or a foot pedal.
If you like the idea of a constantly-moving clock but prefer an analog readout, take a minute to look at this clock without a face.