Ah, the humble status LED. Just about every piece of home electronics, every circuit module, and anything else that draws current seems to have one. In the days of yore, a humble indicator gave a subtle glow from behind a panel, and this was fine. Then the 1990s happened, and everything got much much worse.
It’s Not The Technology, It’s How You Use It
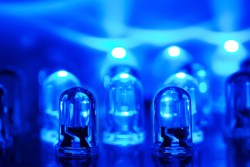
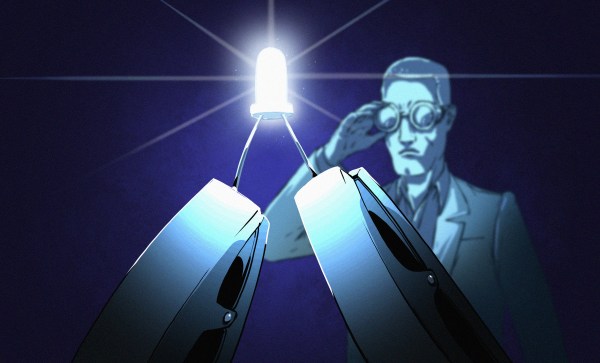
The 1990s brought us much good: Nirvana, Linux, and of course the blue LED. Much like “Teen Spirit”, the latter quickly fell into overuse: the technology rapidly became the sigil of all that was new and great, much to the ocular pain of the buying public.
This decision ranks up there for stupidity with other such questionable choices as hiring a rental car at the airport, or invading Russia in the winter. A status LED, most would agree, is there to indicate status. It need only deliver enough light to be seen when observed by a querying eye. What it need not do is glow with the intensity of a dying star, or illuminate an entire room for that matter. But, in the desperate attempts of product designers to appear on the cutting edge, the new, brighter LED triumphed over all in these applications. Continue reading “We Ruined Status LEDs; Here’s Why That Needs To Change”