Disposable cameras are a fun way to get into classical photography. However, they can also be a valuable source of interesting parts that can be put to other uses. For example, as [Billt] demonstrates, their viewfinders can be repurposed into a rather interesting lens for more serious cameras.
[Billt] was lucky enough to score a grabbag of used disposable cameras from a local film lab, and tore them down for parts. He was particularly interested in the viewfinders, since Kodak equipped its disposable cameras with actual plastic lenses for this very purpose.
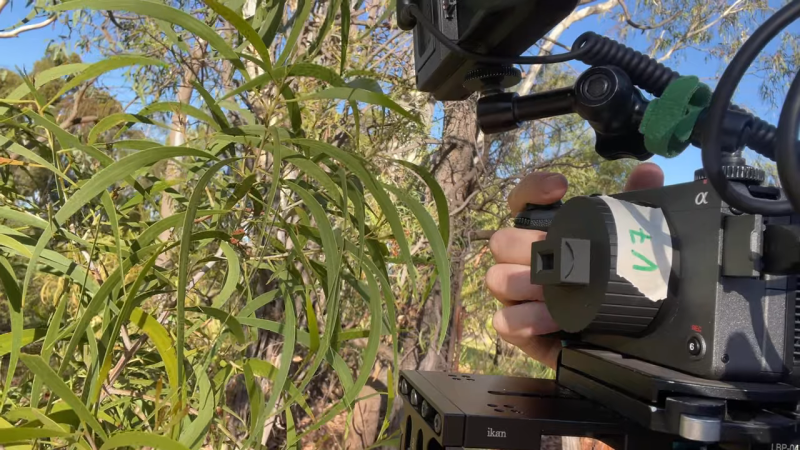
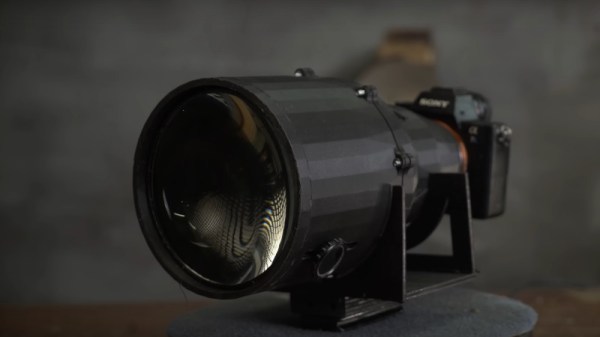
[Billt] wanted to see what these lenses would do when thrown on the front of a proper digital camera, and set about designing a mount for that purpose. The 3D printed part was designed to mount one of the viewfinder lens assemblies on the front of any Sony E-mount camera. In a rather nifty trick, [Billt] realized the lens assembly could be installed in the adapter by pausing mid-way through the 3D print to drop it in. The only unfortunate thing? The lenses didn’t really work, and all the camera could see was a haze of unfocused light.
With the aid of some cardboard experiments, [Billt] decided to make some changes. The front element of the viewfinder was dumped, with the rear element being used solo instead. This was fitted to the adapter on a simple slide mechanism so that focus could be reliably adjusted. With these changes, the lens came good, and provided some really interesting shots. It’s quite a cropped lens and it can achieve a very close focus distance, as little as 1 inch in testing. It’s quite sharp in the center of the image, while softly blurring out towards the edges—something that sounds very familiar if you’ve used one of these disposable cameras in the wild.
Sometimes it’s fun to grab a random piece of junk to see if you can turn it into something good. Video after the break.
Continue reading “Disposable Camera Viewfinder Becomes 3D Printed Lens”
![[miko_tarik] wearing diy AR goggles in futuristic setting](https://hackaday.com/wp-content/uploads/2024/11/diy-ar-goggles-1200.jpg?w=600&h=450)
![[miko_tarik] wearing diy AR goggles](https://hackaday.com/wp-content/uploads/2024/11/diy-ar-goggles-smallphoto.jpg?w=400) Creating Zero wasn’t simple. From designing the frame in Tinkercad to experimenting with transparent PETG to print lenses (ultimately switching to resin-cast lenses), [mi_kotalik] faced plenty of challenges. By customizing SPI displays and optimizing them to 60 FPS, he achieved an impressive level of real-time responsiveness, allowing him to explore AR interactions like never before. While the Raspberry Pi Zero’s power is limited, [mi_kotalik] is already planning a V2 with a Compute Module 4 to enable 3D rendering, GPS, and spatial tracking.
Creating Zero wasn’t simple. From designing the frame in Tinkercad to experimenting with transparent PETG to print lenses (ultimately switching to resin-cast lenses), [mi_kotalik] faced plenty of challenges. By customizing SPI displays and optimizing them to 60 FPS, he achieved an impressive level of real-time responsiveness, allowing him to explore AR interactions like never before. While the Raspberry Pi Zero’s power is limited, [mi_kotalik] is already planning a V2 with a Compute Module 4 to enable 3D rendering, GPS, and spatial tracking.