The world’s leading expert on mechanical computers wasn’t [Charles Babbage]; sure, he could design stuff, but eventually you need to actually build something. We are now graced with the expertise of [Chris Fenton]. He’s built mechanical calculators, a mechanical digital computer, and now a mechanical display inspired by the Jacquard loom.
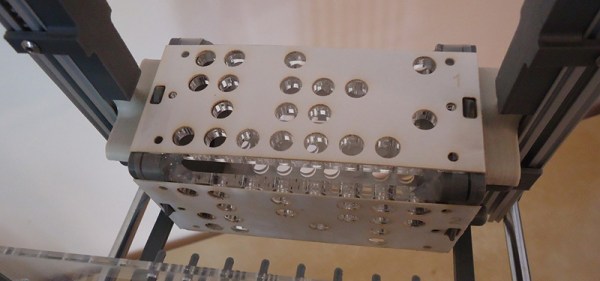
[Chris] calls his creation the PixelWeaver, and the name isn’t far from the truth; it’s a 32-hook Jacquard style punch card reader that could be mounted over a small loom. Instead of weaving rugs and fabric, the PixelWeaver controls a 6×5 black and white display.
The PixelWeaver is built out of t-slot aluminum, 3D printed parts, and a web of thread to transfer motion from rotating cams to ratchets and pixels. The display itself is heavily inspired by a Lego mechanical display, and the cards that store the data for the display are laser-cut plywood. Interestingly, there’s nothing in this machine that couldn’t have been made 150 years ago; it’s the same technology used to weave rugs, although the necessity of a bitmap display in the Victorian era is a bit questionable.
You can see a few videos of the PixelWeaver below. If you’re wondering what else has come out of [Chris]’ mechanical computing lab, check out his digital computer and Fibonacci calculating set of gears. For a real treat, here’s a machine that will calculate all primes under 1000 in 30 years.