Dice Rolls From The Beginning Of Time

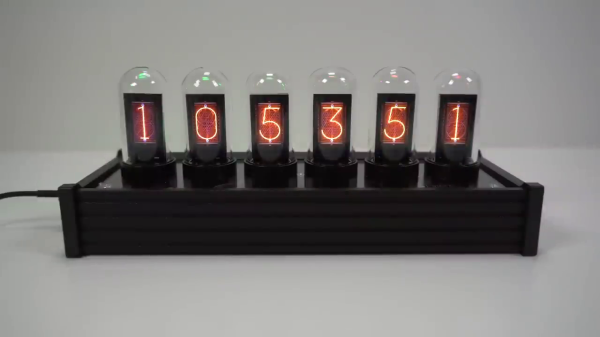
Generating random numbers might seem like a trivial task, that is until the numbers need to be truly random for cryptography or security reasons. When that’s the case, it turns out that these numbers are really “pseudo-random” and follow a predictable pattern. Devices that can produce truly random numbers often do it by sampling random events in the real world rather than relying on a computer to do it directly, like this machine which simulates a dice roll by looking at the cosmic microwave background radiation.

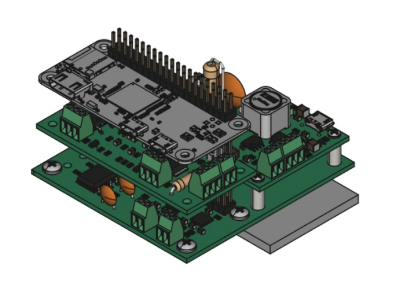
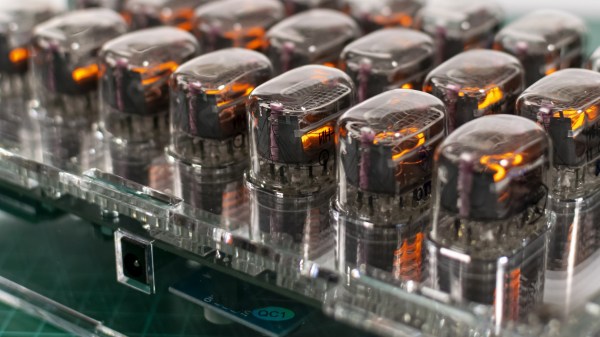
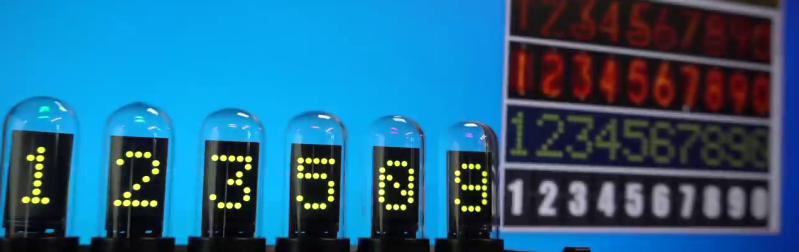
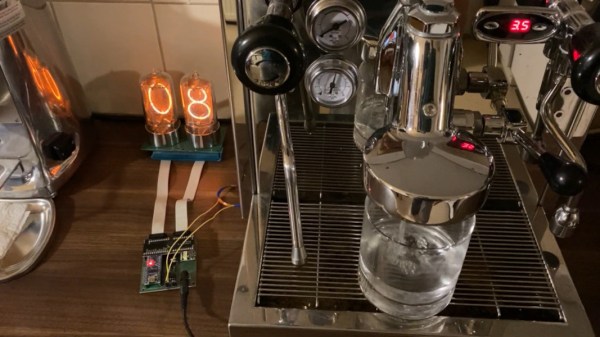
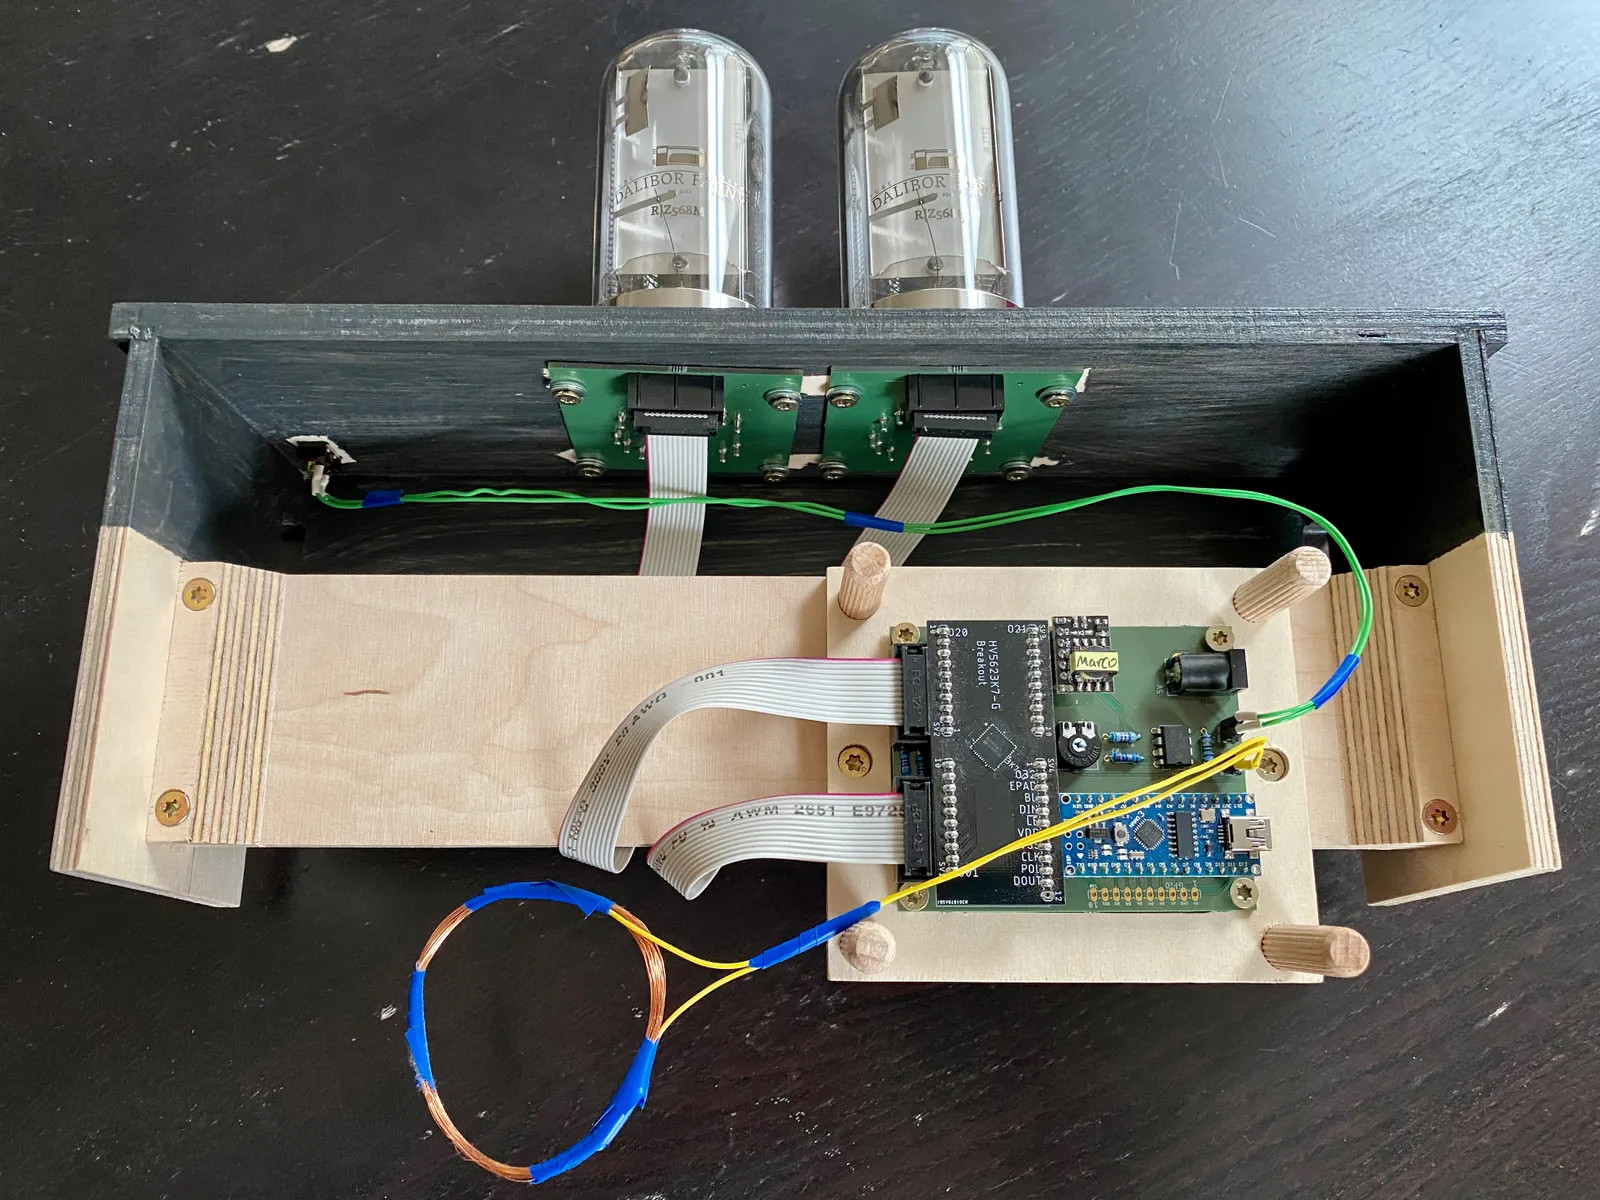
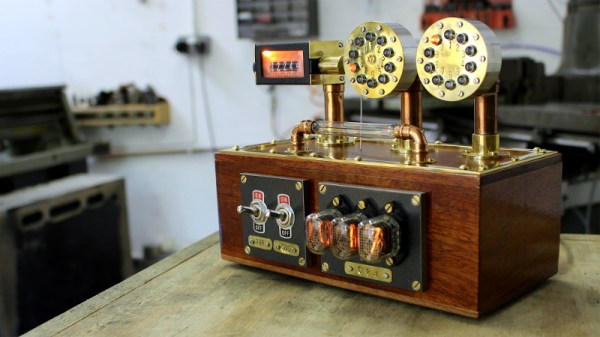
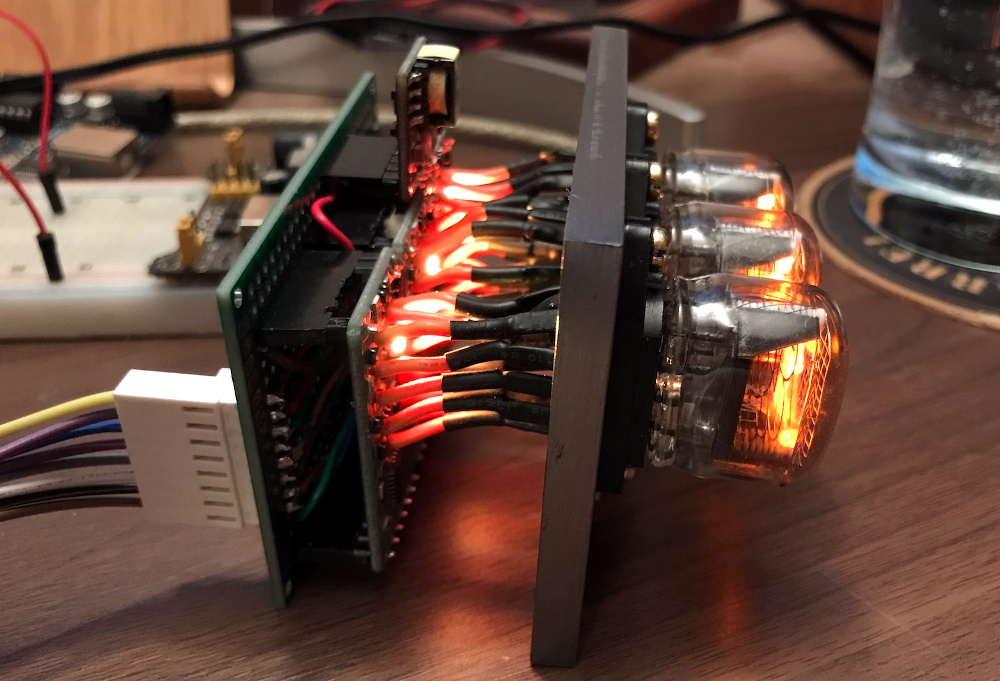
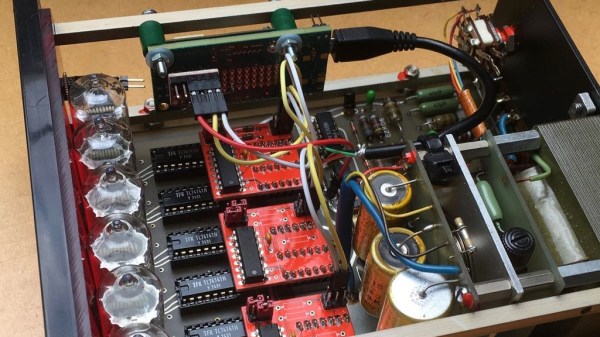
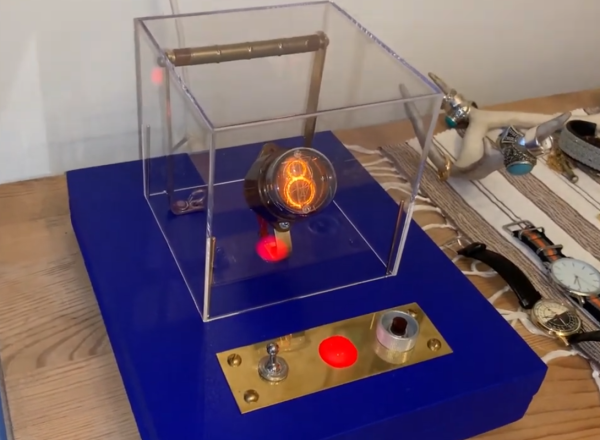
The cosmic microwave background radiation exists in the infrared at the farthest edges of the observable universe as a remnant of the big bang. It’s an excellent source of randomness, but tapping into it poses a bit of a challenge. For this build, [iSax] is using an old Soviet-era Geiger tube to detect the appropriate signal, and a Nixie tube to display the dice roll. After the device detects two particles from the Big Bang, the device measures the amount of time that passed between the detection of both particles and uses this number to calculate the dice roll.

While it takes a little bit longer to roll this dice than a traditional one since it has to wait to detect the right kind of particles, if you really need the randomness it can’t be beat. It certainly works as dice, but we can also see some use for generating truly random numbers for other applications as well. For some other sources of random inspiration be sure to check out our own [Voja Antonic]’s deep dive into truly random number generation.

Continue reading “Dice Rolls From The Beginning Of Time”

Espresso maker with added nixie flair

AI Powered Coffee Maker Knows A Bit Too Much About You

People keep warning that Skynet and the great robot uprising is not that far away, what with all this recent AI and machine-learning malarky getting all the attention lately. But we think going straight for a terminator robot army is not a very smart approach, not least due to a lack of subtlety. We think that it’s a much better bet to take over the world one home appliance at a time, and this AI Powered coffee maker might just well be part of that master plan.

Raspberry Pi Zero sitting atop the custom nixie tube driver PCB
PCB stackup with Pi Zero sat atop the driver / PSU PCBs

[Mark Smith] has taken a standard semi-auto espresso maker and jazzed it up a bit, with a sweet bar graph nixie tube the only obvious addition, at least from the front of the unit. Inside, a Raspberry Pi Zero sits atop his own nixie tube hat and associated power supply. The whole assembly is dropped into a 3D printed case and lives snuggled up to the water pump.

The Pi is running a web application written with the excellent Flask framework, and also an additional control application written in python. This allows the user to connect to the machine via Ethernet and see its status. The smarts are in the form of a simple self-grading machine learning algorithm, that takes a time series as an input (in this case when you take your shots of espresso) and after a few weeks of data, is able to make a reasonable prediction as to when you might want it in the future. It then automatically heats up in time for you to use the machine, when you usually do, then cools back down to save energy. No more pointless wandering around to see if the machine is hot enough yet – as you can just check the web page and see from the comfort of your desk.

But that’s not all [Mark] has done. He also improved the temperature control of the water boiler, and added an interlock that prevents the machine from producing a shot until the water temperature is just so. Water level is indicated by the glorious bar graph nixie tube, which also serves a few other user indication duties when appropriate. All in all a pretty sweet build, but we do add a word of caution: If your toaster starts making an unreasonable number of offers of toasted teacakes, give it a wide berth.

Rows of nixie tubes in clear acrylic

Binary Clock Lets The Nixies Glow

We’re not here to talk about another clock. Okay, we are, but the focus isn’t about whether or not it can tell time, it’s about taking a simple idea to an elegant conclusion. In all those ways, [Marcin Saj] produced a beautiful project. Most of the nixie clocks we see are base-ten, but this uses base-two for lots of warm glow from more than a dozen replaceable units.

There are three rows for hours, minutes, and seconds. The top and bottom rows are labeled with an “H” and “S” respectively displayed on IN-15B tubes, while the middle row shows an “M” from an IN-15A tube. The pluses and minuses light up on IN-12 models so you’ll need eighteen of them for the full light show, but you could skimp and use sixteen in twelve-hour mode since you don’t need to count to twenty-four. We won’t explain how to read time in binary, since you know, you’re here and all. The laser-cut acrylic is gorgeous with clear plastic next to those shiny nixies, but you have to recreate the files or buy the cut parts as we couldn’t find vector files amongst the code and schematics.

Silly rabbit, nixies aren’t just for clocks. You can roll your own, but they’re not child’s play.

Continue reading “Binary Clock Lets The Nixies Glow”

No-Nixie Nixie Clock

Over on [Techmoan]’s YouTube channel he’s excited about a new gadget that finally arrived after months of waiting — the EleksTube IPS fake Nixie tube clock. This is a re-imagining of a Nixie tube clock using six 135×240 pixel IPS display panels. They are mounted like tiny billboards, each one inside glass bulbs to mimic that retro look. Based on [Techmoan]’s measurement of these displays, it appears they are the same 16:9 IPS displays used in the TTGO ESP32 modules. The effect is quite impressive, and the fact that each digit is a complete display leads to quite a bit of flexibility. For example, if you don’t like the Nixie look, you can select from a suite of styles or make your own set of custom digits.

Additional digit styles are provided

Continue reading “No-Nixie Nixie Clock”

Nixie Shot Timer Adds Useful Elegance To Espresso Machine

Once you’ve ground the beans and tamped the grounds just so, pulling the perfect shot of espresso comes down to timing. Ideally, the extraction should last 20-30 seconds, from the first dark drips to the tan and tiger-striped crema on top that gives the espresso a full aftertaste.

[Marco] has a beautiful espresso machine that was only missing one thing: an equally beautiful shot timer with a Nixie tube display. Instead of messing with the wiring, [Marco] took the non-invasive approach and is using a DIY coil to detect the magnetic field of the espresso machine’s pump and start a shot timer.

An LM358-based op-amp magnifies the current induced by the machine and feeds it to an Arduino Nano, which does FFT calculations. [Marco] found a high-voltage interface driver to switch 170 V to the Nixies instead of using two handfuls of transistors. Grab yourself a flat white and check it out after the break.

The last Nixies may have been mass-produced in the 1980s, but never fear — Dalibor Farny is out there keeping the dream alive and making new Nixies.

Continue reading “Nixie Shot Timer Adds Useful Elegance To Espresso Machine”

Steampunk Geiger Counter Is A Mix Of Art And Science

It took nearly a year for [Chris Crocker-White] to assemble this glorious mahogany and brass Geiger counter, but we think you’ll agree with us that it was time well spent. From the servo-actuated counter to the Nixie tubes and LED faux-decatrons, this project is an absolute love letter to antiquated methods of displaying information. Although for good measure, the internal Raspberry Pi also pushes all the collected radiation data into the cloud.

[Chris] says the design of this radiation monitor was influenced by his interest in steampunk and personal experience working on actual steam engines, but more specifically, he also drew inspiration from a counter built by [Richard Mudhar].

Based on a design published in Maplin back in 1987, [Richard] included a physical counter and LED “dekatron” displays as an homage to a 1960s era counter he’d used back in his school days. [Chris] put a modern spin on the electronics and added the glowing display of real-time Counts Per Minute (CPM) as an extra bonus; because who doesn’t like some Nixies in their steampunk?

Internally, the pulses generated by a common Geiger counter board are picked up by some custom electronics to drive the servo and LEDs. Triggered by those same pulses, the Raspberry Pi 3A+ updates the Nixie display and pushes the data out to the cloud for analysis and graphing. Note that the J305β Geiger tube from the detector has been relocated to the outside of the machine, with two copper elbows used as connectors. This improves the sensitivity of the instrument, but perhaps even more importantly, looks awesome.

We’ve seen some very high-tech DIY radiation detection gear over the years, but these clever machines that add a bit of whimsy to the otherwise mildly terrifying process of ionizing radiation are always our favorite.

Continue reading “Steampunk Geiger Counter Is A Mix Of Art And Science”

BCD To I2C: Turning A Nixie Counter Into Whatever You Want It To Be

Whenever a project calls for displaying numbers, a 7-segment display is the classic and straightforward choice. However, if you’re more into a rustic, retro, almost mystical, and steampunky look and feel, it’s hard to beat the warm, orange glow of a Nixie tube. Once doomed as obsolete technology of yesteryear, they have since reclaimed their significance in the hobbyist space, and have become such a frequent and deliberate design choice, that it’s easy to forget that older devices actually used them out of necessity for lack of alternatives. Exhibit A: the impulse counter [soldeerridder] found in the attic that he turned into a general-purpose, I2C controlled display.

Instead of just salvaging the Nixie tubes, [soldeerridder] kept and re-used the original device, with the goal to embed an Intel Edison module and connect it via I2C. Naturally, as the counter is a standalone device containing mainly just a handful of SN74141 drivers and SN7490 BCD counters, there was no I2C connectivity available out of the box. At the same time, the Edison would anyway replace the 7490s functionality, so the solution is simple yet genius: remove the BCD counter ICs and design a custom PCB containing a PCF8574 GPIO expander as drop-in replacement for them, hence allowing to send arbitrary values to the driver ICs via I2C, while keeping everything else in its original shape.

Containing six Nixie tubes, the obvious choice is of course to use it as a clock, but [soldeerridder] wanted more than that. Okay, it does display the time, along with the date, but also some sensor values and even the likes on his project blog. If you want to experiment with Nixie tubes yourself, but lack a matching device, Arduino has you obviously covered. Although, you might as well go the other direction then.

Continue reading “BCD To I2C: Turning A Nixie Counter Into Whatever You Want It To Be”