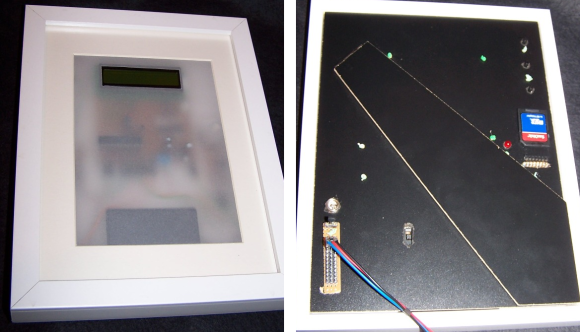
Digital photo frames aren’t very interesting on their own these days, but building one with a Raspberry Pi and strapping it with a bunch of useful features just might motivate you to check out this tutorial on building a ‘living’ digital photo frame.
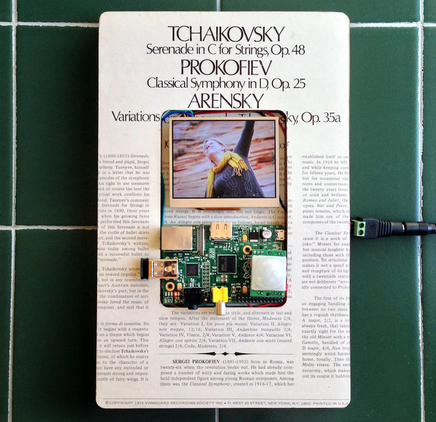
This is [Samuel’s] first project with the Raspberry Pi, so he decided to build a digital photo frame that has the ability to download random pictures from his Flicker account and display them in a slideshow format. With all that extra IO on the Raspi, it was easy to incorporate a status LED and PIR sensor. When motion is detected by the PIR sensor, the photo frame is enabled; after 60 seconds of no movement, the photo frame is disabled by turning off the monitor port.
We love finding detailed write-ups like this because there is so much useful information in here like using the Flicker API, GPIO control, image handling, how to configure scripts to run on boot-up, and even some great troubleshooting code. If you’d rather ditch the Raspi altogether and take things down a few levels, check out this PIC based 100% DIY digital picture frame.