[Jason] converted an Easy Bake Oven to USB. If you have to ask why you’ll never know.
Easy Bake Ovens have changed a lot since you burnt down your house by installing a 100 Watt light bulb inside one. Now, Easy Bake Ovens are [bigclive] material. It’s a piece of nichrome wire connected through a switch across mains power. Part of the nichrome wire is a resistor divider used to power a light. This light assembly is just a LED, some resistors, and a diode wired anti-parallel to the LED.
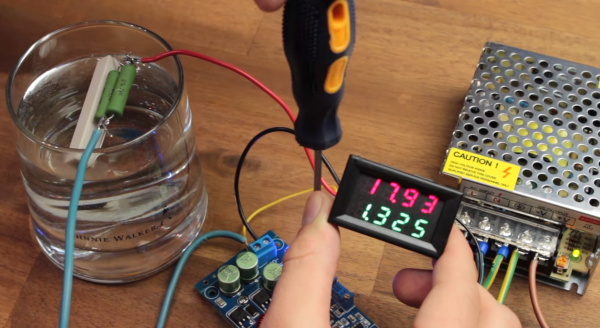
This is a device designed for 120 V, but [Jason] wanted it to run on USB-C. While there are USB-C chargers that will supply enough power for an Easy Bake Oven, the voltage is limited to 20V. Rather than step up the USB-C voltage, [Jason] added some nichrome wires to divide it into six equal segments, then wired all the segments in parallel. This lowers the voltage by one sixth and increases the current by a factor of six. Good enough.
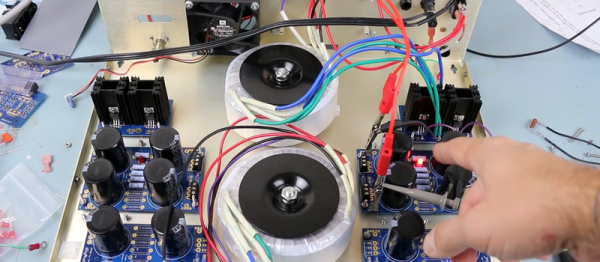
The power supply used for this hack is the official Apple 87W deal, with a USB-C breakout board (available on Tindie, buy some stuff on Tindie. Superliminial advertising) an Arduino Uno connected to the I2C pins. A few bits of code later, and [Jason] had a lot of power coming over a USB cable.
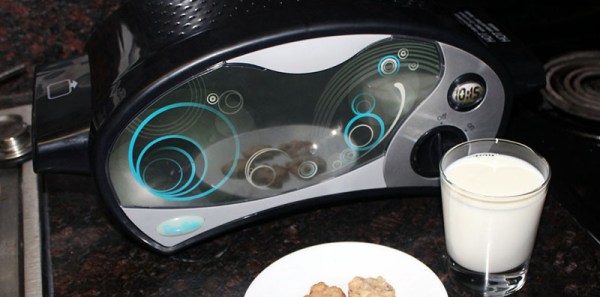
With the Easy Bake Oven fully converted, [Jason] whipped up a batch of cookie mix. After about 15 minutes the cookies crisped up and started to look almost appetizing.
While the result is weird — who on Earth would ever want a USB-powered Easy Bake Oven — this is honestly a fantastic test of [Jason]’s USB-C PHY breakout board. What better way to test a USB-C than a big resistive load, and what better resistive load is there than an Easy Bake Oven? It’s brilliant and hilarious at the same time.