That first glimpse of a child in the womb as a black and white image on a screen is a thrilling moment for any parent-to-be, made possible by several hundred thousand dollars worth of precision medical instrumentation. This ultrasound machine cobbled together from eBay parts and modules is not that machine by a long shot, but it’s still a very cool project that actually gives a peek inside the skin.
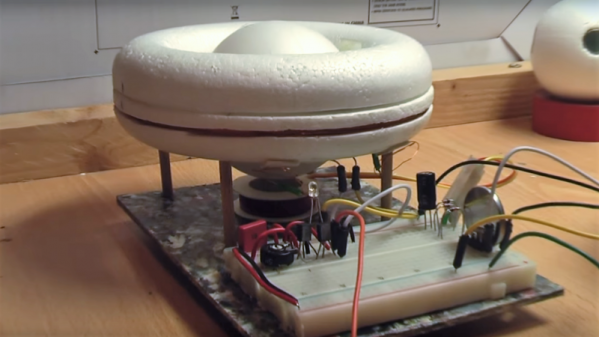
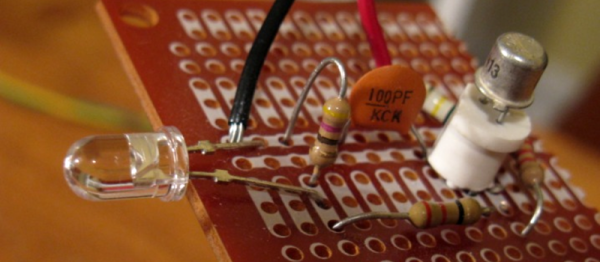
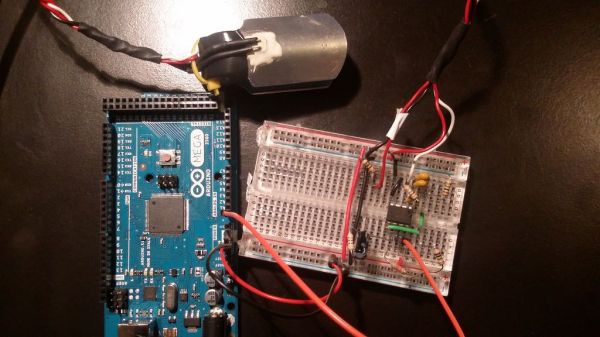
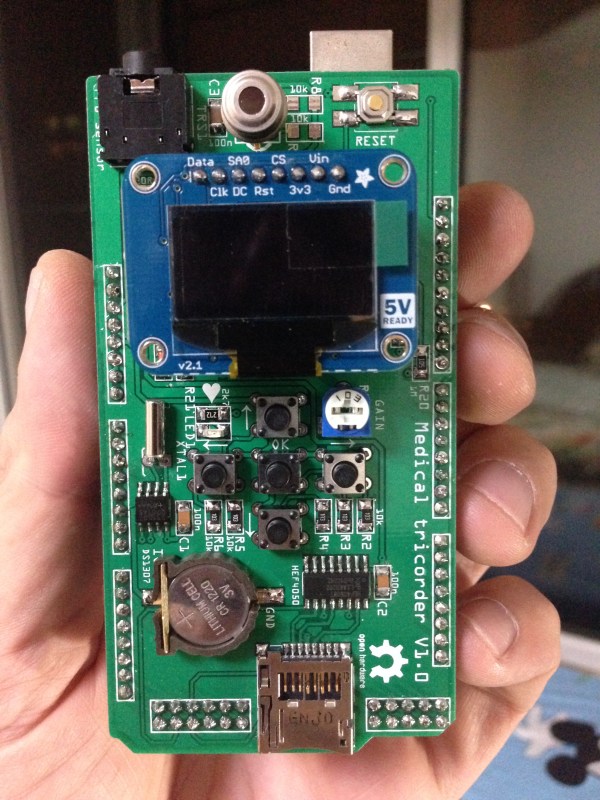
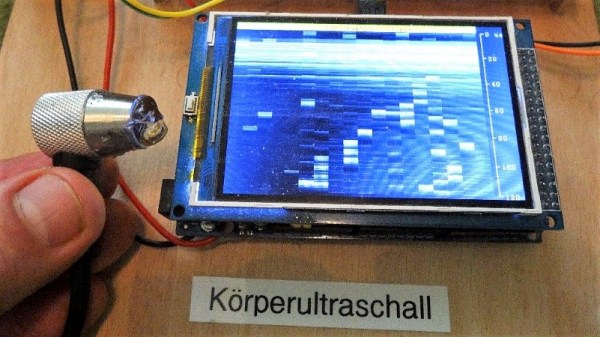
The ultrasound transducer used by [stoppi71] in this build has an unusual source: a commercial paint-thickness meter. Cue the jokes about watching paint dry, but coatings measurement is serious stuff. Even so, the meter in question only ran about $40 on eBay, and provided the perfect transducer for the build. The sender needs a 100V pulse at about 5 MHz, so [stoppi71] had some fun with a boost converter and a 74121 Schmitt-trigger one-shot driving a MOSFET to switch the high voltage. On the receive side, the faint echo is sent through a three-stage amp using AD811 op amps before going through an LM7171 op amp acting as a rectifier and peak detector. Echos are sent to an Arduino Due for display on a 320×480 LCD. The resolution isn’t great, but the video below shows that it’s enough to see reflections from the skin of [stoppi71]’s forearm and from the bones within.
[stoppi71] says that he was inspired to tackle this build by Murgen, an open-source ultrasound project. That project got further refined and entered into the “Best Product” category in the 2018 Hackaday Prize. We like that because focusing on turning projects into products is what this year’s Hackaday Prize is all about.
Continue reading “Simple Ultrasound Machine Shows The Skeleton Lurking Inside Us All”