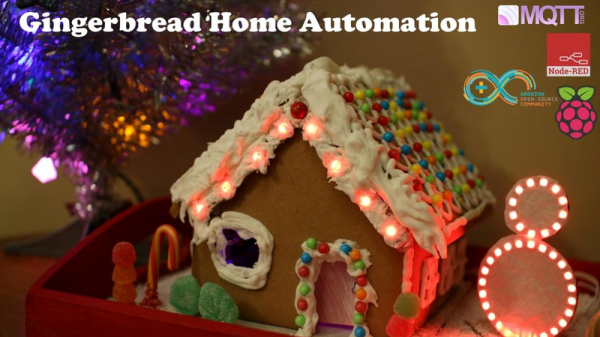
When you want to play around with a new technology, do you jump straight to production machinery? Nope. Nothing beats a simplified model as proof of concept. And the only thing better than a good proof of concept is an amusing proof of concept. In that spirit [Eric Tsai], alias [electronichamsters], built the world’s most complicated electronic gingerbread house this Christmas, because a home-automated gingerbread house is still simpler than a home-automated home.
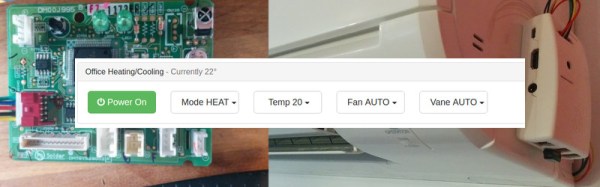
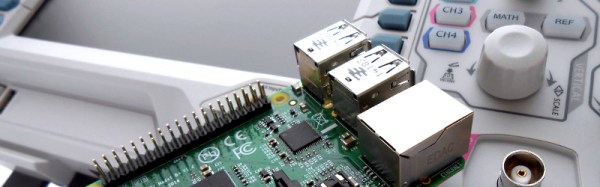
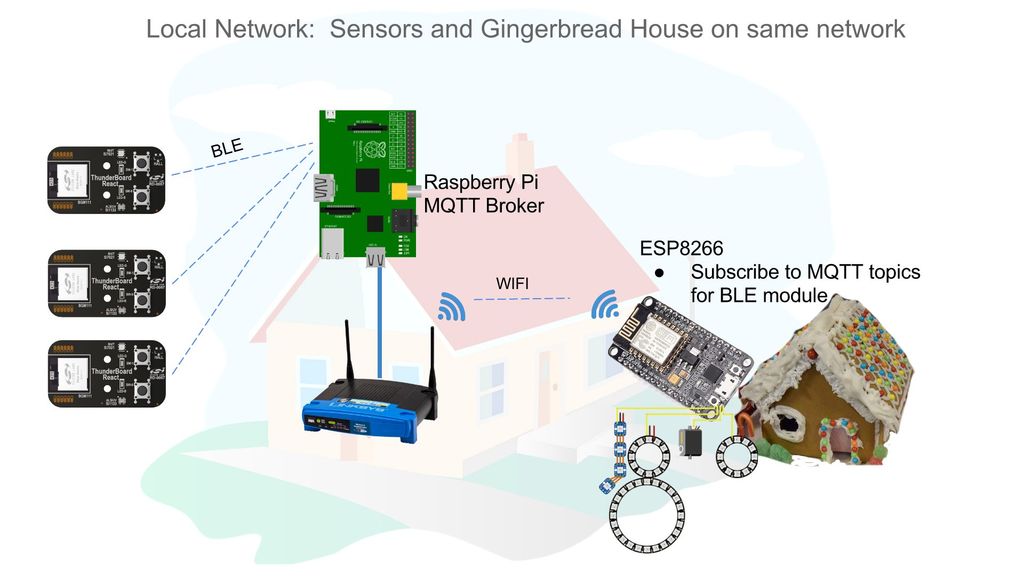 Yeah, there are blinky lights and it’s all controlled by his smartphone. That’s just the basics. The crux of the demo, however, is the Bluetooth-to-MQTT gateway that he built along the way. A Raspberry Pi with a BTLE radio receives local data from BTLE sensors and pushes them off to an MQTT server, where they can in principle be read from anywhere in the world. If you’ve tried to network battery-powered ESP8266 nodes, you know that battery life is the Achilles heel. Swapping over to BTLE for the radio layer makes a lot of sense.
Continue reading “Raspberry Pi Home Automation For The Holidays”
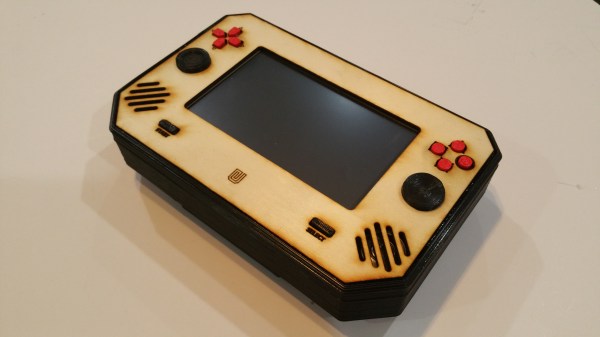
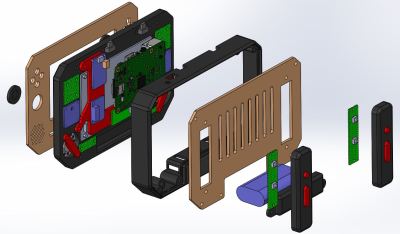 For starters, the laser cut wood case was custom-made. From there, all of the PCBs were fitted including specific ones to handle each set of buttons (complete sets of D-pads, shoulder buttons, and joysticks) and another for the 5″ HDMI screen. It has stereo speakers and its own headphone jack (to the envy of all new iPhone owners), and is powered from a Raspberry Pi 2 running Retropie 4.1. The battery pack shouldn’t leave you stranded, either, especially not if you grew up playing the Sega Game Gear.