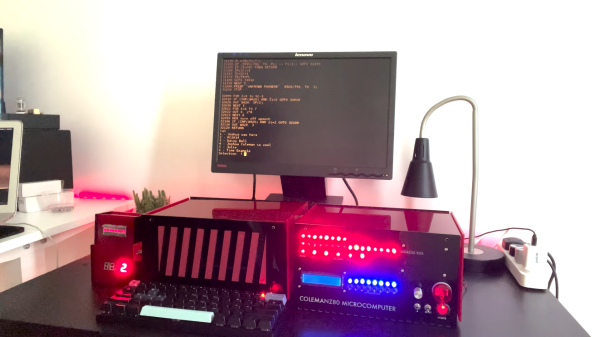
Some might say the venerable Z80 doesn’t need another operating system, but [Scott Baker] obviously disagrees. He has come up with a brand new, from scratch OS called NostOS for the Z80-based RC2014 homebrew retrocomputer. [Scott] describes it as CP/M-like, but it’s not CP/M– in fact, it’s totally incompatible with CP/M–and has a few tricks of its own up its sleeve.
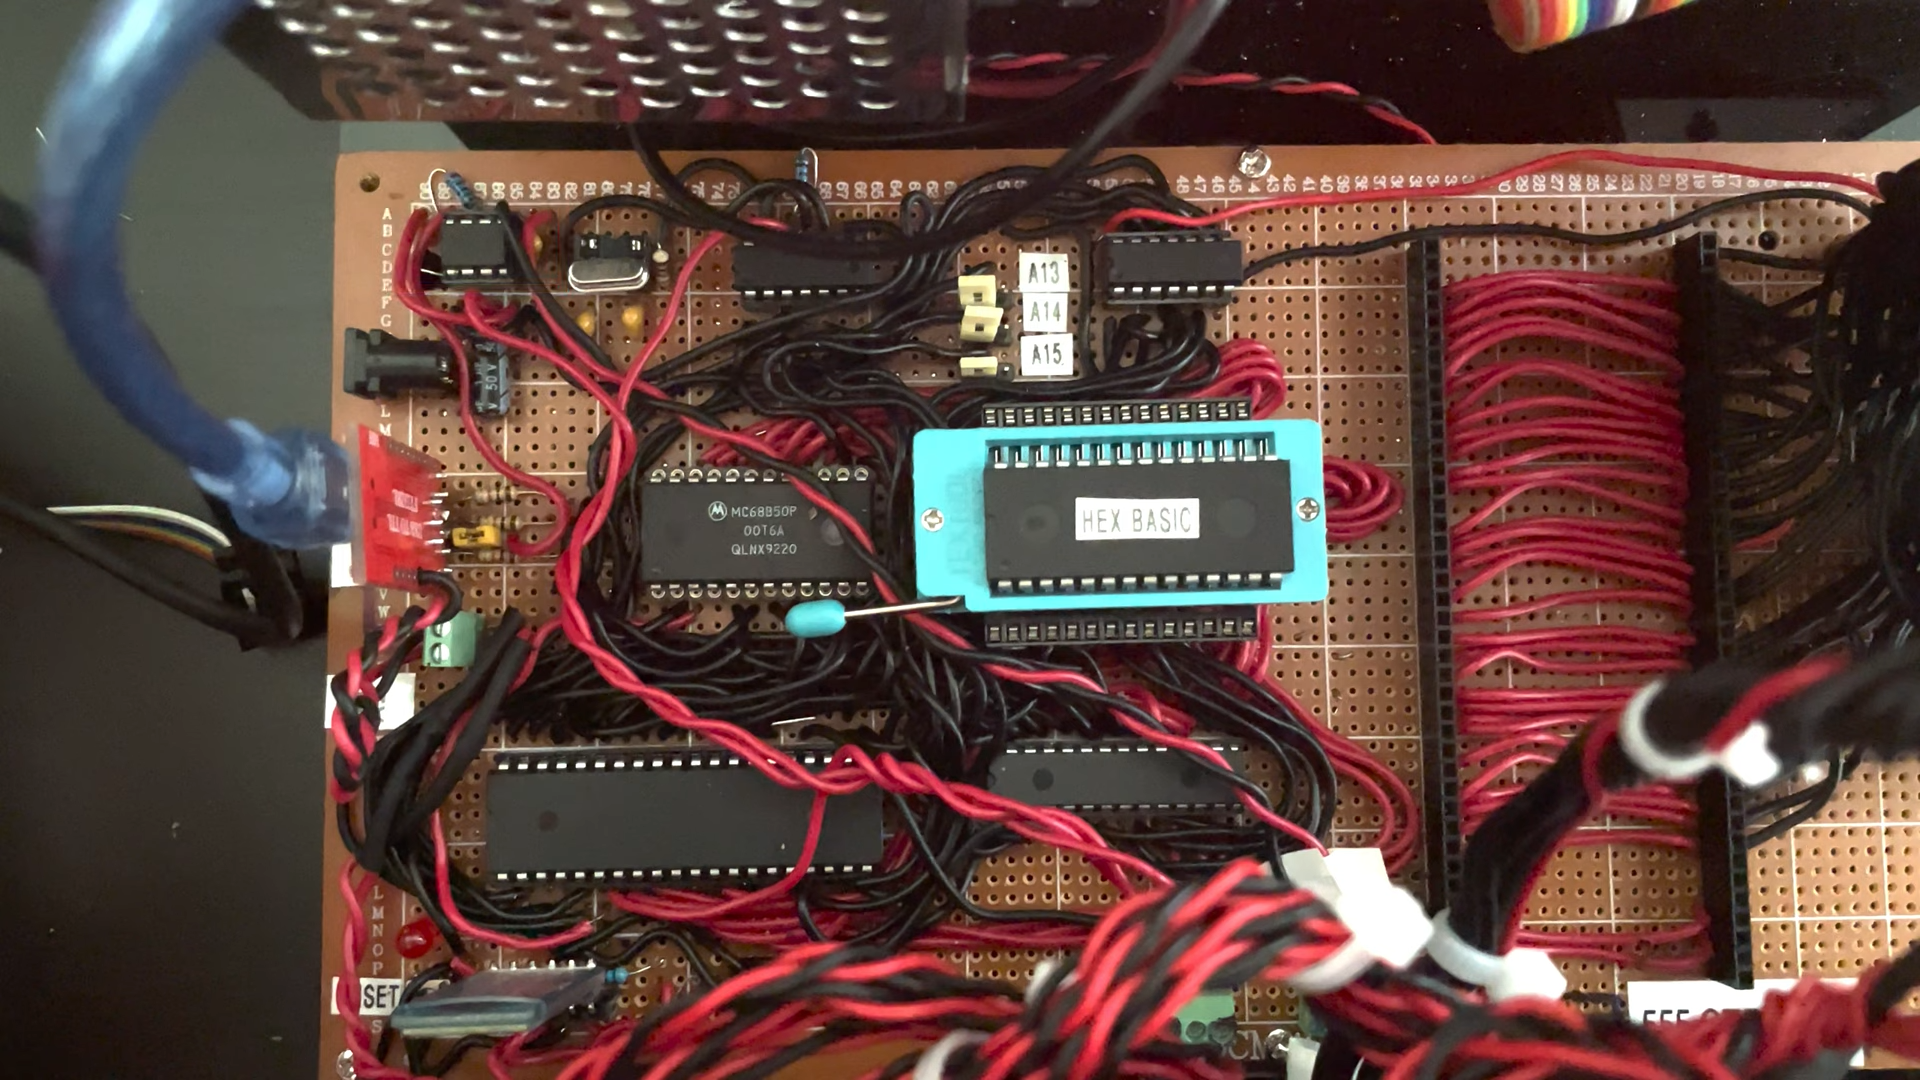
As you might expect of an operating system for this vintage of hardware, it is “rommable” — that is, designed to run from read-only-memory, and fit inside 64kB. It of course supports banking memory to go higher than that 16 bit limit, and natively supports common serial devices, along with the good old WD37C65 floppy controller to get some spinning rust into the game. Of course if you don’t have floppies you can plug in a compact flash card– try that with CP/M– or, interestingly Intel Bubble Memory. [Scott] has a soft-spot for bubble memory, which at one point seemed poised to replace both hard drives and RAM at the same time. We also appreciate that he included drivers for vacuum fluorescent displays, another forgotten but very cool technology. Back in the day, this operating system would have enabled a very cool little computer, especially when you take his implementation of text-to-speech with the SP0256A-AL2 chip. Fancy a game of talking Zork? Yes, he ported Zork, and yes, it talks.
The whole thing is, of course, open-source, and available on [Scott]’s GitHub. Unlike too many open-source projects, the documentation is top-notch, to the point that we could picture getting it in a three-ring binder with a 5 1/4 floppy on the inside cover. If you like video, we’ve embedded [Scott]’s walkthrough but his blog and the docs on GitHub have everything there and more if you’re not into rapidly-flickering-pixels as an information exchange medium.
[Scott] isn’t wedded to Zilog, for the record; this OS should run on an Intel 8080, perhaps like the one in the Prompt 80 he restored last year.
Thanks to [Scott Baker] for the tip!
Continue reading “Who Had “New OS For The Z80” On Their 2026 Bingo Card?”