Building A GPS Receiver From The Ground Up

One of the more interesting facets of GPS is that, at least from the receiver’s point-of-view, it’s a fairly passive system. All of the information beamed down from the satellites is out in the ether, all the time, free for anyone on the planet to receive and use as they see fit. Of course you need to go out and buy a receiver or, alternatively, possess a certain amount of knowledge to build a circuit that can take those signals and convert them into something usable. Luckily, [leaning_tower] has the required knowledge and demonstrates it with this DIY GPS receiver.

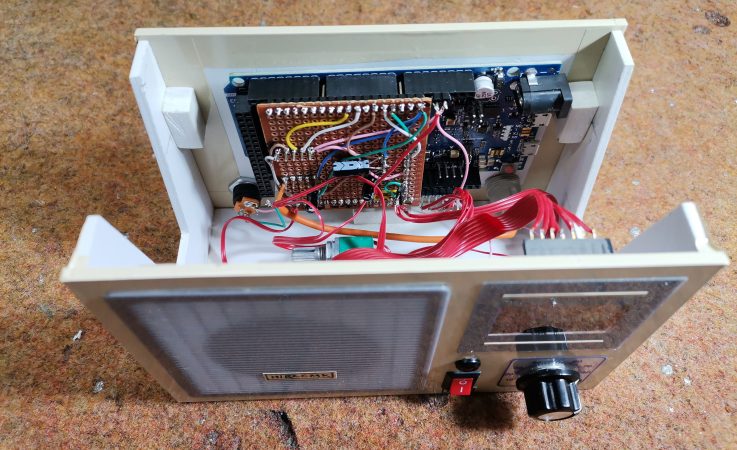
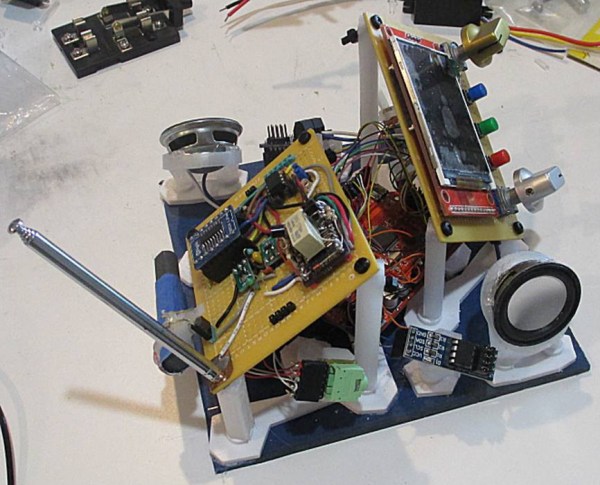
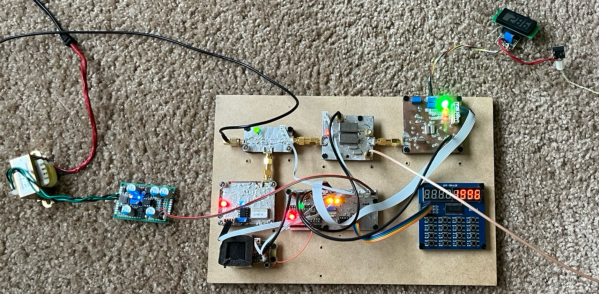
This receiver consists of five separate circuit boards, all performing their own function. The first, a mixer board, receives the signal via an active antenna and converts it to a lower frequency. From there it goes to a second mixer and correlation board to compare the signal to a local reference, then a signal processing board that looks at this intermediate frequency signal to make sense of the data its seeing. Finally, an FPGA interfacing board ties everything together and decodes the information into a usable form.

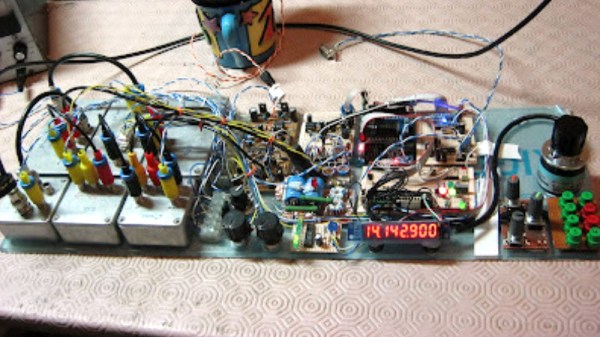
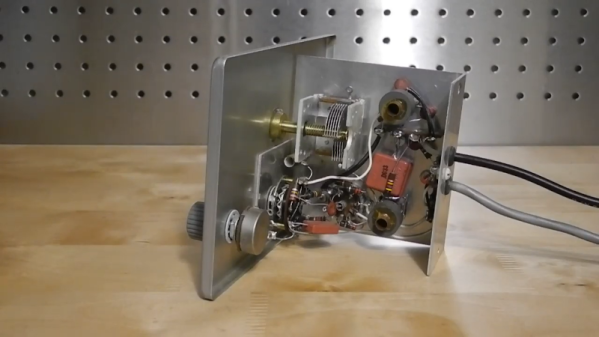
Dealing with weak signals like this has its own set of challenges, as [leaning_tower] found out. The crystal oscillator had to be decapped and modified to keep from interfering with the GPS radio since they operated on similar frequencies. Even after ironing out all the kinks, the circuit takes a little bit of time to lock on to a specific satellite but with a second GPS unit for checking and a few weeks of troubleshooting, the homebrew receiver is up and running. It’s an impressive and incredibly detailed piece of work which is usually the case with sensitive radio equipment like GPS. Here’s another one built on a Raspberry Pi with 12 channels and a pretty high accuracy.

DIy Arduino FM radio enclosure with the lid off, showing the electronics inside

DIY Arduino Due TEA5767 FM Radio

Older hackers will remember that a crystal set radio receiver was often one of the first projects attempted.  Times have changed, but there’s still something magical about gathering invisible signals from the air and listening to the radio on a homemade receiver. [mircemk] has brought the idea right up to date by building an FM radio with an OLED display, controlled with a rotary encoder.

The design is fairly straightforward, based as it is on another project that [mircemk] found on another site, but the build looks very slick and would take pride of place on any hacker’s workbench. An Arduino Due forms the heart of the project, controlling a TEA5767 module, an SH1106 128×64 pixel OLED display and a rotary encoder. The sound signal is passed through an LM4811 headphone amplifier for private listening, and a PAM8403 Class D audio amplifier for the built-in loudspeaker. The enclosure is made from PVC panels, and accented with colored adhesive tape for style.

It’s easier than ever before to quickly put together projects like this by connecting pre-built modules and downloading code from the Internet, but that doesn’t mean it’s not a worthwhile way to improve your skills and make some useful devices like this one. There are so many resources available to us these days and standing on the shoulders of giants has always been a great way to see farther.

We’ve shown some other radio projects using Arduinos and the TEA5767 IC in the past, such as this one on a tidy custom PCB, and this one built into an old radio case.

Continue reading “DIY Arduino Due TEA5767 FM Radio”

Shortwave Radio Picks Up Sideband

With the push to having most of a radio receiver as part of a PC, it might seem odd to have a standalone communication receiver, but [OM0ET] reviews the latest one he picked up, an ATS25. Inside isn’t much: a battery, a speaker, an encoder, and a Si4732 that provides the RF muscle.

It appears the receiver is pretty broadband which could be a problem. [OM0ET] suggests adding selectivity in the antenna or adding an extra board to use as a bandpass filter.

Continue reading “Shortwave Radio Picks Up Sideband”

Traditional Analogue And An FPGA Make This Junkbox HF Receiver A Bit Special

We will have all at some point seen a fascinating project online, only to find not enough information to really appreciate and understand it. Such a project came [Bill Meara]’s way over at the SolderSmoke podcast, and he was fortunately able to glean more from its creator. What [Tom] had made from junkbox parts was a fairly traditional analogue receiver for the 20m amateur band which would be quite an achievement in itself, but what makes it special is its use of an FPGA to augment the analogue tuning.

A traditional analogue radio has a local oscillator which is mixed with the signal from the antenna, and an intermediate frequency of the difference between oscillator and desired signal is filtered from the result and amplified. The oscillator on older receivers would have used a free running tuned circuit, while a newer device might use a phase-locked loop to derive a stable frequency from a crystal.

What [Tom]’s receiver does is take a free-running traditional receiver and use the FPGA as a helper. It has a frequency meter that drives the display, but it also uses the measured figure to adjust the oscillator and keep it on frequency. It has two modes; while tuning it’s a traditional analogue receiver, but when left alone the FPGA stops it drifting. We like it, it’s definitely a special project.

We’ve featured a lot of radio receivers over the years, and this certainly isn’t the only one that’s a bit unconventional.

Listen To The RF Around You

These days, we are spoiled for choice with regard to SDRs for RF analysis, but sometimes we’re more interested in the source of RF than the contents of the transmission. For this role, [Drew] created the RFListener, a wideband directional RF receiver that converts electromagnetic signal to audio.

The RF Listener is built around a AD8318 demodulator breakout board, which receives signals using a directional broadband (900 Mhz – 12 Ghz) PCB antenna, and outputs an analog signal. This signal is fed through a series of amplifiers and filters to create audio that can be fed to the onboard speaker. Everything is housed in a vaguely handgun shaped enclosure, with some switches on the back and a LED amplitude indicator. [Drew] demonstrates the RFListener around his house, pointing it at various devices like his router, baby monitor and microwave. In some cases, like with a toy drone, the modulation is too high frequency to generate audio, so the RF listener can also be switched to “tone mode”, which outputs audio tone proportional to the signal amplitude.

The circuit is completely analog, and the design was first done in Falstad Circuit Simulator, followed by some breadboard prototyping, and a custom PCB for the final version. As is, it’s already an interesting exploration device, but it would be even more so if it was possible to adjust the receiver bandwidth and frequency to turn it into a wideband foxhunting tool.

Radio Build Goes Outside The Box

It’s easy to get caught up in a build and forget that the final version usually needs some sort of enclosure, especially things with sensitive electronics in them. The [Director of Legal Evil] at the LVL1 Louisville Hackerspace notes as much in his recent radio build. It seems as though the case was indeed an afterthought, but rather than throwing it in a nondescript black project enclosure it was decided to turn the idea of a project enclosure itself inside-out.

The radio build is based on an SI4732 radio receiver which is a fairly common radio module and is easily adaptable. It needs a microcontroller to run though, so a Maple STM32 platform was chosen to do all of the heavy lifting. The build includes a screen, some custom analog controls, and a small class D audio amplifier, but this is the point it begins to earn its name: the Chaos Radio. While playing around with the project design in CAD, a normal design seemed too bland so one was chosen which makes the radio look like the parts are exploding outward from what would have been a more traditional-style enclosure.

While the project includes a functioning radio receiver, we have to complement the creator for the interesting display style for this particular set of hardware. It can get boring designing the same project enclosures time after time, so anything to shake things up is often welcomed especially when it puts all of the radio components on display like this. In fact, it’s reminiscent of some of [Dmitry]’s projects, an artist known for deconstructing various common household appliances like this CD Player.

Thanks to [Jose] for the tip!

Q Multiplier — Er… Multiplies Q

If you are below a certain age, you’ve probably never heard of a Q multiplier. This is a device that increases the “Q” of a radio receiver’s intermediate frequency and, thus, provide a higher selectivity. If you enjoy nostalgia, you can see inside a 1960s-era Heathkit QF-1 Q multiplier in [Jeff’s] informative video, below.

The Q multiplier was a regenerative amplifier that operated at just below the oscillation point. This provided very high amplification for the frequency of interest and less amplification for other frequencies. Some radios had a stage like this built-in, but the QF-1 was made to add into an external radio. For some Heathkit receivers, there was a direct plug to tap into the IF stage for this purpose. Othe radios would require some hacking to get it to work.

Continue reading “Q Multiplier — Er… Multiplies Q”