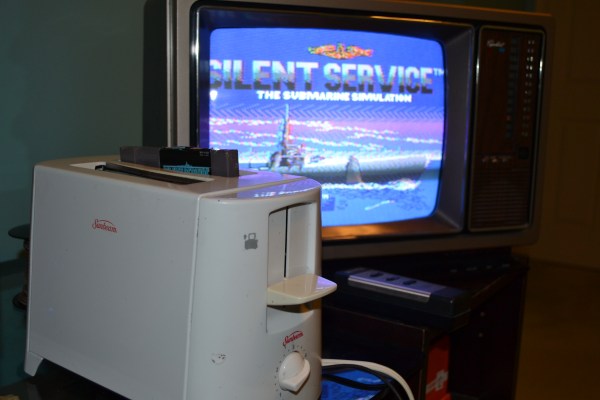
If you haven’t heard, retrogaming is a thing. 40-somethings are playing the games of their youth alongside millennials who are just discovering these classic games. There are even folks developing new homebrew games for consoles as far back as the Nintendo Entertainment System and the Atari 2600. This week on the Hacklet, we’re highlighting some of the best retrogaming console hardware hacks on Hackaday.io. Note that I did say hardware hacks. The focus this week is on games played on the original hardware. Don’t worry though, I’ll give emulated projects some love in a future Hacklet.
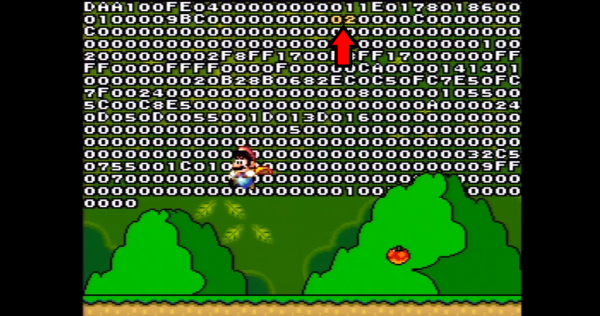
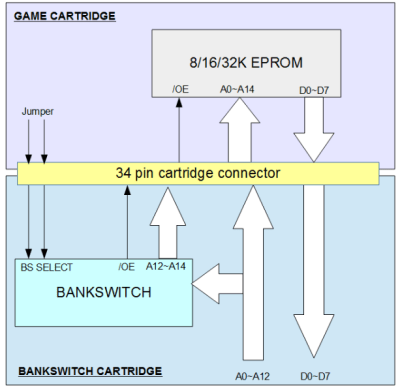 We start with [danjovic] and Atari 2600 Bankswitch Cartridge. The Atari 2600 is a legendary system. Millions of hackers’ first exposure to gaming came through its one button joystick. To make the unit affordable, Atari used a MOS Technology 6507 processor. Essentially it’s a 6502 in a 28-pin package. This meant several features got nerfed, most notably the address space. The 6507 can only address 8KB of RAM. In the Atari, only 4KB is available to the cartridge. Games got around the 4KB limit by bank switching – write a value to a magic address, and the bank switching logic would swap in a whole different section of cartridge ROM. There were several different bank switching schemes used over the years. [Danjovic] has created his own version of this bank switching logic, using only classic 74 series logic chips.
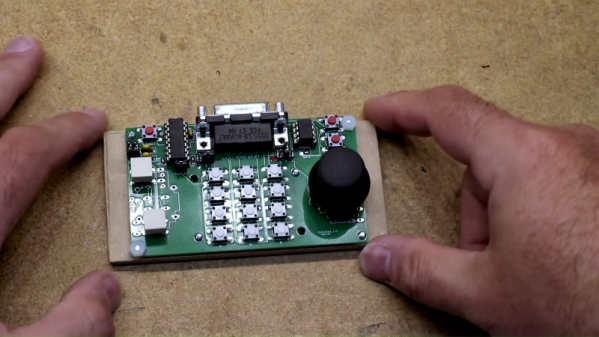
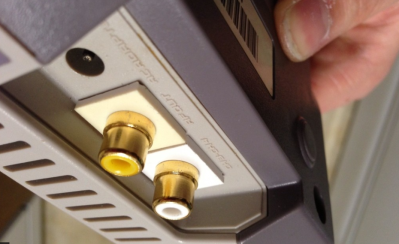 Next up is [ThunderSqueak] with Top Loader NES composite mod. Toward the end of the NES’s life, Nintendo introduced a cost-reduced version known as the “top loader”. This version had a top loading cartridge and no DRM lock-out chip. Unfortunately it also did away with composite AV ports. The only way to hook this NES to your TV was through the RF modulated output. [ThunderSqueak] and a number of other intrepid hackers have fixed this problem. All it takes is a 2N3906 PNP transistor and a few jellybean parts. The video and audio outputs are pulled from the motherboard before they enter the RF modulator. One nice feature is the clean connectors. [ThunderSqueak] used connectors from modular in-wall AV boxes for a setup that looks as good as it works.
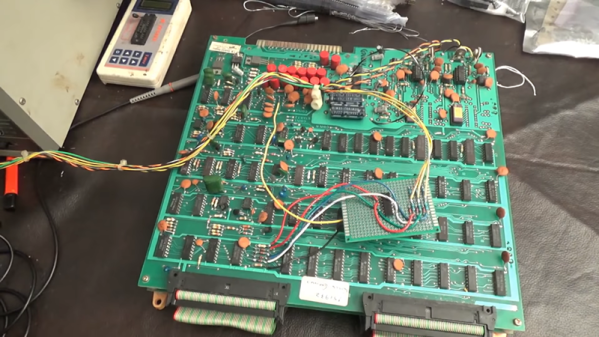
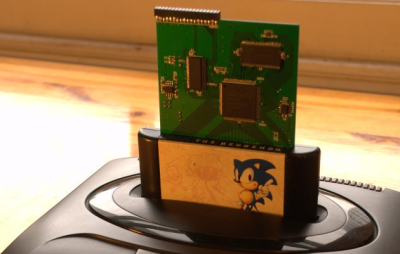 Next we have [makestuff] with USB MegaDrive DevKit. Sega’s MegaDrive, or Genesis as it was known here in the USA, was a groundbreaking console. It used a Motorola 68000 16-bit CPU while most other systems were still running a Z80 or a 6502. People loved this console, and there are plenty who still want to develop software for it. Enter [makestuff] with his development kit. On a card with a $40 USD bill of materials, he’s managed to fit SDRAM, an FPGA, and a USB interface. This is everything you need to load and debug software on an unmodified console. The FPGA had enough logic left over that [makestuff] was able to implement a continuous bus cycle tracer over USB. Nice work!
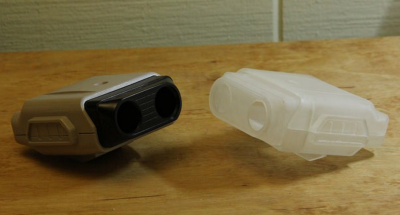 Finally, we have our own [Joshua Vasquez] with R.O.B. 2.0. The original NES came in a deluxe version with a special pack in – a robot. Robotic Operating Buddy, or ROB for short, would play games with the player. Unfortunately ROB was a bit of a flop. It only worked with two games, Gyromite and Stack-Up
 Ice Climber. Most ROB units eventually found their way to the recycling bin. [Joshua] is building a new version of the ROB, with modern controls. He’s already modeled and 3D printed ROB’s head. I can’t wait to see this project come together!
If you want to see more retrogaming goodness, check out our new retrogaming hardware hacks list. See a project I might have missed? Don’t be shy, just drop me a message on Hackaday.io. That’s it for this week’s Hacklet, As always, see you next week. Same hack time, same hack channel, bringing you the best of Hackaday.io!