A Raspberry Pi Pico 2 W connected to a speaker

Voice Control Toolkit Comes To A Pico Near You

Voice-controlled appliances are nothing new. What might be new, however, is [Moonshine AI] running it all locally on a Raspberry Pi Pico 2 W!

The voice interface is roughly divided into three parts: voice activity detection, SpellingCNN speech-to-text and a neural text to speech. The speech to text supports up to 50 tokens, and can be re-trained to support any specific words you want. It runs a simple loop: detect voice activity, listen for (command) tokens, process them in C++, use the TTS to reply, and repeat.

Now, to be fair, it is a bit of a squeeze: 3.6 MiB of the available 4 MiB FLASH and 468 KiB SRAM on a stock Pi Pico 2 board. It leaves you with just about enough space to write a small amount of extra software, but it’ll be a challenge to fit anything substantial. Still, fitting three different types of AI model needed to make this possible in such a space is quite impressive.

It’s A Spectrum, With An RP2350 ULA

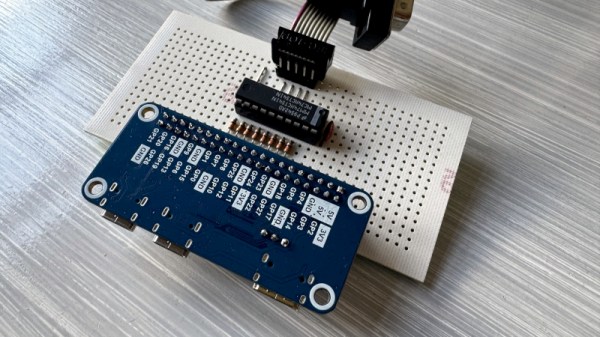
There was a time in the early 1980s when it was common to see home made keyboards for 8-bit machines that came with membrane or rubber keyboards. Though we’ve seen any numbers of home made modern ‘boards, it’s been decades since we saw one for an 8-bit micro. Until today, that is, when we saw [Vlad]’s Sinclair Spectrum. It’s a Spectrum with all that Sinclair glue logic that was in the ULA replaced in software by an RP2050, and that keyboard with the Spectrum decals.

The machine is a charming mixture of new and old, with a traditional cassette port alongside VGA, gameport joystick, and Sinclair joystick. The aim is to also have HDMI, though it’s not yet implemented. Sadly there is no Spectrum edge connector for period peripherals though. He admits it’s not cycle accurate to the original, but given that it runs all the games he’s given it this seems not to matter. Meanwhile that keyboard which caught our eye is a true period piece, sitting as it does on a piece of phenolic stripboard, and those decals are the perfect finishing touch.

The Spectrum receives quite a bit of love today, and if this one takes too many modern liberties for your liking, you can still make one using proper logic.

Digital Signal Processing On The Pi Pico

If you want to dabble in audio digital signal processing, you would probably think of grabbing a dedicated DSP chip. But thanks to [WeebLabs], you could just pick up a Pi Pico and use this full-featured DSP library.

The system supports plug-and-play USB audio interface that enumerates on Windows, Linux, macOS, and iOS. It can handle 16- or 24-bit inputs at up to 96 kHz. You can output up to four channels of 24-bit S/PDIF or I2S, or switch to an RP2350 to get eight channels. This lets you drive a DAC easily. There is also a direct output for a subwoofer that doesn’t require a DAC.

Each channel has a pre-amp, and a matrix mixer allows routing with different gains and phases for each input. An equalizer allows ten bands per channel. There are also modules to do volume leveling, loudness compensation, and headphone cross-feed.

The library uses both cores of the CPU and manages up to ten preset configurations. The Pico does get an overclock and uses a fixed-point representation. The Pico 2 (RP2350) doesn’t need overclocking and uses single-precision floating point.

Overall, this looks like a great base for any sort of soundcard-like project. We’ve seen DSP stunts on the Pico before. This might also make a nice base for other audio projects.

ATABoy Is An Open Source USB Bridge For Old IDE Drives

You can get an IDE to USB bridge from all the usual sources, but you may find those fail on the older drives in your collection– apparently they require drives using logical block addressing, which did not become standard until the mid-1990s. Some while some older drives got in on the LBA game early, you were more likely to see Cylinder-Head-Sector (CHS) addressing. That’s why [JJ Dasher], a.k.a [redruM0381] created ATABoy, an open-source IDE bridge that can handle the oldest drives that fit on the bus.

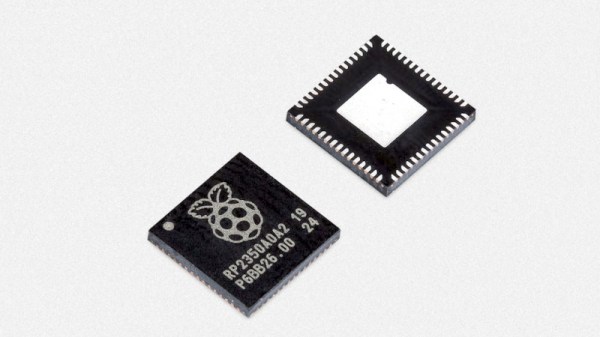
The heart of the build is an RP2350, which serves as both IDE and USB host controller. To computer, after a little bit of setup, the drive attached to ATABoy shows up as a regular USB mass storage device. A little bit of setup is to be expected with drives of this vintage, you may remember. Luckily [JJ] included a handy BIOS-themed configuration utility that can be accessed through any serial console. He says you’ll usually be able to get away with “Auto Detect & Set Geometry,” but if you need to plug in the CHS values yourself, well, it’ll feel just like old times. Seeing is believing, so check it out in the demo video embedded below.

Though the custom PCB has a USB-C connector, and the USB-C standard could provide enough power for ye olde spinning rust drives, [JJ] didn’t include any power delivery with ATABoy. If you’re using it with a desktop, you can use the PSU in the box; MOLEX hasn’t changed. If you’re on a laptop, you’ll need another power supply– perhaps this USB-C powered benchtop unit.

If you’re using a Raspberry Pi or similar SBC, go ahead and skip USB entirely–the GIPO can do PATA IDE. Continue reading “ATABoy Is An Open Source USB Bridge For Old IDE Drives”

A set of three stacked oscilloscopes is shown. The lower two oscilloscopes have screens and input pins visible, and the top oscilloscope is reversed, with a printed back plate visible.

A Higher-End Pico-Based Oscilloscope

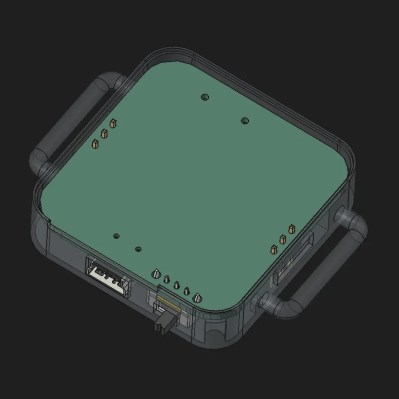
Hackers have been building their own basic oscilloscopes out of inexpensive MCUs and cheap LCD screens for some years now, but microcontrollers have recently become fast enough to actually make such ‘scopes useful. [NJJ], for example, used a pair of Raspberry Pi Picos to build Picotronix, an extensible combined oscilloscope and logic analyzer.

This isn’t an open-source project, but it is quite well-documented, and the general design logic and workings of the device are freely available. The main board holds two Picos, one for data sampling and one to handle control, display, and external communication. The control unit is made out of stacked PCBs surrounded by a 3D-printed housing; the pinout diagrams printed on the back panel are a helpful touch. One interesting technique was to use a trimmed length of clear 3D printer filament as a light pipe for an indicator LED.

Even the protocol used to communicate between the Picos is documented; the datagrams are rather reminiscent of Ethernet frames, and can originate either from one of the Picos or from a host computer. This lets the control board operate as an automatic testing station reporting data over a wireless or USB-connected network. The display module is therefore optional hardware, and a variety of other boards (called picoPods) can be connected to the Picotronix control board. These include a faster ADC, adapters for various analog input spans, a differential analog input probe, a 12-bit logic state analyzer, and a DAC for signal generation.

If this project inspired you to make your own, we’ve also seen other Pico-based oscilloscopes before, including one that used a phone for the display.

The Mini PC. Without a banana for scale, you might be fooled.

Jam Like It’s The 1980s With A Mini-IBM PC

A lot of retrocomputer enthusiasts have a favourite system, to the point of keeping up 40 year old flame wars over which system was “best”.   In spite of the serious, boring nature of the PC/AT and its descendants, those early IBMs have a certain style that Compaq and the Clones never quite matched. Somehow, we live in a world where there are people nostalgic for Big Blue. That’s why [AnneBarela] built a miniature IBM PC using an Adafruit Fruit Jam board.

If you haven’t seen it before, the Fruit Jam board is an RP2350 dev board created specifically to make minicomputers, with its two USB host sockets, DVI-out and 3.5mm jack. [Anne] loaded a PC emulator by [Daft-Freak] called PACE-32 that can emulate an IBM compatible PC with an 80386 and up-to 8 MB of RAM on this particular board. The video is VGA, 640×480 — as god intended– piped to a 5″ LCD [Anne] picked up from AliExpress.

That display is mounted inside a replica monitor designed by [giobbino], and is sitting on top of a replica case. Both are available on Thingiverse, though some modification was required to provide proper mounting for the Fruit Jam board. [giobbino] designed it to house a FabGL ESP32 module– which has us wondering, if an RP2350 can be a 386, what level of PC might the ESP32-P4 be capable of? We’ve seen it pretend to be a Quadra, so a 486 should be possible. It wasn’t that long ago that mini builds of this nature required a Raspberry Pi, after all.

Speculation aside, this diminutive IBM build leaves us but with but one question: if you played Links386 on it, would it count as miniature golf?

Schematic for the TULIP4041

TULIP: The Ultimate Intelligent Peripheral For The HP-41 Handheld Calculator

[Andrew Menadue] wrote in to let us know about the TULIP-DevBoard and TULIP-Module being developed on GitHub.

TULIP is short for “The Ultimate Intelligent Peripheral” and it’s an everything expansion board for the HP-41 line of handheld calculators sold by HP from 1979 to 1990. These particular calculators support Reverse Polish notation which seems to be one of those things, like the Dvorak keyboard, where once you get used to it you can never go back.

Continue reading “TULIP: The Ultimate Intelligent Peripheral For The HP-41 Handheld Calculator”