Audiobook Player Used Only NFC Tags For Control

no-button-nfc-audiobook-reader

[Martynas Mickevičius] has a Grandmother who is visually impaired. She enjoys listening to audiobooks and has been doing so using a DVD player for quite some time. The problem is that there is no way for her to save her position in between listening session. He set out to help by building a dedicated audiobook reader that doesn’t have any buttons.

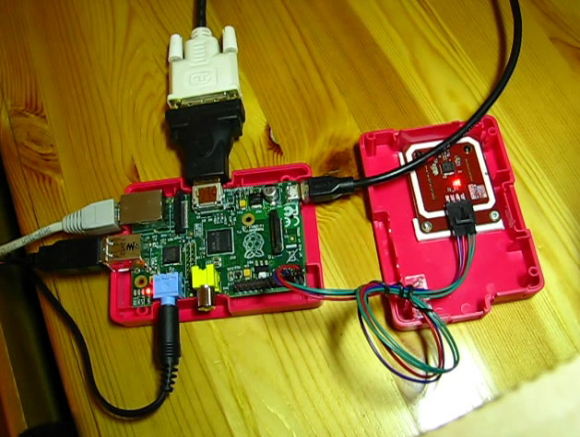
The project was inspired by a one-button reader we featured back in November. Like that project, [Martynas] chose to use the inexpensive, yet powerful Raspberry Pi. The main difference comes in the control method. He’s using an NFC tag reader, which is mounted in the top portion of the RPi case. The image above shows the rig during prototyping, but his final version is all bundled up in the pink enclosure and only needs the power and audio cables connected to it. See for yourself in the demo after the jump.

Each book has its own NFC tag. When she’s done reading she can simply cut the power and it will resume in the same place the next time it is plugged in. The tag setup is a vast improvement since it allows an entire library to be stored on the SD card and chosen using a different tag. With this hardware in place it should be trivial to code extensions to the system, like a script that uses text-to-speech to announce which book is being played before playback starts.

Continue reading “Audiobook Player Used Only NFC Tags For Control”

Building A Touchscreen XBMC Setup With The Raspberry Pi

rapsberry-pi-based-touchscreen-xbmc-tablet

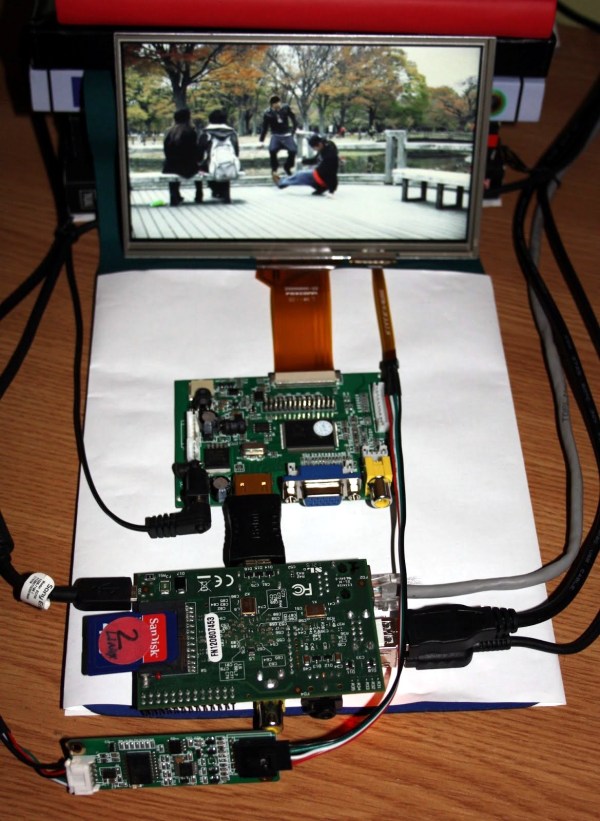
[Andrei Istodorescu] has been hard at work building a 7″ touch-screen rig which runs XBMC. It may be upside-down, but the Raspberry Pi board which is front and center is still easily recognizable. There’s a lot of stuff connected to it in order to pull this off, and even more software configuration. But as you can see in the clip after the break he did get it working!

The screen is an eGalaxy 7″ touch sensitive module he picked up on eBay. It sounds like it was meant for a backup camera in the dashboard of a car. He compiled his own Linux kernel to add support for the screen. It uses HDMI for the video interface with the driver board, and the touchscreen connects to one of the USB ports. The rest of the setup involves compiling XBMC with touchscreen support and calibrating the screen to accurately sense input.

Continue reading “Building A Touchscreen XBMC Setup With The Raspberry Pi”

Hackaday Links: February 28th, 2013

Xbox 360 control for a toy heli

links-xbox-helicopter-remote

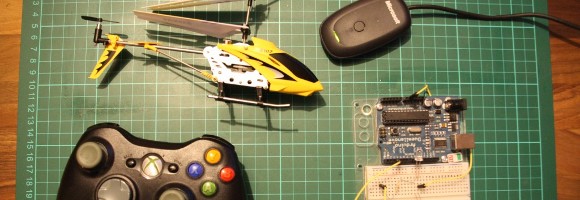
[Jason] leveraged the IR control libraries for Arduino to use an Xbox 360 controller to fly his Syma S107G helicopter.

Windows 7 running on Raspberry Pi

links-win7-rpi

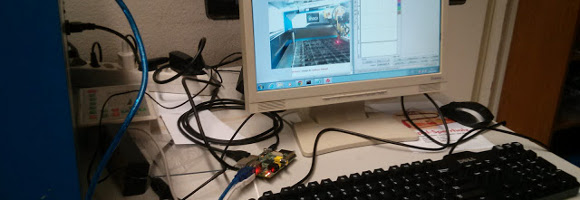
Why, oh god why? Well, the guys at Shackspace got their hands on a laser cutter that can only be driven with a Windows program. Their solution was to run Win7 on RPi as a virtual machine.

Twin-servos for your third hand

links-servo-third-hand

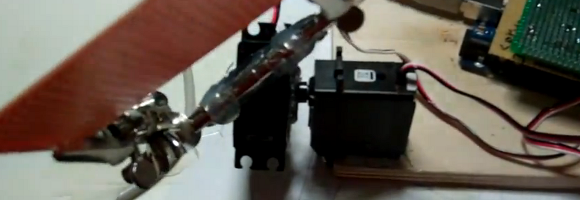
After growing tired of constantly flipping over the substrate being held with a third hand [Nidal] came up with a better way. He mounted his third hand on two servo motors so that it can be positioned with a joystick.

Depopulating SMD resistors

links-removing-smd-resistors

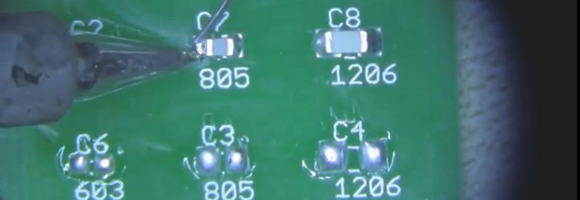
If you’ve ever tried to remove small surface mount resistors or capacitors with an iron you know it can be tricky. Take a look at the technique that [Scott] uses to remove the components.

Photographing the die of MSP430, Z80, PIC, and several other chips

links-decapping-chips

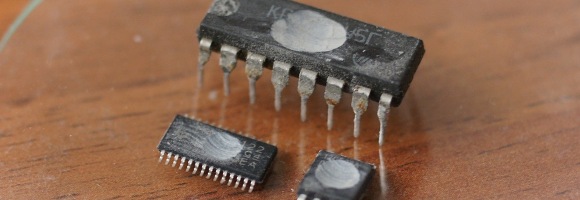
Here’s the latest work from [Michail] on photographing the die of various chips. You may remember reading his previous post on decapping chips with boiling sulfuric acid.

Optical Data Transfer Project At Local School’s Family Science Night

optical-data-at-family-science-night

[Dave] wanted to show off a project at his 4th-grade son’s school during their family science night. We haven’t heard of an event like this before but it sounds like a fabulous idea! He had a new laser he wanted to include in the project, and noticed that his son was learning about how ASCII maps letters to binary number when the idea struck. He ended up building an optical data transfer system that demonstrates binary code.

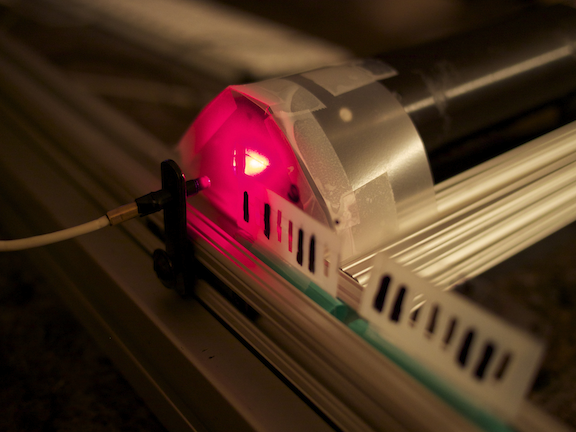
This presents a fantastic learning opportunity as the project invited the school kids to select encoded strips like the ones seen above to form a secret message. The laser is pointed at a photosensor which is being read by a Raspberry Pi board. The Python code looks for a baseline and then records increases and decreases in intensity. Since the translucent tokens have either holes or black lines for 0 and 1 the baseline approach does away with the need to clock in the data. [Dave] reports that everyone who tried out the experiment was fully engaged at the prospect of pushing pieces of tape through the sensor and watching their secret message appear on a monitor.

He was motivated to write about this project after reading about data transfer using an LCD screen and photosensor.

Retro Gaming Just In-case

retro-gaming-just-in-case

You can look and look, but you won’t find a Super Nintendo inside of this retro gaming rig. [Webrow] is giving his vintage hardware a rest, and taking this all-in-one game emulator suitcase wherever he goes.

The machine at the heart of his build is of course a Raspberry Pi. You really can’t beat the ubiquitous board for cost, power, and hardware extensibility. An LCD panel from a broken laptop comes along for the ride having been mounted in the lid. For a long time there was no hope for reusing these panels, but [Webrow] found an adapter board (for nearly the same price as the RPi) which converts the DVI from the Pi to the LVDS needed by the screen. The connections and mounting scheme for the screen were where most of the project work was done. Connecting the controllers simply involved soldering some SNES controller sockets to an RPi breakout connector. We do have to compliment him on the red bezel which hides all of the power cords and other unsightly bits. The case look sturdy and ready to play!

Pair Of Musical Hacks Use Sensor Arrays As Keyboards

sensor-driven-musical-keyboards

This pair of musical keyboard hacks both use light to detect inputs. The pair of tips came in on the same day, which sparks talk of consipiracy theory here at Hackaday. Something in the weather must influence what types of projects people take on because we frequently see trends like this one. Video of both projects is embedded after the jump.

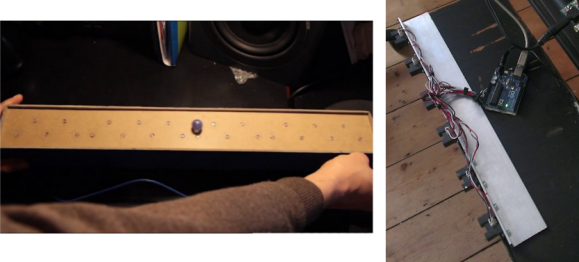
On the left is a light-sensitive keyboard which [Kaziem] is showing off. In this image he’s rolling a marble around on the surface. As it passes over the Cadmium Sulfide sensors (which are arranged in the pattern of white and black keys from a piano keyboard) the instrument plays pitches based on the changing light levels. [Thanks Michael via Make]

To the right is [Lex’s] proximity sensor keyboard. It uses a half-dozen Infrared proximity sensor which pick up reflected light. He calls it a ‘quantised theremin’ and after seeing it in action we understand why. The overclocked Raspberry Pi playing the tones reacts differently based on distance from the keyboard itself, and hand alignment with the different sensors.

Continue reading “Pair Of Musical Hacks Use Sensor Arrays As Keyboards”

Raspberry Pi As A Plug-in Hash Harvester

plug-in-hash-harvesting

Plug in the power and Ethernet and this Raspberry Pi board will automatically collect Windows hashes from computers on the network. With a couple of RPi boards on hand [Travis] was searching for more hacks to try with them. This made a great little test to see how the board performs with the well established attack.

To start he booted into the standard Raspbian distribution. From there he loads the Metasploit framework which brings most of the necessary tools into play. It uses the Web Proxy Auto-Discovery Protocol (WPAD)  to request hashes from any Windows machines listening on the network. Some version of the OS respond with LM hashes, others don’t. The importance of this and the particulars of using rainbow tables to crack the hashes is explained in this article on the subject.

We wouldn’t mind having a little hardware hack that adds a couple of LEDs to the GPIO header so you know when the RPi is done collecting the data.