See The Hands-on Details Behind Stunning Helmet Build

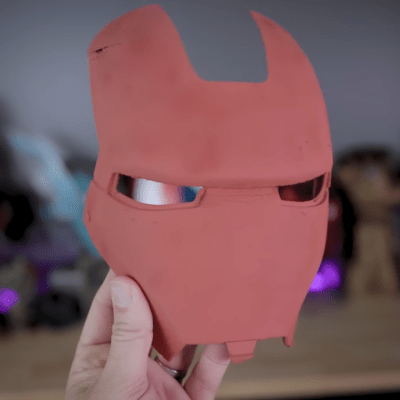
[Zibartas] recently created wearable helmets from the game Starfield that look fantastic, and we’re happy to see that he created a video showcasing the whole process of design, manufacture, and assembly. The video really highlights just how much good old-fashioned manual work like sanding goes into getting good results, even in an era where fancy modern equipment like 3D printing is available to just about anyone.

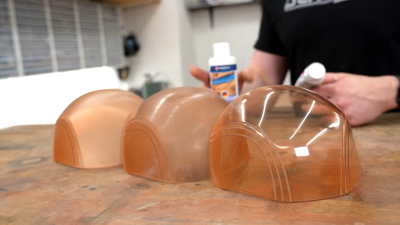
The secret to perfectly-tinted and glassy-smooth clear visors? Lots and lots of sanding and polishing.

The visor, for example, is one such example. The usual approach to making a custom helmet visor (like for Daft Punk helmet builds) is some kind of thermoforming. However, the Starfield helmet visors were poor candidates due to their shape and color. [Zibartas]’s solution was to 3D print the whole visor in custom-tinted resin, followed by lots and lots of sanding and polishing to obtain a clear and glassy-smooth end product.

A lot of patient sanding ended up being necessary for other reasons as well. Each helmet has a staggering number of individual parts, most of which are 3D printed with resin, and these parts didn’t always fit together perfectly well.

[Zibartas] also ended up spending a lot of time troubleshooting an issue that many of us might have had an easier time recognizing and addressing. The helmet cleverly integrates a faux-neon style RGB LED strip for internal lighting, but the LED strip would glitch out when the ventilation fan was turned on. The solution after a lot of troubleshooting ended up being simple decoupling capacitors, helping to isolate the microcontrollers built into the LED strip from the inductive load of the motors.

What [Zibartas] may have lacked in the finer points of electronics, he certainly makes up for in practical experience when it comes to wearable pieces like these. The helmets look solid but are in fact full of open spaces and hollow, porous surfaces. This makes them more challenging to design and assemble, but it pays off in spades when worn. The helmets not only look great, but allow a huge amount of airflow. This along with the fans makes them comfortable to wear as well as prevents the face shield from misting up from the wearer’s breathing. It’s a real work of art, so check out the build video, embedded just below.

Continue reading “See The Hands-on Details Behind Stunning Helmet Build”

It’s A Sander! No, It’s A Toothbrush! Relax, Relax, It’s Both

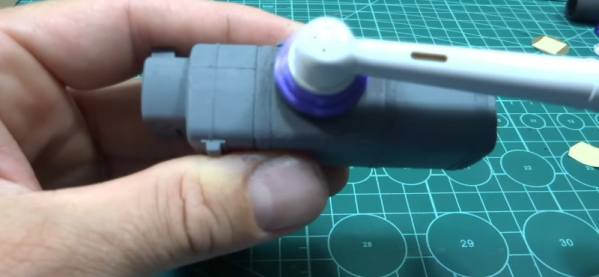
We always enjoy a project that transforms some common object into something useful for us. [Modelkitsdeluxe] fits the bill by modifying a power toothbrush into a miniature sander. If you want to practice your Spanish, you can watch the video below. Or you can try the automatically translated captions.

As you can guess from the user name, he is mainly interested in working with small models, but it struck us that this might also be useful for general 3D printing. Honestly, once you have the idea, there isn’t much to it. You mutilate a brush head that fits the toothbrush to accept a small sanding disk.

There are probably a dozen ways to attach your sandpaper or emery cloth to the head. [Modelkitdeluxe] used double-sided tape and Velcro. While we applaud the upcycling, we’ll probably stick with a hobby tool. Our toothbrush makes an annoying buzz every 30 seconds or so to remind you to move to another part of your mouth. That doesn’t seem like a great feature when doing precision sanding. On the other hand, you could probably yank the controller out of the toothbrush and use it for the motor, drive, and batteries to avoid that.

If you want to tackle that, here’s something to get you started. If sanding doesn’t turn your crank, maybe you can try turning your deadbolt.

Continue reading “It’s A Sander! No, It’s A Toothbrush! Relax, Relax, It’s Both”

Layer Line Removal Putty Reviewed

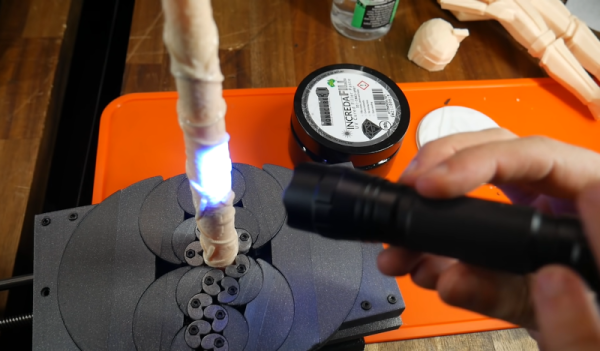
[Teaching Tech] is not alone in hating layer lines in 3D prints and also hates sanding. He recently tried Incredafill putty, a UV-curable putty that you can use to cover up lines in prints. Once covered and cured, you sand the putty smooth. You can see what he thought of the product in the video below.

As many people suggested in the video comments, you can pull the same trick with UV resin thickened with some other substance. We’ve even covered using diluted resin to get a similar effect. The putty has more of the appearance of hair cream or some kind of ointment, so it was easy to spread around with a gloved finger. A brush also worked. UV curing was done by a small flashlight or the handy sun. However, you’ll see later that he used a UV curing station and that works well if you have one.

Of course, even after applying the putty, you still have to sand. We are assuming the sanding is easier than trying to sand the actual layer lines smooth. On the other hand, the resin dust is probably pretty toxic, so there is a trade-off involved.

The results did look good. Of course, since there was still sanding involved, how good it looks will depend on your sanding tools, your technique, and — perhaps most importantly — your patience. Sanding can do a lot for 3D prints. We might not trust it completely with resin dust, but you could get rid of at least some of the dust with a downdraft table.

Continue reading “Layer Line Removal Putty Reviewed”

Smoothing Out Foam Parts With Lots Of Gesso

Whether you’re building a product mock-up or a lightweight enclosure, carving your parts out of hard foam is a fast way to get the job done. Unfortunately, the end result can have a bit of a rough finish; a problem if you’re looking to attract investors or get some nice shots so you can send your handiwork into Hackaday.

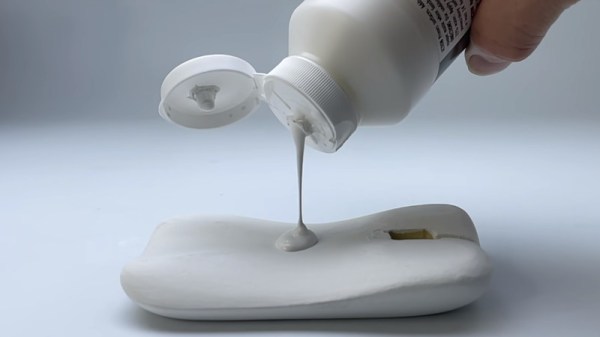
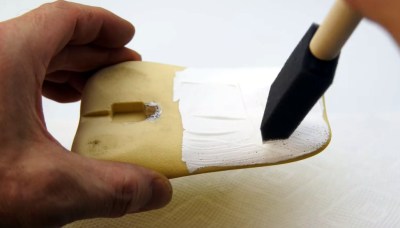
If you ever find yourself in a situation where you need to make a carved piece of foam look like it isn’t a carved piece of foam, this tip from prolific maker [Eric Strebel] could really come in handy. Rather than using some spray-on primer or epoxy coating, things that can be difficult to work with when you’re confined to a small home workspace, he recommends sealing it up with several coats of gesso.

The gesso fills in the tiny voids in the foam’s surface.

For the less artistically inclined in the audience, gesso is essentially a paint that’s been combined with chalk or gypsum to make it thicker. Gesso is generally used to prepare an absorbent surface (such as wood or canvas) before applying paint. In this case, [Eric] is using it to build up the surface of the foam and seal up all the open pores.

The downside is that the gesso requires several coats to really build up. [Eric] puts six coats on in this demonstration before he starts to thin it out a bit with water. At that point, each successive coat is sanded with increasingly higher grits. After nine coats, he does his finish sanding with 600 grit paper, and the results look fantastic.

To add some color [Eric] dyed the piece and then used a toothbrush to flick on some black and white paint, creating a very convincing granite-like finish. Unfortunately, his attempt to brush on a water-based sealer caused this finish to run, and he had to take it all off. In the end, he had to resort to using spray paint to finish the piece, but at least it was a simple rattle can.

This isn’t the first time [Eric] has experimented with alternative priming techniques. He’s a big fan of two-component primer in a can, which lets you lay down a professional finish without the expense and complication of using a spray gun.

Continue reading “Smoothing Out Foam Parts With Lots Of Gesso”

How To Get Good With Wood

It’s perhaps unsurprising that we don’t see much in the way of woodworking here at Hackaday; after all, this is a plastics and metal community if there ever was one. But that doesn’t mean you’ll never come across a situation where a dead tree needs to be cut or shaped to your will, so we appreciate [Eric Strebel] demonstrating some tips and best practices for working with this exceptionally versatile building material.

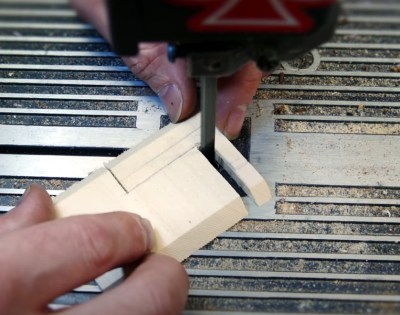
The first video assumes you’re a lumber neophyte, and goes over topics such as the different species of wood you’re likely to find at the hobby shop, proper sanding technique, and the differences between cutting with and against the grain. Some of the different cutting tools you can use are also covered, ranging from the humble hobby knife to the band saw. As always, [Eric] sprinkles the video with tips and tricks gained from his considerable professional experience, such as using some glue and a bit of sawdust to fill in any gaps left behind by an uneven joint.

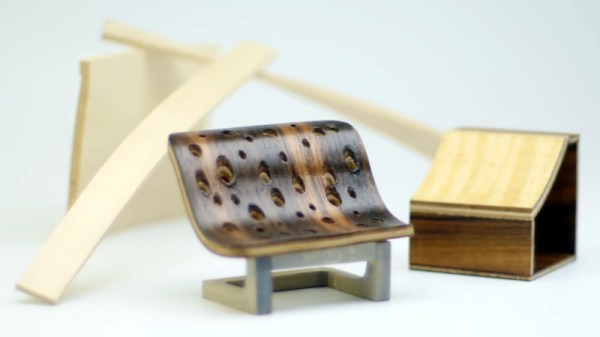
In the second video, things start getting more advanced. [Eric] demonstrates how you can create custom laminates, and how wood can be permanently bent into arbitrary shapes with sufficient steam and clamping pressure. By combining these new techniques with the basic concepts covered in the first video, surprisingly complex shapes can be formed with minimal effort.

[Eric] previously put together a similar series of videos on working with acrylic, a material that’s arguably far more familiar to the Hackaday readership. But whatever material you use, the takeaway message from this series is clear: get the right tools, learn the techniques, and professional results are well within your reach.

Continue reading “How To Get Good With Wood”

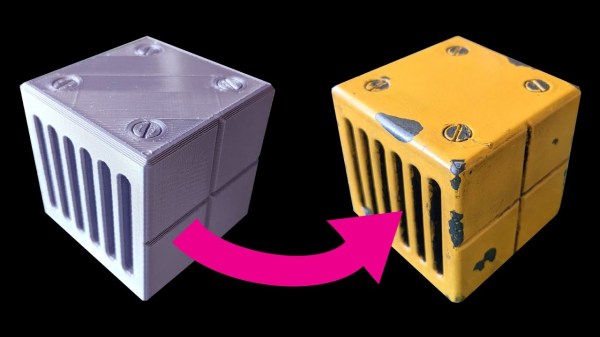
Give 3D Printed Plastic A Well-Worn Metal Look

Affordable 3D printers let us turn ideas into physical reality without a big expensive workshop, but with their power came some disadvantages. The nature of FDM printers impart layer lines and nozzle ridges in the parts they produce. They can be minimized with optimized print settings, but never eliminated. [Emily Velasco] loves the power of 3D printing but not how the parts look. So she put in the effort to make 3D-printed plastic look like distressed metal and showed us how she did it. (Video also embedded after the break.)

This video is a follow-up to her Pet Eye project in response to feedback on Twitter. She had mentioned that the  salvaged metal box for Pet Eye wasn’t quite big enough to hold everything, so she had to extend its internal volume with a 3D print box on the back. It fit in so well that the offhand comment surprised many people who wanted to know more about how it was done. So she designed a demonstration cube covered with mechanical characteristics, and gave us this walkthrough of its transformation.

Continue reading “Give 3D Printed Plastic A Well-Worn Metal Look”

Downdraft Device Dismisses Dust

Woodworking is messy business, especially the sanding part. But even if you don’t care what happens to your shop floor, you don’t want dead tree particulate matter in your lungs. Wearing a mask or even a respirator is a good start, but a dust collection system is better. Someday, [XYZ Create] might have a shop-wide sawdust-slurper installed. In the meantime, he made a downdraft table out of scrap plywood and a plastic storage box.

The only thing he didn’t already have on hand was a port that matched his shop vacuum. We like his workaround to avoid drilling a huge hole in plastic that would certainly crack — use a hose clamp to get the OD of the port, heat up the clamp on a hot plate, and let it melt a hole into the box. Hopefully, he at least opened a window. [XYZ Create] glued four pieces of scrap plywood together for the top, and drilled all 117 holes by hand. Who needs pegboard?

Not fancy or big enough for your needs? Here’s one with a built-in filtration system.

Continue reading “Downdraft Device Dismisses Dust”