True Transparent Parts From A Desktop 3D Printer

We’re no strangers to seeing translucent 3D printed parts: if you print in a clear filament with thin enough walls you can sorta see through the resulting parts. It’s not perfect, but if you’re trying to make a lamp shade or decorative object, it’s good enough. You certainly couldn’t print anything practical like viewing windows or lenses, leaving “clear” 3D printing as more of a novelty than a practical process.
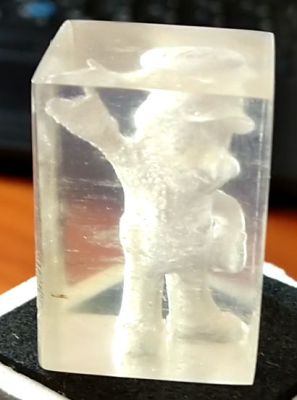
But after months of refining his process, [Tomer Glick] has finally put together his guide for creating transparent prints on a standard desktop FDM machine. It doesn’t even require any special filament, he says it will work on PLA, ABS, or PETG, though for the purposes of this demonstration he’s using the new Prusament ABS. The process requires some specific print settings and some post processing, but the results he’s achieved are well worth jumping though a few hoops.

According to [Tomer] the secret is in the print settings. Essentially, you want the printer to push the layers together far closer than normal, in combination with using a high hotend temperature and 100% infill. The end result (hopefully) is the plastic being laid down by the printer is completely fused with the preceding one, making a print that is more of a literal solid object than we’re used to seeing with FDM printing. In fact, you could argue these settings generate internal structures that are nearly the polar opposite of what you’d see on a normal print.

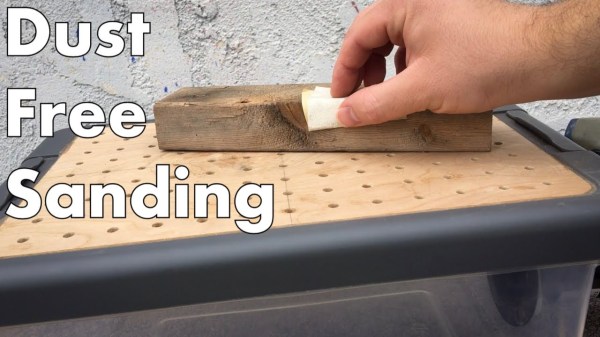
The downside with these unusual print settings is that the outside of the print is exceptionally rough and ugly (as you might expect when forcing as much plastic together as possible). To expose the clear internals, you’ll need to knock the outsides down with some fairly intense sanding. [Tomer] says he starts with 600 and works his way up to 4000, and even mentions that when you get up to the real high grits you might as well use a piece of cardboard to sand the print because that’s about how rough the sandpaper would be anyway.

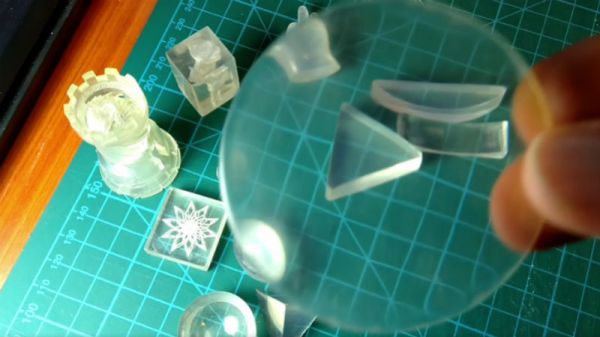
[Tomer] goes on to demonstrate a printed laser lens, and even shows how you can recreate the effect of laser-engraved acrylic by intentionally putting voids inside the print in whatever shape you like. It’s a really awesome effect and honestly something we would never have believed came off a standard desktop 3D printer.

In the past we’ve seen specialized filament deliver some fairly translucent parts, but those results still weren’t as good as what [Tomer] is getting with standard filament. We’re very interested in seeing more of this process, and are excited to see what kind of applications hackers can come up with.

Continue reading “True Transparent Parts From A Desktop 3D Printer”

How To Put The ‘Pro’ In Prototype

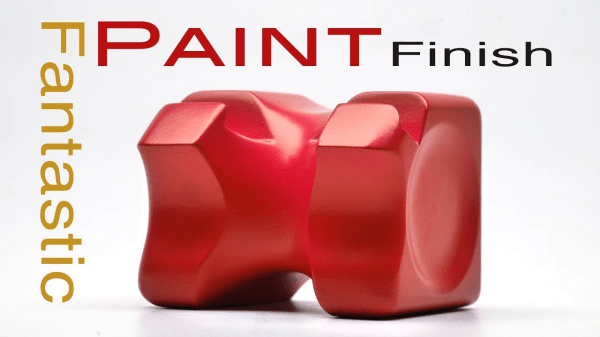
It’s easy to get professional-quality finishes on your prints and prototypes if you take the right steps. In the final installment of his series about building with Bondo, product designer [Eric Strebel] shows us how it’s done no matter what the substrate.

How does he get such a smooth surface? A few key steps make all the difference. First, he always uses a sanding block of some kind, even if he’s just wrapping sandpaper around a tongue depressor. For instance, his phone holder has a round indent on each side. We love that [Eric] made a custom sanding block by making a negative of the indent with—you guessed it—more Bondo and a piece of PVC. The other key is spraying light coats of both primer and paint in focused, sweeping motions to allow the layers to build up.

If you need to get the kind of surface that rivals a baby’s behind, don’t expect to prime once, paint once, and be done with it. You must seek and destroy all imperfections. [Eric] likes to smooth them over with spot putty and then wet sand the piece back to smooth before applying more primer. Then it’s just rinse and repeat with higher grits until satisfied.

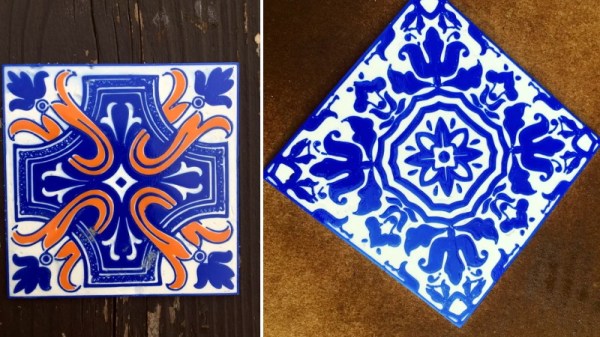
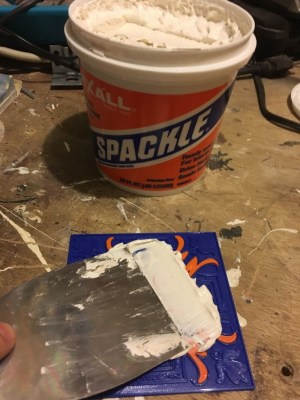
There’s more than one way to smooth a print, of course. Just a few weeks ago, our own [Donald Papp] went in-depth on the use of UV resin.

Continue reading “How To Put The ‘Pro’ In Prototype”

3D Printing Brings A Child’s Imagination To Life

Telling somebody that you’re going to make their dreams come true is a bold, and potentially kind of creepy, claim. But it’s one of those things that isn’t supposed to be taken literally; it doesn’t mean that you’re actually going to peer into their memories, extract an idea, and then manifest it into reality. That’s just crazy talk, it’s a figure of speech.

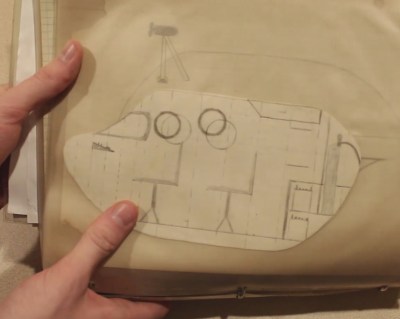
Original sketch of the CURV II

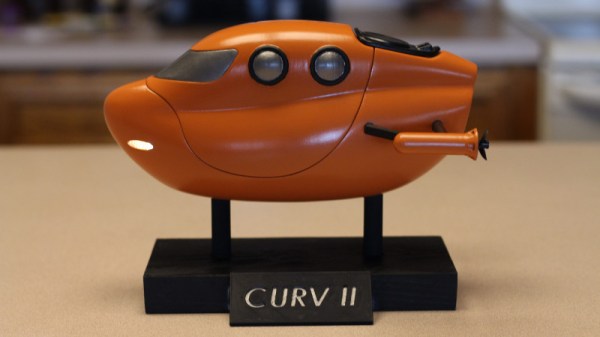
As it turns out, there’s at least one person out there who didn’t get the memo. Remembering how his father always told him about the elaborate drawings of submarines and rockets he did as a young boy, [Ronald] decided to 3D print a model of one of them as a gift. Securing his father’s old sketchpad, he paged through until he found a particularly well-developed idea of a personal sub called the CURV II.

The final result looks so incredible that we hear rumors manly tears may have been shed at the unveiling. As a general rule you should avoid making your parents cry, but if you’re going to do it, you might as well do it in style.

Considering that his father was coming up with detailed schematics for submarines in his pre-teen days, it’s probably no surprise [Ronald] has turned out to be a rather accomplished maker himself. He took the original designs and started working on a slightly more refined version of the CURV II in SolidWorks. Not only did he create a faithful re-imagining of his father’s design, he even went as far as adding an interior as well as functional details such as the rear hatch. Continue reading “3D Printing Brings A Child’s Imagination To Life”

Visual 3D Print Finishing Guide

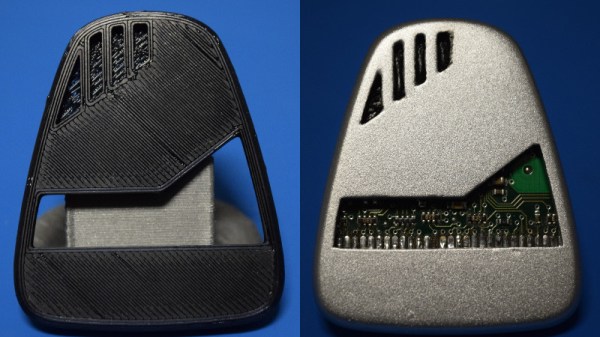
With 3D printers now dropping to record low prices, more and more people are getting on the additive manufacturing bandwagon. As a long time believer in consumer-level desktop 3D printing, this is a very exciting time for me; the creativity coming out of places like Thingiverse or the 3D printing communities on Reddit is absolutely incredible. But the realist in me knows that despite what slick promotional material from the manufacturers may lead you to believe, these aren’t Star Trek-level replicators. What comes out of these machines is often riddled with imperfections (from small to soul crushing), and can require considerable cleanup work before they start to look like finished pieces.

If all you hope to get out of your 3D printer are some decent toy boats and some low-poly Pokemon, then have no fear. Even the most finicky of cheap printers can pump those out all day. But if you’re looking to build display pieces, cosplay props, or even prototypes that are worth showing to investors, you’ve got some work cut out for you.

With time, patience, and a few commercial products, you can accomplish the ultimate goal: turning a 3D printed object into something that doesn’t look like it was 3D printed. For the purposes of this demonstration I’ll be creating a replica of the mobile emitter used by the “Emergency Medical Hologram” in Star Trek: Voyager. I can neither confirm nor deny I selected this example due to the fact that I’m currently re-watching Voyager on Netflix. Let’s make it look good.

Continue reading “Visual 3D Print Finishing Guide”

[Peter] And The Amazing Technicolor Phone Wire Bracelet

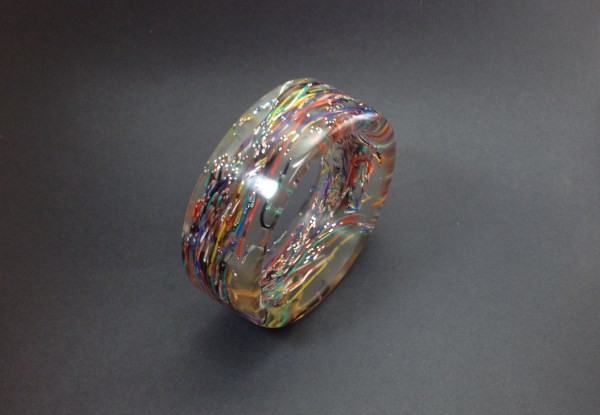
When a job left him with some extra phone wire, [Peter] didn’t toss it in the scrap pile. He broke out the casting resin and made an awesome bracelet (Imgur link). [Peter] is becoming quite an accomplished jeweler! When we last checked in on him, he was making rings out of colored pencils.

Casting the wire in resin was as simple as building a square form, placing the wires, then filling the form with appropriate amounts of epoxy and hardener. Once the epoxy cured, [Peter] drilled out the center with a sharp Forstner bit. A band saw brought the corners of the block closer to a cylinder.

From there it was over to the lathe, where [Peter] used a jam chuck to hold the bracelet in place. Once he shaped the bracelet [Peter] started wet sanding. It took Lots and lots of sanding both inside and out to finish the bracelet. The result is a mirror smooth finish, with bits of insulation bright copper just popping out of the resin.

One might think that the bracelet would be rough with all that copper, but [Peter] mentions on his Reddit Thread that it feels like plastic, though the bits of copper were “very pokey” before sanding. We’d recommend tossing on a clear coating to protect the exposed copper. Worn on a wrist, all that exposed metal would start oxidizing in no time.

This hack gives us lots of ideas for casting wearable circuits. Some WS2812’s and a teensy would make for a pretty flashy setup! Got an idea for a project? Tell us about in the comments, or post it up on Hackaday.io!

Continue reading “[Peter] And The Amazing Technicolor Phone Wire Bracelet”