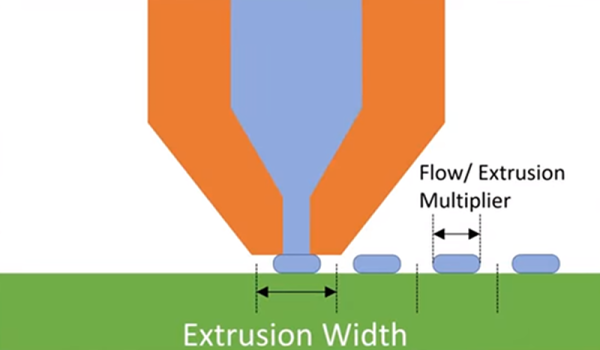
Most desktop fused deposition modeling (FDM) 3D printers these days use a 0.4 mm nozzle. While many people have tried smaller nozzles to get finer detail and much larger nozzles to get faster printing speed, most people stick with the stock value as a good trade-off between the two. That’s the conventional wisdom, anyway. However, [Thomas Sanladerer] asserts that with modern slicers, the 0.4 mm nozzle isn’t the best choice and recommends you move up to 0.6 mm.
If you know [Thomas], you know he wouldn’t make a claim like that without doing his homework. He backs it up with testing, and you can see his thoughts on the subject and the test results in the video below. The entire thing hinges on the Ultimaker-developed Arachne perimeter generator that’s currently available in the alpha version of PrusaSlicer.
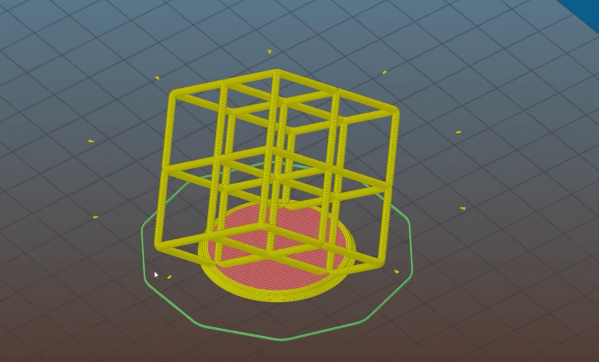
We’ve experimented with nozzles as small as 0.1 mm and, honestly, it still looks like an FDM 3D print and printing takes forever at that size. But these days, if we really care about the detail we are probably going to print with resin, anyway.
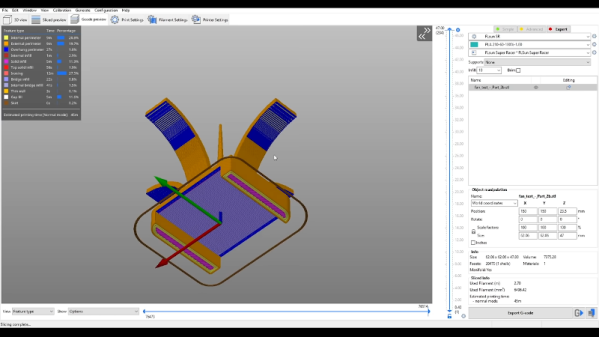
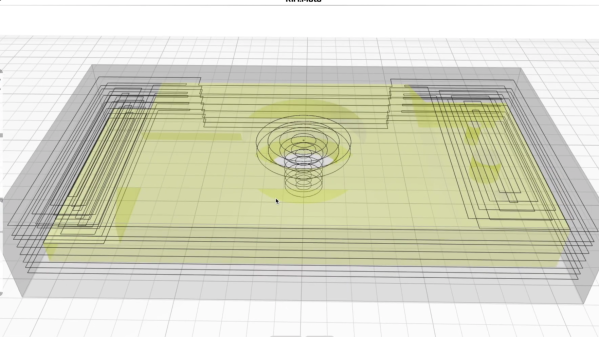
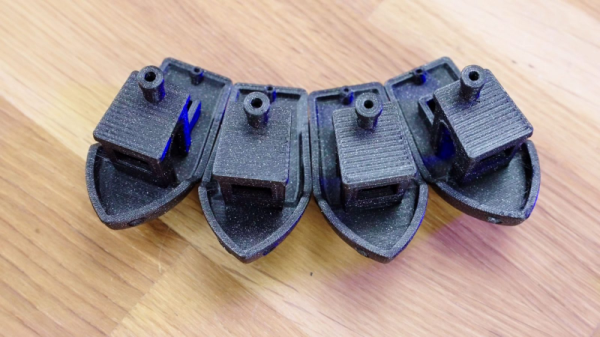
There are a few slicer settings to consider and you can see the whole setup in the video. The part where an SLA test part is printed with both nozzles is particularly telling. This is something that probably shouldn’t print well with an FDM at all. Both nozzles had problems but in different areas.
Continue reading “Go Big Or Go Home: 0.6 Mm Nozzles Are The Future”