Solder SMDs With A Pan O’ Sand

For those that grew up working with through-hole components, surface mount parts can be challenging to deal with. However, there are plenty of techniques out there that are more than accessible to the DIY set. With the right gear, soldering SMD boards is a snap – just get yourself a hot pan of sand (Youtube link, embedded below)!

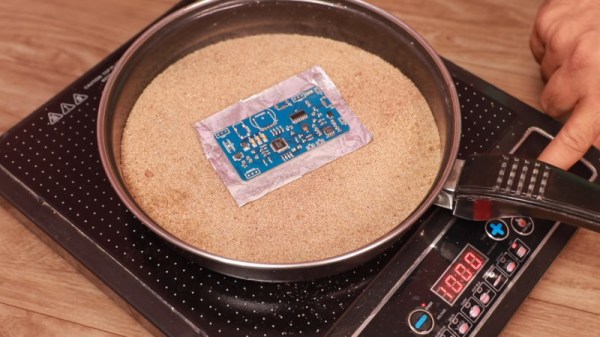
The process starts with a professionally manufactured PCB, and accompanying stencil. All major PCB CAD packages are capable of generating stencil files these days, and many manufacturers will throw in a laser cut stencil for minimal extra cost with a PCB order. The board is first mounted on a stable surface, and has solder paste applied, before components are placed with tweezers. Perfect placement isn’t necessary, as the surface tension of the molten solder pulls components into their correct orientations. The populated board is then placed on a bed of sand in a frying pan, which is placed on an induction cooktop. The board is then heated until the solder melts, and all the components are neatly reflowed. Once allowed to cool, the board is done!

The trick is that the sand helps evenly heat the circuit board, while keeping it a safe distance away from the heat source. Results are good, and the process is far quicker than hand soldering. It’s easy to keep an eye on the process too. Of course, the traditional method is still to use the humble toaster oven, but new techniques are always useful. We’ve seen it done with a Bunsen burner, too. Video after the break.

Continue reading “Solder SMDs With A Pan O’ Sand”

The Fascinating World Of Solder Alloys And Metallurgy

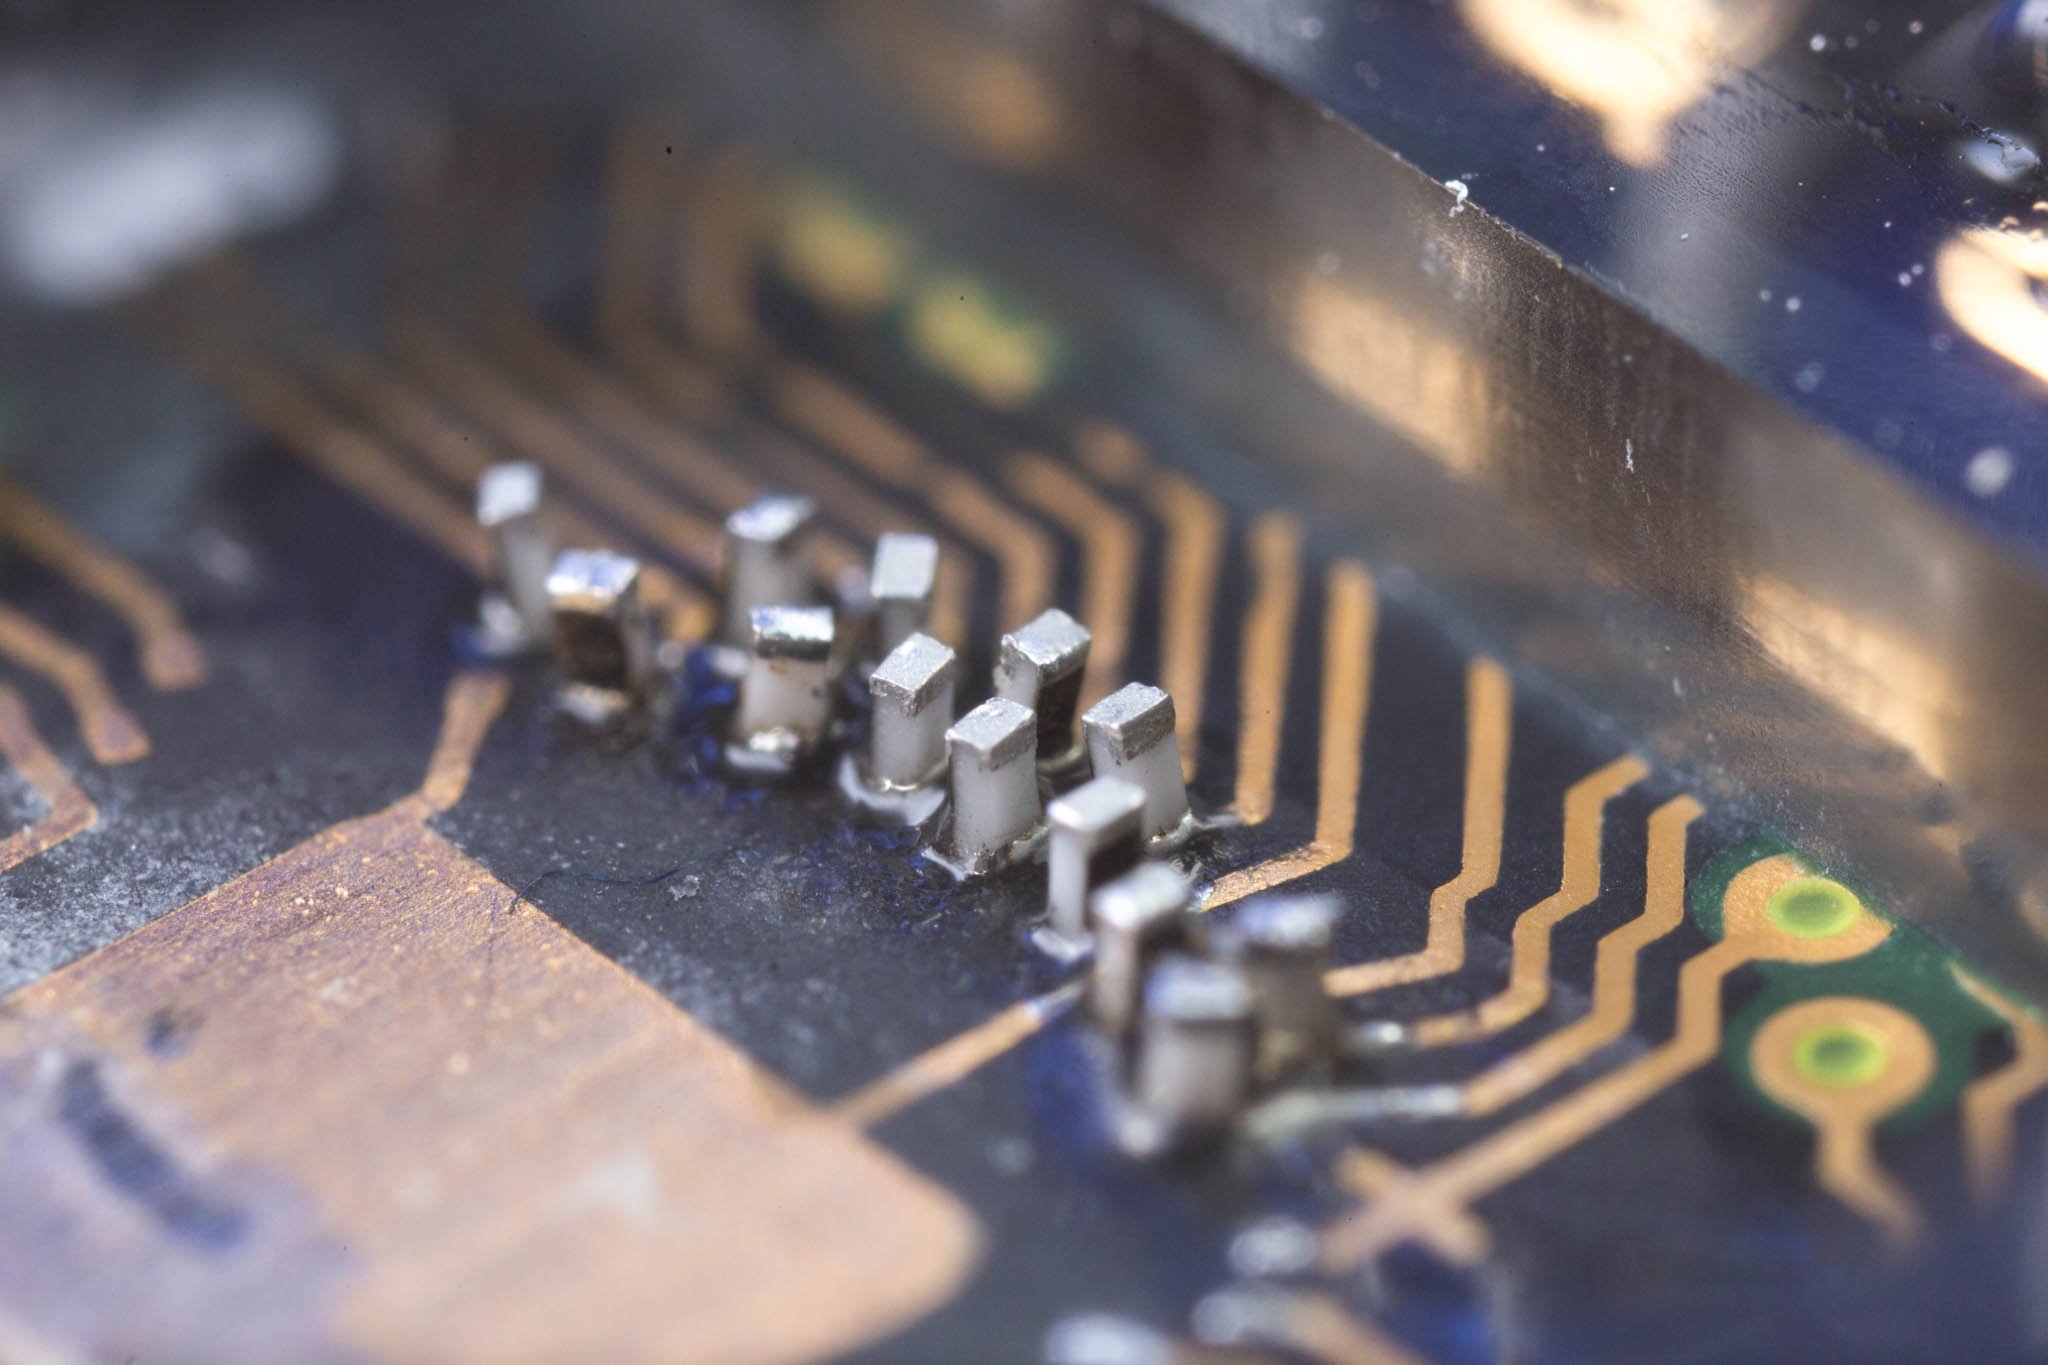
Solder is the conductive metal glue that one uses to stick components together. If you get the component and the PCB hot enough, and melt a little solder in the joint, it will stay put and conduct reliably. But it’s far from simple.

There are many different solder alloys, and even the tip of the soldering iron itself is a multi-material masterpiece. In this article, we’ll take a look at the metallurgy behind soldering, and you’ll see why soldering tip maintenance, and regular replacement, is a good idea. Naturally, we’ll also touch upon the role that lead plays in solder alloys, and what the effect is of replacing it with other metals when going lead-free. What are you soldering with? Continue reading “The Fascinating World Of Solder Alloys And Metallurgy”

Hackaday Podcast 018: Faxploitation! Ikea RFID Hacking, Space Ads, Hydrogen Dones, And Blinkies

Hackaday Editors Elliot Williams and Mike Szczys gather round the microphone to spin tales from a week of hacks. All the rage are fax-machine-based malware, a hydrogen fuel cell drone, and bringing color to the monochrome world of the original Super Mario Land. There are at least three really cool LED hacks this week, plus Tom’s been exploring space advertising, Maya’s debunking solder myths, and Elliot goes ga-ga for a deep Ikea electronics hack. Closing out the show is an interview with Bart Dring about his exquisitely-engineered string art robot.

Take a look at the links below if you want to follow along, and as always, tell us what you think about this episode in the comments!

Take a look at the links below if you want to follow along, and as always, tell us what you think about this episode in the comments!

Direct download (60 MB or so.)

Continue reading “Hackaday Podcast 018: Faxploitation! Ikea RFID Hacking, Space Ads, Hydrogen Dones, And Blinkies”

Get To Know The Physics Behind Soldering And The Packaging Of ICs

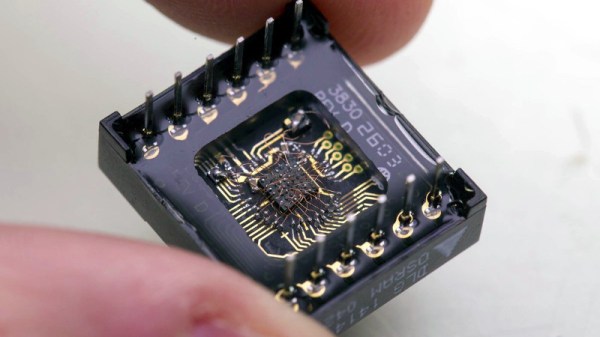
Often it feels as if soldering is deemed to be more of an art form than something that’s underpinned by the cold, hard reality of physics and chemistry. From organic chemistry with rosin, to the material properties of fragile gold bond wires and silicon dies inside IC packages and the effects of thermal stress on the different parts of an IC package, it’s a complicated topic that deserves a lot more attention than it usually gets.

A casual inquiry around one’s friends, acquaintances, colleagues and perfect strangers on the internet usually reveals the same pattern: people have picked up a soldering iron at some point, and either figured out what seemed to work through trial and error, or learned from someone else who has learned what seemed to work through trial and error. Can we say something scientific about soldering?

Continue reading “Get To Know The Physics Behind Soldering And The Packaging Of ICs”

3D Printer Becomes Soldering Robot

What do you do if you have to solder thousands of through-hole parts? The expensive, professional way of doing this is running the boards through a wave soldering machine, or a machine with a fancy CNC solder fountain. The amateur way of soldering thousands of through-hole joints is putting some boards on the workbench and sitting down with a soldering iron. There is nothing in between; you’re either going to go with full automation for a large soldering job, or you’re doing it completely manually. That’s the problem this soldering robot solves. It’s a small, cheap, but still relatively capable soldering robot built out of a 3D printer.

This project is a solution to the development hell of the OpenScan project. This project is built around a small, simple printed circuit board that uses several 0.1″ female headers to connect an Arduino and motor drivers. Soldering them by hand is simply boring, and 3D printers are cheap, so the great mind behind this project decided to use a printer to pump out solder.

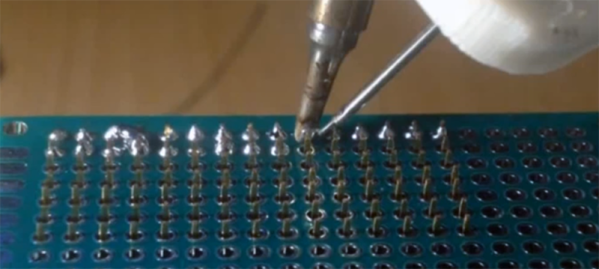
The modifications to the printer include a mount for a TS100 soldering iron and a modified filament extruder that pushes a spool of solder through a PTFE tube. The GCode for this soldering job was created manually, but you could also use a slicer instead. After 20 hours of development, the ‘success rate’ – however that is defined – is between 60-80%. That needs to get up to four or five nines before this DIY soldering robot is practical but this is a decidedly not-bad result for a few hours of tinkering.

This printer mod works great for the use case of stuffing a few 0.1″ headers into a board and letting a robot automatically solder the joints, but this printer will run into a problem with the general case of soldering a lot of randomly-shaped through hole parts. You need to actually hold the parts up against the board while soldering. There’s an easy solution to this problem: just flip the 3D printer upside down. This hack of a cheap 3D printer is so, so close to being a great solution to soldering thousands of through-hole parts quickly and easily, and we’re looking forward to seeing where the community takes this idea. You can check out the video demo below.

Continue reading “3D Printer Becomes Soldering Robot”

A USB -C Soldering Iron For Weller Tips

There was a time when a decent temperature controlled soldering iron took the form of the iron itself and a box of electronics, but now it’s just as likely to be a miniaturised affair with the temperature controller built into a slim and lightweight handle. Irons such as the Miniware TS series have become firm favourites, displacing a traditional soldering station for many.

[Thomas.lepi] has combined the best of both worlds, with a TS-style microprocessor-driven handle driving the familiar Weller RT elements. Its interface is very simple, but through its USB power socket a serial port provides opportunities for adjustment. Providing control is an STM32F042G6U6 ARM Cortex M0 microcontroller, with USB power control coming from an STUSB4500QTR .

If you are used to irons such as the Miniware TS100 then this one with its smartly 3D-printed case will be very straightforward to use. Whether or not the ready availability of the TS100 or its USB-C sibling would remove the need to build this iron is up to you, but then again that’s hardly the point. The Weller tips are some of the better ones of their type, so perhaps that might make this project worth a second look.

Continue reading “A USB -C Soldering Iron For Weller Tips”

DIY Reflow Oven Is Heavily Documented

[DJ Legion] decided he wanted a reflow oven so he bought a toaster oven and an assortment of parts including a solid state relay, a Teensy, a display, and a thermocouple. What makes this a different project is the amount of video documentation. The four videos below encompass about 50 minutes of information and he’s promising more to come.

We haven’t found his software — probably because he’s still working on it, but we’re watching his GitHub page expectantly. We really liked the 3D printed faceplate that integrated the controller into the oven. It almost looks like a commercial unit. The use of the woodgrain paper over the 3D printed parts was a nice touch.

[DJ] is not done, though. He wants to increase the heat up time and possibly add convection. He’s also planning on a new video that will show actually making a board and how he has refined the calibration curves.

We are impressed but would have been tempted to just grab a Reflowduino. The work’s already done, and you get wireless control and lots of other goodies. Of course, we also get the urge to do it yourself, so we can’t really throw stones. If you don’t want to mess with an oven, you can always raid the hair salon.

Continue reading “DIY Reflow Oven Is Heavily Documented”