Your PC Sound Card As A Sensor Input

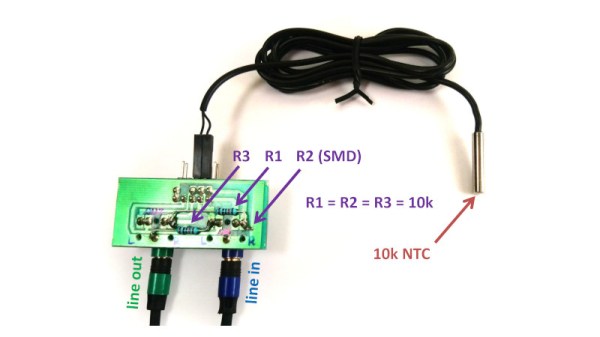
The commoditised PC is the most versatile tool many of us will own, and since it has been around for a very long time it is also something that can be found for free or very cheaply if the latest components aren’t a concern. It’s not without limitations though, while it’s designed for expansion it no longer has any ports that can easily be repurposed as GPIOs for reading sensors. A solution for some sensors comes courtesy of [Ruslan Nagimov], who shows us how the PC sound card can become a measurement interface.

The idea is that simple resistive or capacitive sensors can be read through their AC characteristics by sending out a sine wave on one channel of the card and reading the result on the other from a divider circuit. He goes extensively into the code, both for the resistive example and for reactive components, and we can see that it forms a handy extension to the PC capabilities.

We’re sure this technique will find applications for some readers, but it interests us for another platform. Measurement using a mobile phone’s audio jack doesn’t have an inspiring history, but perhaps this could be used as well for mobile sensors.

Sound Card ADCs For Electrocardiograms

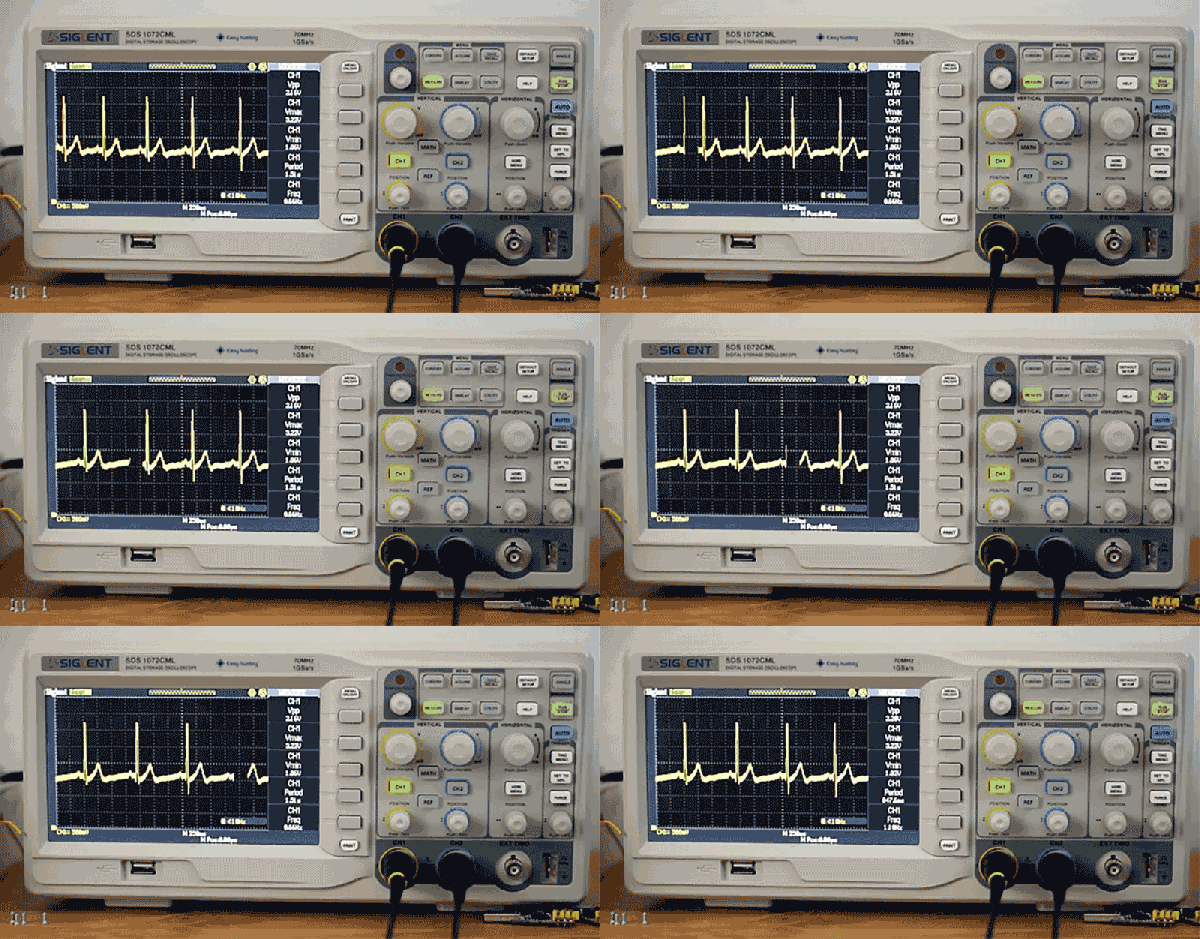
Every few years, or so we’re told, [Scott] revisits the idea of building an electrocardiogram machine. This is just a small box with three electrodes. Attach them to your chest, and you get a neat readout of your heartbeat. This is a project that has been done to death, but [Scott]’s most recent implementation is fantastic. It’s cheap, relying on the almost absurd capability for analog to digital conversion found in every sound card, and the software is great. It’s the fit and finish that makes this project shine.

The hardware for this build is simply an AD8232, a chip designed to be the front end of any electrocardiogram. This is then simply connected to the microphone port of a sound card through a 1/8″ cable. For the exceptionally clever, there’s a version based on an op-amp. It’s an extraordinarily simple build, but as with all simple builds the real trick is in the software. That’s where this project really shines, with custom software with graphics, and enough information being displayed to actually tell you something.

We’ve seen a number of sound card ADCs being used for electrocardiograms in the past, including some from the Before Times; it makes sense, sound cards are the cheapest way to get a lot of analog data very quickly. You can check out [Scott]’s demo video out below.

Continue reading “Sound Card ADCs For Electrocardiograms”

Detecting Mobile Phone Transmissions With A Sound Card

Anyone who had a cheap set of computer speakers in the early 2000s has heard it – the rhythmic dit-da-dit-dit of a GSM phone pinging a cell tower once an hour or so. [153armstrong] has a write up on how to capture this on your computer. 

It’s incredibly simple to do – simply plug in a set of headphone to the sound card’s microphone jack, leave a mobile phone nearby, hit record, and wait. The headphone wire acts as an antenna, and when the phone transmits, it induces a current in the wire, which is picked up by the soundcard.

[153armstrong] notes that their setup only seems to pick up signals from 2G phones, likely using GSM. It doesn’t seem to pick up anything from 3G or 4G phones. We’d wager this is due to the difference in the way different cellular technologies transmit – let us know what you think in the comments.

This system is useful as a way to detect a transmitting phone at close range, however due to the limited bandwidth of a computer soundcard, it is in no way capable of actually decoding the transmissions. As far as other experiments go, why not use your soundcard to detect lightning?

An Audio Based USB Oscilloscope And Signal Generator For $20

SoundScope

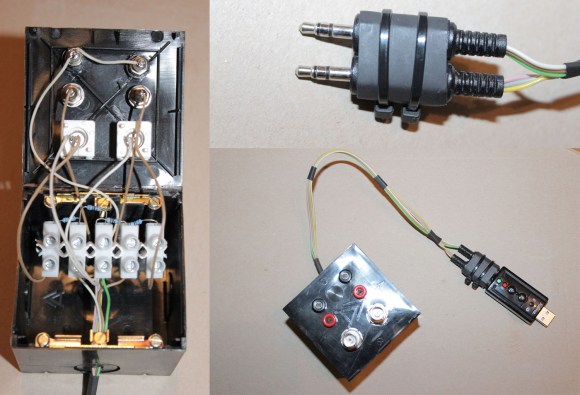
Are you interested in building a 20kHz 2-channel oscilloscope and a 2-channel signal generator for only $20 with minimal effort? Be sure to check out [Jana Marie’s] Instructable that goes over how to build this awesome tool from a cheap USB audio card.

We have featured tons and tons of DIY oscilloscopes in the past, but this effort resulted in something very well put together while remaining very simple to understand and easy to build. You don’t even need to modify the USB audio card at all. One of the coolest parts of this build is that you can unplug your probe assembly from your USB audio card, and bring it wherever your hacking takes you. After the build, all you need is [Christian Zeitnitz’s] Soundcard Oscilloscope program and you are good to go. One of the major downsides that is often overlooked when using an audio based oscilloscope, is that it is “AC coupled”. This means you cannot measure low-frequencies (including DC signals) using a sound card. Be sure to heed [Jana’s] advice and do not use your built in audio card as an oscilloscope. With no protection circuitry, it is a sure fire way to fry your computer.

What analog projects have you built around an audio interface? We have seen such an interface used for many different applications, including a few fun medical related hacks (be sure to keep safety your first priority). Write in and let us know!

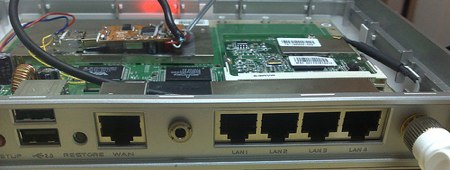
Asus WL500GP Audio Hack


The Asus WL500GP wireless router runs Linux and has two USB ports. [equinoxfr] wanted to install audio support internally to the router though (translated). Luckily, it uses a VIA VT6212 4port USB controller. So, he was able to wire two more internal ports. A Brando USB soundcard is plugged into one of those ports and wired to an external headphone jack. He wanted dual RCA connectors, but they just wouldn’t fit. The router is running OpenWRT Kamikaze. MPD is used to serve music with the wymypy frontend since it has its own lightweight webserver.

Porting CHDK To New Cameras


While researching the CHDK How-To, we came across the team’s instructions for porting the firmware to entirely new cameras. In theory, CHDK should work on any Canon running the DIGIC II or III processor since most of them are running the same VxWorks OS. A dump of the camera’s firmware is required before porting work can begin. On some cameras, the firmware was retrieved using software, but others required a hardware route. Pictured above is a Canon A610 that’s slowly flashing out every bit of its firmware using the built in LED. The photodiode is hooked up to a soundcard where the entire bitstream is recorded. It takes 1-7 hours to read the entire firmware. Once the sound file has been captured, it’s reverted to the original bytes and can then be decompiled with something like IDApro.