With Samsung’s new Gear VR announced, developers and VR enthusiasts are awaiting the release of the smartphone connected VR headset. A few people couldn’t wait to get their hands on the platform, so they created, OpenGear, a Gear VR compatible headset.
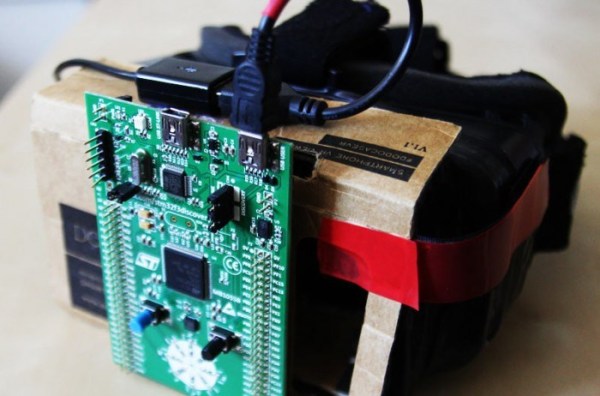
The OpenGear starts off with a Samsung Galaxy Note 4, which is the target platform for the Gear VR headset. A cardboard enclosure, similar to the Google Cardboard headset, holds the lenses and straps the phone to your face.
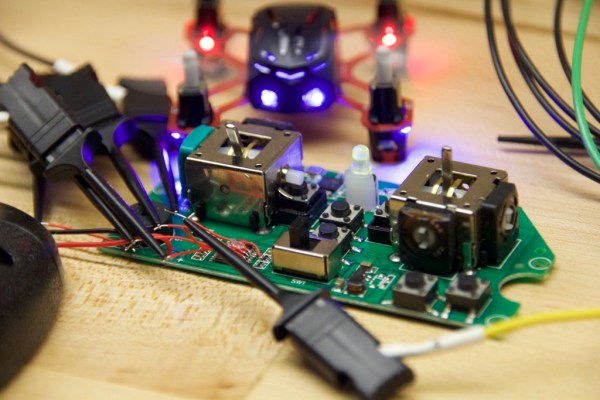
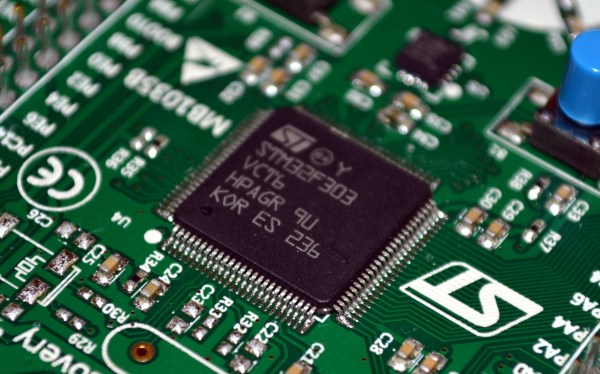
The only missing part is the motion tracking electronics. Fortunately, ST’s STM32F3 Discovery development board has everything needed: a microcontroller with USB device support, a L3GD20 3 axis gyro, and a LSM303DLHC accelerometer/magnetometer. These components together provide a USB inertial measurement unit for tracking your head.
With the Discovery board strapped to the cardboard headset, an open-source firmware is flashed. This emulates the messages sent by a legitimate Oculus Rift motion tracker. The Galaxy Note 4 sees the device as a VR headset, and lets you run VR apps.
If you’re interested, the OpenGear team is offering a development kit. This is a great way for developers to get a head start on their apps before the Gear VR is actually released. The main downside is how you’ll look with this thing affixed to your face. There’s a head-to-head against the real Gear VR after the break.
[via Road To VR]