Recently the avid teardown folk over at iFixit got their paws on Meta’s Ray-Ban Display glasses, for a literal in-depth look at these smart glasses. Along the way they came across the fascinating geometric waveguide technology that makes the floating display feature work so well. There’s also an accompanying video of the entire teardown, for those who enjoy watching a metal box cutter get jammed into plastic.
Overall, these smart glasses can be considered to be somewhat repairable, as you can pry the arms open with a bit of heat. Inside you’ll find the 960 mWh battery and a handful of PCBs, but finding spare parts for anything beyond perhaps the battery will be a challenge. The front part of the glasses contain the antennae and the special lens on the right side that works with the liquid crystal on silicon (LCoS) projector to reflect the image back to your eye.
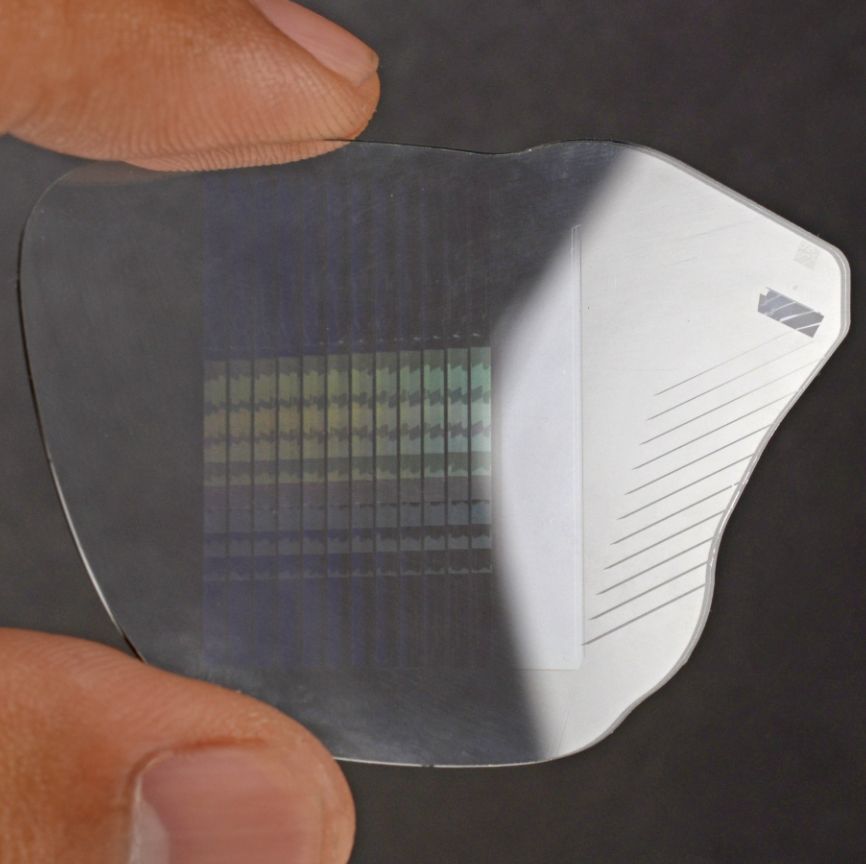
While LCoS has been used for many years already, including Google Glass, it’s the glass that provides the biggest technological advancement. Instead of the typical diffractive waveguide it uses a geometric reflective waveguide made by Schott, with the technology developed by Lumus for use in augmented reality (AR) applications. This is supposed to offer better optical efficiency, as well as less light leakage into or out of the waveguide.
Although definitely impressive technology, the overall repairability score of these smart glasses is pretty low, and you have to contest with both looking incredibly dorky and some people considering you to be a bit of a glasshole.
Continue reading “The Fascinating Waveguide Technology Inside Meta’s Ray-Ban Display Glasses”