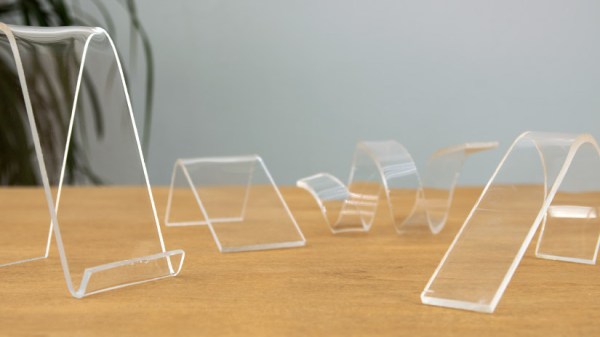
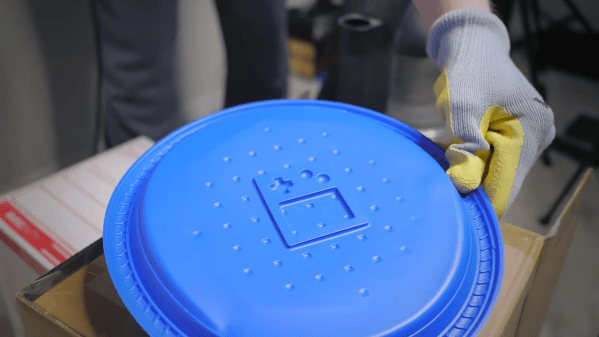
Thermoforming is the process of softening a material enough so that it can be tweaked into a new shape, with the source of the thermal energy being not particularly relevant. Correspondingly, after [Zion Brock]’s recent video on his journey into thermoforming PLA with a mold and a heat gun, he got many comments suggesting that he should use hot water instead.
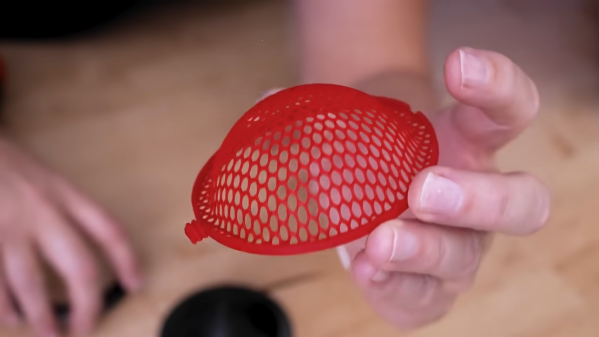
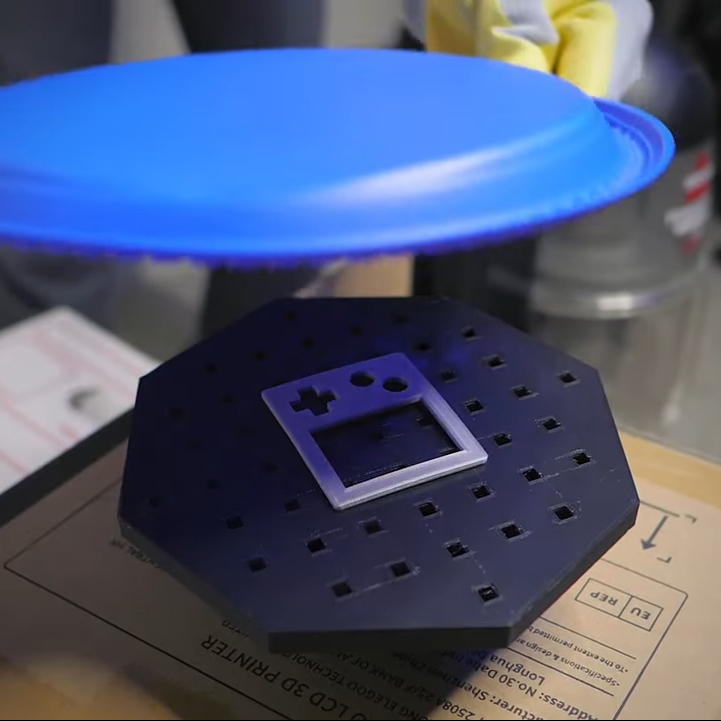
We covered his previous video as well, in which he goes through the design steps of making these grilles for a retro-styled, 3D printed radio. The thermoforming method enables him to shape the curvy grille with a heat gun and two-piece mold in a matter of minutes, rather than spending hours more time printing and removing many supports.
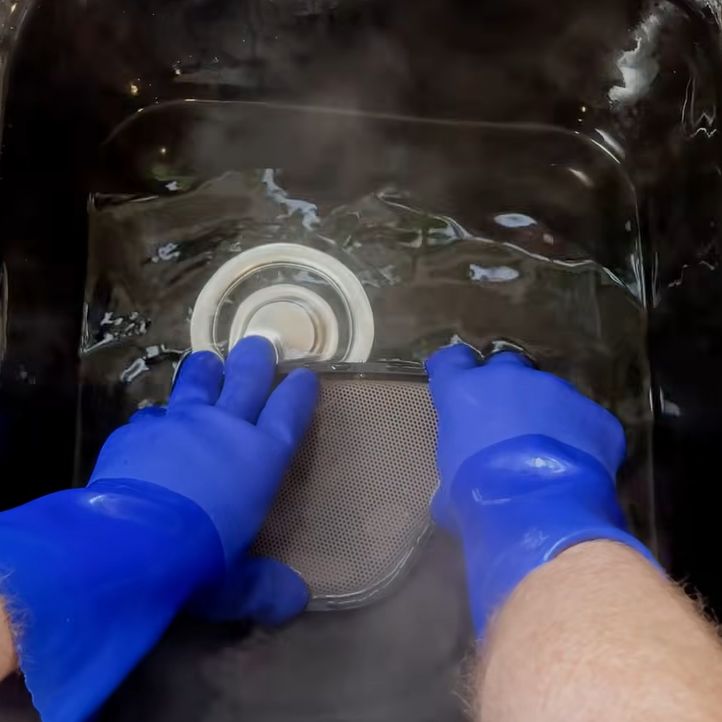
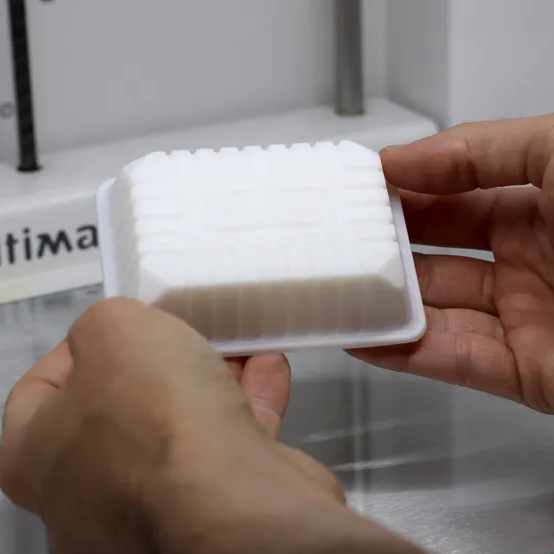
Theoretically using hot water instead of hot air would provide a more equal application of heat, but putting your hands into 70°C water does require some more precautions. There’s also the issue that PLA is very hygroscopic, so the part requires drying afterwards to prevent accelerated hydrolysis. Due to the more even heating, the edge of the PLA that clamped into the mold also softened significantly, causing it to pop out of the mold and requiring a small design modification to prevent this.
Basically, aqua-thermoforming like this has many advantages, as its slower and more consistent, but it’s less straightforward to use than hot air. This makes both a useful tool when you’re looking at doing thermoforming.
Continue reading “Thermoforming Printed Parts With Hot Water”


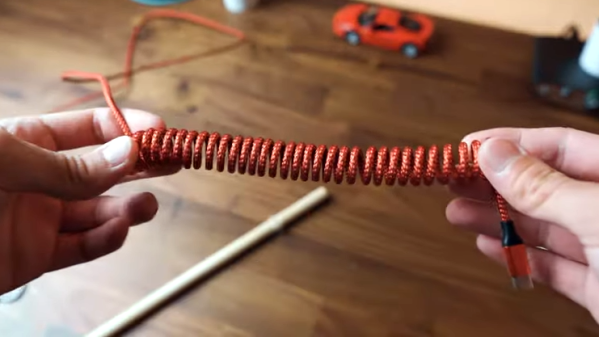
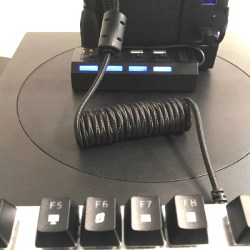 [Dmitry] is annoyed with long, unruly cables and