
It’s 2024. You’ve probably got one or more pairs of wireless headphones around the house. [Barnso] prefers wired headphones with a long cable, but he also decries the fact that it often gets tangled in his chair. The solution? A pulley system to make everything easier.
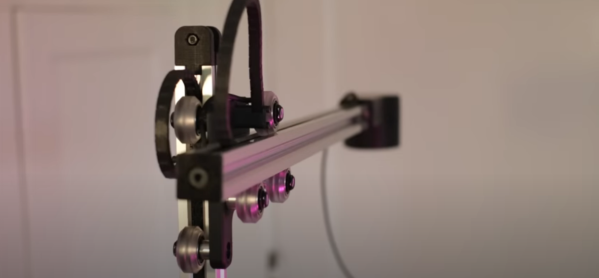
The concept is simple. [Barnso]’s system uses three pulleys. The headphone cable goes to the PC, and then runs over the first pulley. It then runs under a second pulley which is free to move, but weighted so that it naturally wants to fall down under gravity. The cable then comes back up over a third pulley, and then runs to the headphones on [Barnso]’s head. Basically, it’s a super simple cable retraction mechanism that keeps the long headphone cable organized and in one place.
It’s nice to see a simple mechanism that makes life easier, particularly one that solves a problem so many of us have faced in real life. The construction shown in the video is almost (intentionally?) maddeningly hacky but it does the job. If you prefer to go wireless, though, we can show you how to do that too.
Continue reading “Pulley System Makes Headphone Cables More Managable”


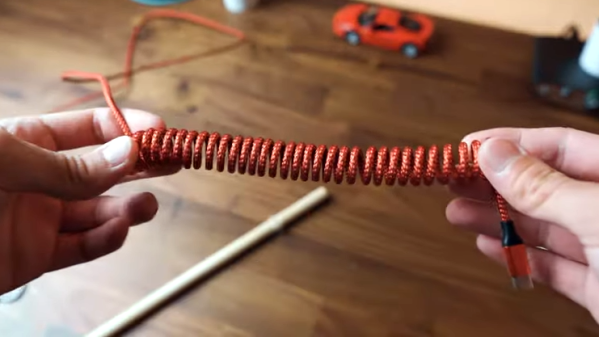
 [Dmitry] is annoyed with long, unruly cables and


