Your TS80 – Music Player

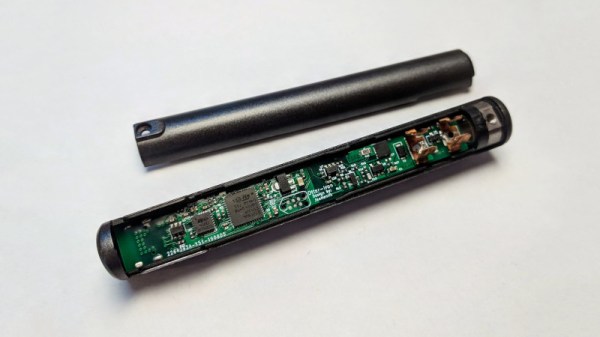
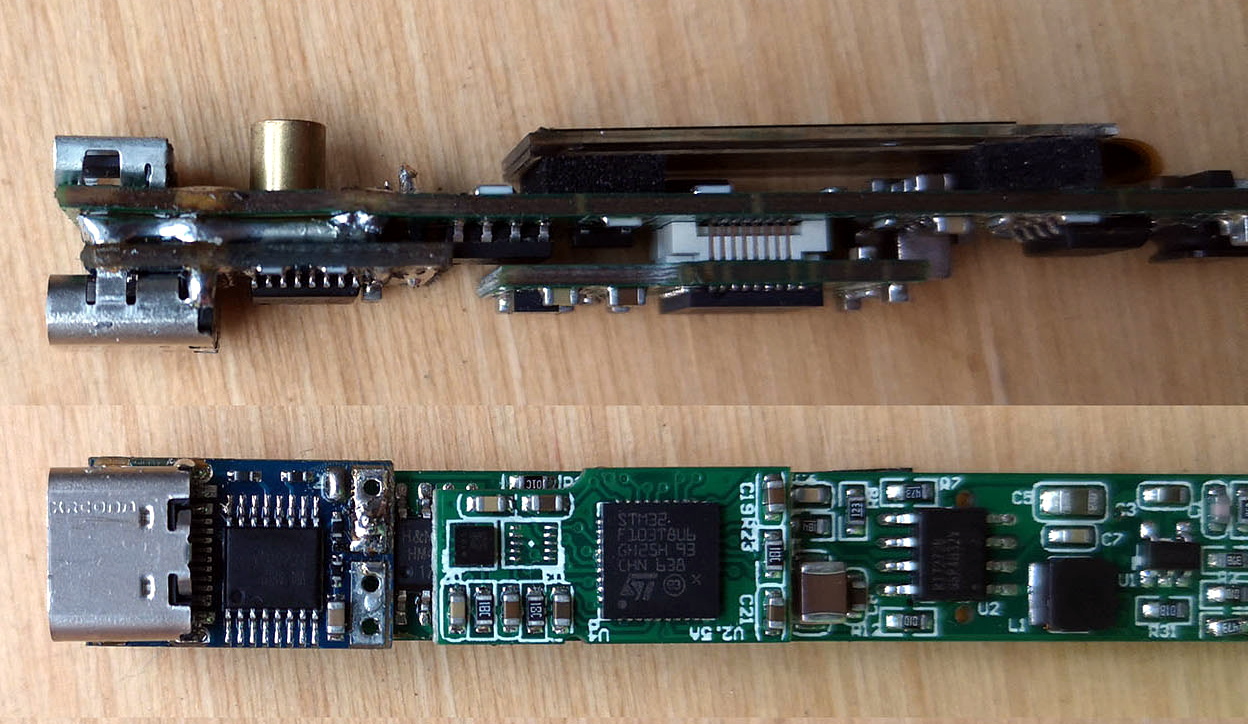
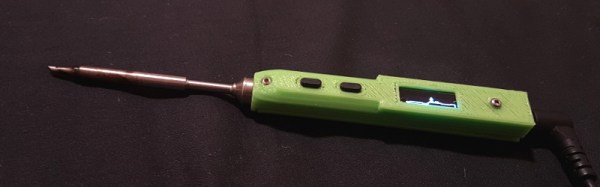
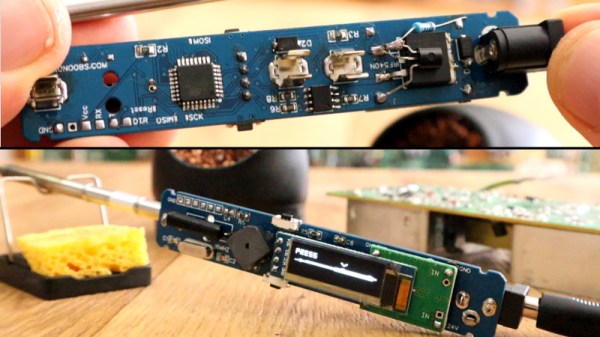
By now most readers will be familiar with the Miniware TS100 and TS80 soldering irons, compact and lightweight temperature controlled soldering tools that have set a new standard at the lower-priced end of the decent soldering iron market. We know they have an STM32 processor, a USB interface, and an OLED display, and that there have been a variety of alternative firmwares produced for them.

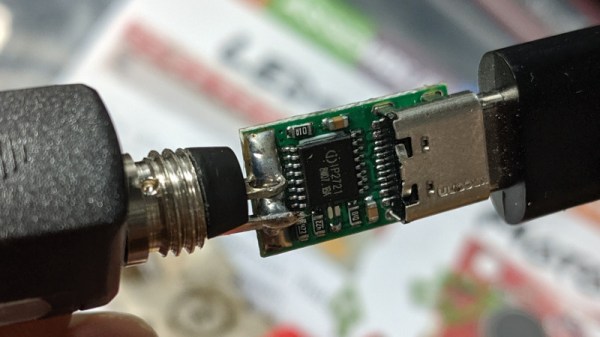
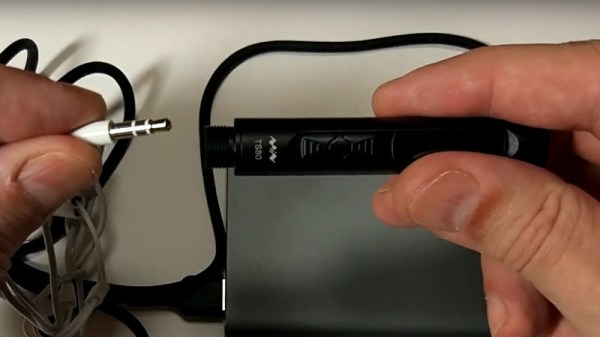
Take a close look at the TS80, and you’ll find the element connector is rather familiar. It’s a 3.5 mm jack plug, something we’re more used to as an audio connector. Surely audio from a soldering iron would be crazy? Not if you are [Joric], who has created a music player firmware for the little USB-C iron. It’s hardly a tour de force of musical entertainment and it won’t pull away the audiophiles from their reference DACs, but it does at least produce a recognisable We Wish You A Merry Christmas as you’ll see from the video below the break.

Since the TS100 arrived a couple of years ago we’ve seen a variety of inventive firmware for it. You may remember [Joric]’s previous triumph of a Tetris game for the iron, but our favourite is probably the TS100 oscilloscope.

Continue reading “Your TS80 – Music Player”

Adding USB-C To The TS100, But Not How You Think

USB-C has its special Power Delivery standard, and is capable of delivering plenty of juice to attached hardware. This has led many to modify their TS-100 soldering irons to accept the connector. [Jana Marie] is the latest, though she’s taken rather a different tack than you might expect.

[Jana] didn’t want to modify the original hardware or hack in an adapter. Instead, she struck out on her own, developing an entire replacement PCB for the TS-100 iron. The firmware is rough and ready, and minimal work has been done on the GUI and temperature regulation. However, reports are that functionality is good, and [Jana]’s demonstration shows it handling a proper desoldering task with ease.

Files are on Github for those that wish to spin their own. The PCB is designed to snap neatly inside the original case for a nice fit and finish. Power is plentiful too, as the hardware supports USB Power Delivery 2.0, which is capable of running at up to 100 W. On the other hand, the stock TS-80 iron, which natively supports USB-C, only works with Quick Charge 3.0, and thus is limited to a comparatively meager 36 W.

We’ve seen plenty of TS-100 hacks over 2019. Some have removed the standard barrel jack and replaced it with a USB-PD board. Meanwhile, others have created adapters that plug in to the back of the iron. However, [Jana] is dictating her own terms by recreating the entire PCB. Sometimes it pays to go your own way!

[Thanks to elad for the tip!]

Adding USB-C To The TS100

The TS100 is a popular entry into the new breed of small temperature-controlled soldering irons that, at least for some of us, have started to replace the bulky soldering stations of old. Unfortunately, one downside of this particular model is the need to plug it into a fairly ungainly laptop-style power supply, which certainly hinders its otherwise portable nature. But [Dennis Schneider] has come up with a very slick solution to that problem by adding a USB-PD module to his TS100.

The idea here is very simple: just remove the original DC barrel connector, and in its place install a USB-PD trigger module. In practice it took more than a little fiddling, cutting, persuasion, and creative soldering (ironically, with a soldering station), but the end result does look quite professional.

It helps that the USB-PD module [Dennis] used was almost the exact same width as the TS100 PCB, meaning that the modified iron could go back into its original case. Though as we saw not so long ago, there’s a growing community of 3D printed replacement cases should you select a trigger module that doesn’t so neatly fit the footprint of the original board. Or if you didn’t want to modify the iron at all, you could always just make an external adapter.

Those that have some experience with these irons might be wondering what the point of modifying the TS100 to take USB-C is when we already have the TS80. As it turns out, while the TS80 is using a USB-C connector it doesn’t actually use USB-PD, so its not taking advantage of the enhanced power delivery capabilities. We know, it’s all kind of confusing.

3D Printing New Cases For The TS100 Soldering Iron

About a year back, [BogdanTheGeek] found himself in need of a new case for this TS100 soldering iron. Unfortunately, while the product is often billed as being open source friendly (at least in the firmware sense), he was surprised to discover that he couldn’t find the detailed dimensions required to 3D print his own replacement case. So he took it upon himself to document the case design and try to kick off a community around custom enclosures for the popular portable iron.

The main goals while designing the replacement case was to make it printable without support, and usable without additional hardware. He also wanted it to be stronger than the original version, and feature a somewhat blockier design that he personally finds more comfortable. The case was designed with PLA in mind, and he says he’s had no problems with the lower-temperature plastic. But if you’re still concerned about the heat, PETG would be an ideal material to print yours in.

It took him many attempts to get the design to where it is today, and still, there are improvements he’d like to make. For one, there’s no protective cover over the iron’s OLED screen. He’d also like to make the switch from SolidWorks over to FreeCAD so the project is a bit more accessible, and says he’d appreciate anyone who wants to chip in. We’re excited to see what develops once the hacking world realizes that there are accurate open source CAD files for the TS100 floating around out there.

Our very own [Jenny List] put the TS100 through its paces not so long ago, and found a decidedly solid little tool. While it won’t replace your high-end soldering station, it’s very convenient for quick repairs and simple tasks, especially if you find yourself away from the workbench proper.

The Miniware TS100 As A USB-C Soldering Iron

Many readers will be familiar with the Miniware TS100 soldering iron, a lightweight temperature-controlled iron that is giving significantly more expensive soldering tools a run for their money. There is another model in the range, the TS80, which though it uses different tips than its sibling has the main distinguishing feature of USB-C power rather than a DC barrel jack. A cadre of users still prefer the TS100 for this reason, as an iron that can run from almost any low voltage DC power source. Any except USB-C, that is, an omission that [thinkl33t] has rectified with a USB-C adapter for the older model.

To achieve this, he’s used a readily-available ZYPDS USB-to-DC module and attached it to a barrel jack. For now, it’s simply held on by solder with a bit of heat-shrink over the top. [Thinkl33t] observes that this may not prove to be strong enough and he’ll eventually have to put it on a bit of cable. It’s a simple enough hack, but it serves as a quick introduction to these parts which perform the necessary USB-C magic to deliver a DC supply, as well as to highlight the relative scarcity of higher-power USB supplies.

At the moment there’s an inevitable move to USB-C All The Things, but it’s a trend that it seems many manufacturers of power sources have yet to catch up with. When a typical TS-80 owner finds their shiny new USB-C battery bank is, in reality, an older 5V USB bank with a USB-C connector fitted, it’s no wonder that their friends prefer the TS100. We hope that coming years will see a greater range of USB-C power options, but until then we like the versatility of the barrel jack on the TS100. Especially now that it can so readily be made to take USB-C power.

We reviewed the TS100 back in 2017, and two years of using it since then have not changed our opinion of it.

Thanks to the several tipsters including [thinkl33t]  himself who sent us this.

3D Printer Becomes Soldering Robot

What do you do if you have to solder thousands of through-hole parts? The expensive, professional way of doing this is running the boards through a wave soldering machine, or a machine with a fancy CNC solder fountain. The amateur way of soldering thousands of through-hole joints is putting some boards on the workbench and sitting down with a soldering iron. There is nothing in between; you’re either going to go with full automation for a large soldering job, or you’re doing it completely manually. That’s the problem this soldering robot solves. It’s a small, cheap, but still relatively capable soldering robot built out of a 3D printer.

This project is a solution to the development hell of the OpenScan project. This project is built around a small, simple printed circuit board that uses several 0.1″ female headers to connect an Arduino and motor drivers. Soldering them by hand is simply boring, and 3D printers are cheap, so the great mind behind this project decided to use a printer to pump out solder.

The modifications to the printer include a mount for a TS100 soldering iron and a modified filament extruder that pushes a spool of solder through a PTFE tube. The GCode for this soldering job was created manually, but you could also use a slicer instead. After 20 hours of development, the ‘success rate’ – however that is defined – is between 60-80%. That needs to get up to four or five nines before this DIY soldering robot is practical but this is a decidedly not-bad result for a few hours of tinkering.

This printer mod works great for the use case of stuffing a few 0.1″ headers into a board and letting a robot automatically solder the joints, but this printer will run into a problem with the general case of soldering a lot of randomly-shaped through hole parts. You need to actually hold the parts up against the board while soldering. There’s an easy solution to this problem: just flip the 3D printer upside down. This hack of a cheap 3D printer is so, so close to being a great solution to soldering thousands of through-hole parts quickly and easily, and we’re looking forward to seeing where the community takes this idea. You can check out the video demo below.

Continue reading “3D Printer Becomes Soldering Robot”

DIY Arduino Soldering Iron Hits Version 2.0

A few months ago we brought word that [Electronoobs] was working on his own open source alternative to pocket-sized temperature controlled soldering irons like the TS100. Powered by the ATMega328p microcontroller and utilizing a 3D printed enclosure, his version could be built for as little as $15 USD depending on where you sourced your parts from. But by his own admission, the design was held back by the quality of the $5 replacement soldering iron tips he designed it around. As the saying goes, you get what you pay for.

But [Electronoobs] is back with the second version of his DIY portable soldering iron, and this time it’s using the vastly superior HAKKO T12 style tip. As this tip has the thermocouple and heating element in series it involved a fairly extensive redesign of the entire project, but in the end it’s worth it. After all, a soldering iron is really only as good as its tip to begin with.

This version of the iron deletes the MAX6675 used in V1, and replaces it with a LM358 operational amplifier to read the thermocouple in the T12 tip. [Electronoobs] then used an external thermocouple to compare the LM358’s output to the actual temperature at the tip. With this data he created a function which will return tip temperature from the analog voltage.

While the physical and electrical elements of the tip changed substantially, a lot of the design is still the same from the first version. In addition to the ATMega328p microcontroller, version 2.0 of the iron still uses the same 128×32 I2C OLED display, MOSFET, and 5V buck converter from the original iron. That said, [Electronoobs] is already considering a third revision that will make the iron even smaller by replacing the MOSFET and buck converter. It might be best to consider this an intermediate step before the DIY iron takes on its final form, which we’re very interested in seeing.

The first version of the DIY Arduino soldering iron garnered quite a bit of attention, so it seems there’s a decent number of you out there who aren’t content with just plunking down the cash for the TS100.

Continue reading “DIY Arduino Soldering Iron Hits Version 2.0”