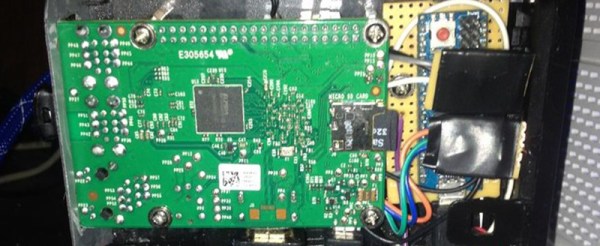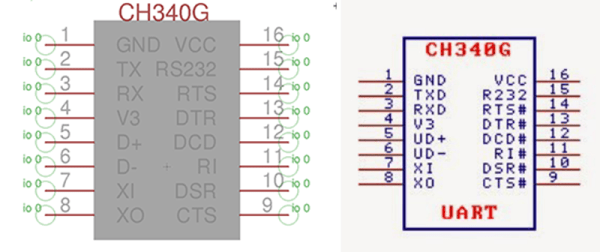
There’s a reason that the bog-standard serial port will never die. It’s just so robust and simple. When you need a console that will absolutely work with minimal software and hardware, UART is the way to go. Because of this, UART hacks abound. Here’s a new one to us, and a challenge to our readers.
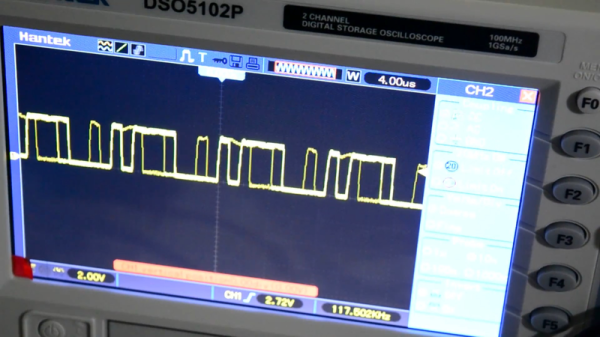
[Tiziano Bacocco] decided to use UART signals as a type of PWM to create audio. That’s right, he’s plugging the serial TX line straight into a speaker. This gives you eight possible PWM output voltage levels. The trick is using some Python code (using the awesome pyserial module) to down-quantize the audio data to fit these eight possible values and then push them out at the correct sampling rate. ffmpeg is used to pre-process the files.