How Thermal Post-Curing Resin Prints Affects Their Strength

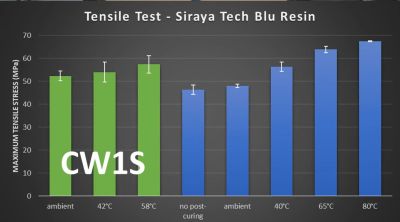
Tensile strength of resin parts. (Credit: CNC Kitchen)
Credit: CNC Kitchen

Resin 3D prints have a reputation for being brittle, but [Stefan] over at [CNC Kitchen] would like to dispel this myth with the thing which we all love: colorful bar graphs backed up by scientifically appropriate experiments. As he rightfully points out, the average resin printer user will just cure a print by putting it in the sunshine or in a curing station that rotates the part in front of some UV lights. This theoretically should cause these photosensitive resins to fully cure, but as the referenced Formlabs documentation and their Form Cure station indicate, there’s definitely a thermal element to it as well.

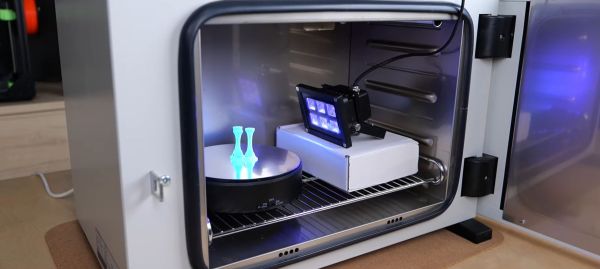
To test the impact of temperature during the UV curing process, the test parts were put into an oven along with the UV lamp. Following this uncured, ambient cured and parts cured at 40 to 80 ºC were exposed to both tensile strength tests as well as impact strength. The best results came from the Siraya Tech Blu resin cured at 80 ºC, with it even giving FDM-printed parts a run for their money, as the following graphs make clear. This shows the value of thermal post-curing, as it anneals the resin prints. This reduces their impact strength somewhat, but massively improves their tensile strength.

Continue reading “How Thermal Post-Curing Resin Prints Affects Their Strength”

Repurposed UV Curer Makes Your Prints Hard As Nails

The price of resin printers has dropped significantly in the last couple of years, and it’s down to the point where you can pick up a fairly decent DLP machine for less than $500. While this is great news, you still need several things beyond resin for successful prints, like a way to do post-process UV curing.

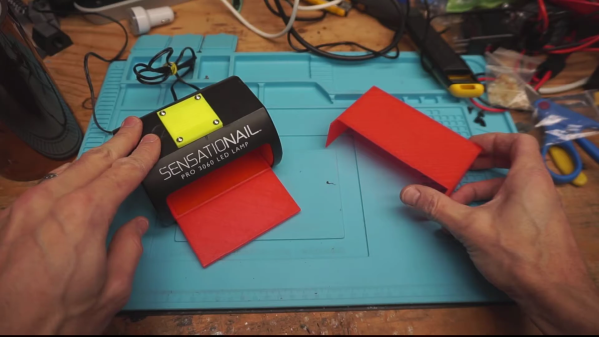
[Inhibit] picked up the formidably-priced Wanhao D7 awhile back. Rather than spending another printer’s worth of paper on a UV curing box, he rescued and repurposed a small commercial curing device meant for gel-based nail polish. You stick your fingertips in, switch it on, and it runs for 60 seconds and then shuts off.

It’s a great idea, but unfortunately prints don’t cure as fast as fingernails. So the first order of business was to bypass the dual 555-based timing system by wiring the UV LEDs directly to power. The manufacturer never intended for the lights to run continuously, so to keep the board from melting, [Inhibit] added in a small 12 V computer fan for cooling. There’s even a little printed grille with angled fins to keep UV light from leaking out and burning nearby retinas.

[Inhibit] also designed and printed a tray for the prints to sit on, and a front enclosure piece to focus as much light on the parts as possible. Files for both parts are floating around the Thingiverse, and we’ve got the build video all cured queued up after the break.

These little commercial boxes don’t cost all that much, but you could always just build your own.

Continue reading “Repurposed UV Curer Makes Your Prints Hard As Nails”

3D Printering: Print Smoothing Tests With UV Resin

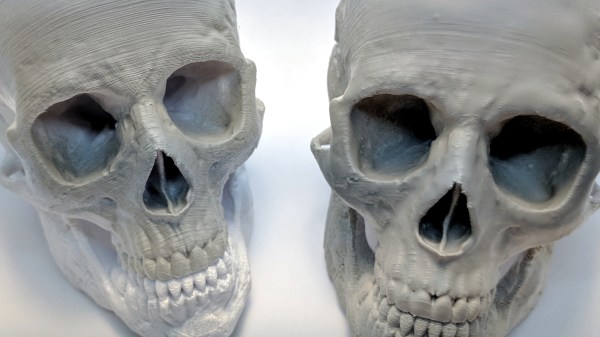
Smoothing the layer lines out of filament-based 3D prints is a common desire, and there are various methods for doing it. Besides good old sanding, another method is to apply a liquid coating of some kind that fills in irregularities and creates a smooth surface. There’s even a product specifically for this purpose: XTC-3D by Smooth-on. However, I happened to have access to the syrup-thick UV resin from an SLA printer and it occurred to me to see whether I could smooth a 3D print by brushing the resin on, then curing it. I didn’t see any reason it shouldn’t work, and it might even bring its own advantages. Filament printers and resin-based printers don’t normally have anything to do with one another, but since I had access to both I decided to cross the streams a little.

The UV-curable resin I tested is Clear Standard resin from a Formlabs printer. Other UV resins should work similarly from what I understand, but I haven’t tested them.

Continue reading “3D Printering: Print Smoothing Tests With UV Resin”

A UV Lightbox For Curing Prints

With resin printers slowly making their way to hackerspaces and garages the world over, there is a growing need for a place to cure these UV resin prints. No, they don’t come out of the machine fully cured, they come out fully solid. And no, we’re not just leaving them in the sun, because that’s not how we do things around here.

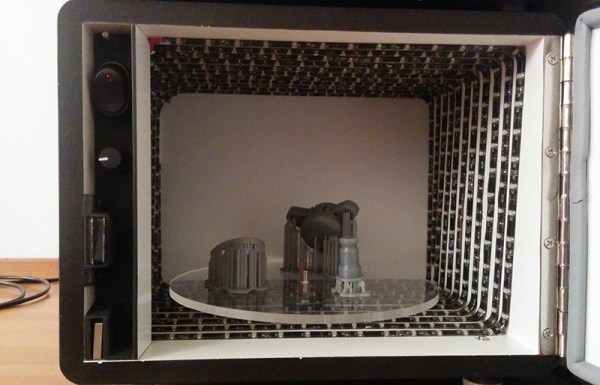
[Christopher] whipped up a post-cure lightbox meant to sit underneath his Form 1 printer. It’s made of 1/2″ MDF, with adjustable feet (something the Form 1 lacks), a safety switch to keep the lights off when the door is open, and a motor to rotate the parts around the enclosure.

The light source for this lightbox is 10 meters of ultraviolet LED strips. The LEDs shine somewhere between 395-405nm, the same wavelength as the laser diode found in the Form 1 printer. Other than a bit of wiring for the LEDs, the only complicated part of the build was the motor; [Christopher] bought a 2rpm motor but was sent a 36rpm motor. The vendor was out of 2rpm motors, so a PWM controller was added.

It’s a beautiful build that shows off [Christopher]’s ability to work with MDF. It also looks great sitting underneath his printer, and all his parts are rock solid now.