As a little experiment in desktop printing, because you can make a desk out of wood, [BlueFlower] modified a standard inkjet printer to print on wood. This is not an electronics mod by any means; this is still a printer that’s plugged into a USB port, does all the fancy printer firmware stuff, tells you to refill the yellow ink cartridge when you only want to print black, and all the other things that inkjet printer firmware will do. This is a mechanical mod. By taking apart the belts and rails and mounting them to a new frame, [BlueFlower] was able to open up the printer so a moving bed holding a board could be moved through the mechanics.
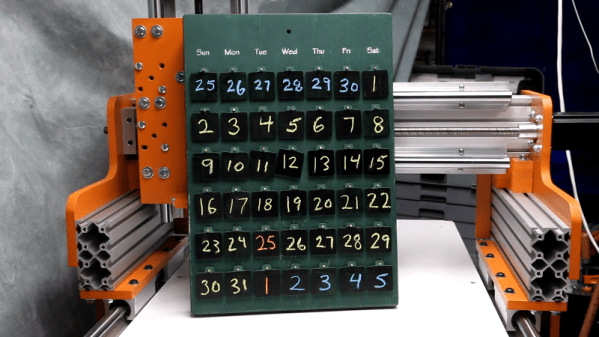
While the printer itself looks a little janky, you can’t argue with results. The prints look good, and should hold up well with a bit of finish. There’s a height adjustment for different thicknesses of stock, and if you’re exceptionally clever, you might be able to put a six-foot-long board through this thing. You can check out a video of this direct to wood printer in action below.