Hackaday Prize Entry: An Open Source Retina Scanner

An ophthalmoscope is a device used to examine the back of the eye. This is useful for diagnosing everything from glaucoma, diabetic retinopathy, to detecting brain tumors. As you would expect from anything related to medicine, these devices cost a lot, making them inaccessible for most of the world’s population. This project for the Hackaday Prize is for an ophthalmoscope that can be built for under $400.

An ophthalmoscope is a relatively simple device, that really only requires a clinician to wear a head-mounted lamp and hold a condensing lens in front of the patient’s eye. Light is reflected off the retina and into the clinician’s view. Of course, the simplest ophthalmoscope requires a bit of training to get right, and there’s’ no chance of being able to take a picture of a patient’s retina to share with other clinicians.

The Open Indirect Ophthalmoscope gets around these problems by using a digital camera in the form of a Raspberry Pi camera module. This camera, with the help of a 3 W LED, is able to image the back of the eye, snap a picture, and send that image anywhere in the world. It’s a simple device that can be constructed from a few mirrors, a cheap lens, and a few 3D-printed parts, but is still very valuable for the detection of ophthalmological disorders.

Drone Doesn’t Know Much About Art, But Knows What It Likes

There is an artistic technique known as stippling where an artist creates a picture using small dots of ink or paint. The result is almost like using a dot matrix printer at low resolution. [Paul Kry] at McGill University doesn’t directly teach art, but he did teach drones to produce pictures using the stippling technique.

As you can see in the video below, the drones carry an ink-soaked sponge. Internal sensors and a motion capture system get them to the right spot and then they move to put the ink down on the work surface. It isn’t perfect, but it does make recognizable drawings and presumably a little inconsistency makes it even more artsy.

Continue reading “Drone Doesn’t Know Much About Art, But Knows What It Likes”

Fun Audio Waveform Generator Is More Than The Sum Of Its Parts

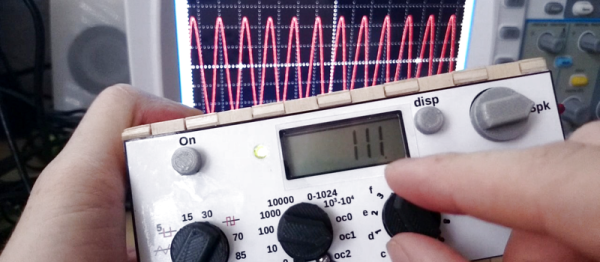
[Joekutz] wanted to re-build an audio-rate function generator project that he found over on Instructables. By itself, the project is very simple: it’s an 8-bit resistor-ladder DAC, a nice enclosure, and the rest is firmware.

[Joekutz] decided this wasn’t enough. He needed an LCD display, a speaker, and one-hertz precision. The LCD display alone is an insane hack. He reverse-engineers a calculator simply to use the display. But instead of mapping each key on the calculator and typing each number in directly, he only taps the four 1, +, =, and clear keys. He can then enter arbitrary numbers by typing in the right number of ones and adding them up. 345 = 111 + 111 + 111 + 11 + 1. In his video, embedded below, he describes this as a “rather stupid” idea. We think it’s hilarious.

Continue reading “Fun Audio Waveform Generator Is More Than The Sum Of Its Parts”

The 2016 Queercon Badge

What We Learned From The 2016 Queercon Badge

DEF CON has become known for the creative electronic badges, and now we get to see a variety of them dangling from lanyards every year. This year, the Queercon badge stood out as the one that got the most people asking “where did you get that?!” Once again, [Evan Mackay], [George Louthan], [Jonathan Nelson], and [Jason Painter] delivered an awesome badge for this con-within-a-con for LGBT hackers and their friends.

The badge is a squid shape, with a nifty clear solder mask, printed on black FR4, and routed with natural curved traces. The squid eyes consist of sixty cyan LEDs, with RGB LEDs on the tentacles. The eyes make expressions, and the tentacles light up with a selectable pattern. Hitting the “ink” button shoots your pattern out to all nearby devices using the 2.4 GHz radio on board, and a set of small connectors can be used to “mate” with other badges to learn patterns. Yes, the Queercon badge always has suggestive undertones.

After playing with it for the whole con, we think this badge has some good lessons for electronic badge designers:

Variable Brightness

The 2016 Queercon Badge with two hats
The Queercon Badge with Two Hats

This badge used a phototransistor as a light sensor to measure ambient light and set the brightness accordingly. With over 60 LEDs, this helped the two AA batteries last for nearly the entire conference.

Power Switches

This badge has a power switch. That switch turns the badge off. This probably sounds very obvious, but it’s also unfortunately uncommon on electronic badges. The switch means people turn the badge off at night, and don’t have to yank batteries when firmware glitches.

Hats!

The badge had two expansion ports on the squid’s head for adding hats. These were given power, and the connector spec was published before the event. Our favourite? A unicorn horn with a rainbow LED inside.

Social Badges are Fun

This has been the fourth Queercon badge in a row that communicated with other badges to unlock things. This is actually a neat way to get people to interact, and leads to a whole host of suggestive puns. Badginal intercourse, anyone?

We’ve heard that next year’s badge is already in the works, and we look forward to seeing what these folks come up with next. For now, you can grab all the hardware design files and get inspired for your own electronic badge build.

Magnet-o-Boots Kick You One Step Closer Towards Fighting Crime

While most of us stick to electronics around here, the few and the proud can also manage to stick to walls and ceilings. [Jen] is among these folk with the beginnings of a pair of magnetic boots that will easily keep her hoisted up in the iron rafters à la Dracula. And all this is just to get folks excited about STEAM education at her local science center.

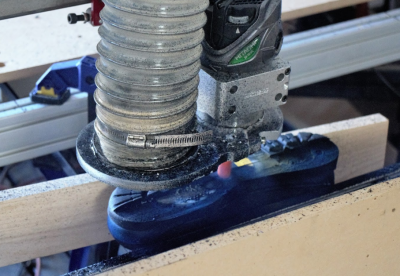
cnc_bootTo engineer this pair, [Jen] started by giving each boot just over 130 pounds of pull such that each boot could independently hold her weight. She then shaved down a few mils off the boot with the nearby Science Center’s CNC router. A few drilling operations later and [Jen] is ready to show the world how to collect those hard-to-reach rupees on the ceiling.

It’s one thing to dream about these shoes; it’s a whole different world to make this pair come to life. In case you’re looking to add a few other nifty pairs of footware to your closet, have a look at this springloaded pair that improves your walking efficiency.

Lessons In Small Scale Manufacturing From The Othermill Shop Floor

Othermachine Co. is not a big company. Their flagship product, the Othermill, is made in small, careful batches. As we’ve seen with other small hardware companies, the manufacturing process can make or break the company. While we toured their factory in Berkeley California, a few interesting things stood out to us about their process which showed their manufacturing competence.

It’s not often that small companies share the secrets of their shop floor. Many of us have dreams of selling kits, so any lessons that can be learned from those who have come before is valuable. The goal of any manufacturing process optimization is to reduce cost while simultaneously maintaining or increasing quality. Despite what cynics would like to believe, this is often entirely possible and often embarrassingly easy to accomplish.

Lean manufacturing defines seven wastes that can be optimized out of a process.

  1. Overproduction: Simply, making more than you currently have demand for. This is a really common mistake for first time producers.
  2. Inventory: Storing more than you need to meet production or demand. Nearly every company I’ve worked for has this problem. There is an art to having just enough. Don’t buy one bulk order of 3,000 screws for six months, order 500 screws every month as needed.
  3. Waiting: Having significant delays between processes. These are things ranging from running out of USB cables to simply having to wait too long for something to arrive on a conveyor belt. Do everything you can to make sure the process is always flowing from one step to another.
  4. Motion: If you have a person walking back and forth between the ends of the factory to complete one step of the manufacturing process, this is wasted motion.
  5. Transport: Different from motion, this is waste in moving the products of each individual process between sections of the assembly.
  6. Rework: Get it right the first time. If your process can’t produce a product that meets specifications, fix the process.
  7. Over-processing: Don’t do more work than is necessary. If your part specifies 1000 hours of runtime don’t buy a million dollar machine to get 2000 hours out of it. If you can find a way to do it with one step, don’t do it with three.
IMG_0371

The first thing that stuck out to me upon entering Othermachine Co’s shop floor is their meticulous system for getting small batches through the factory in a timely manner. This allows them to scale their production as their demand fluctuates. CNCs and 3D printers are definitely seasonal purchases; with sales often increasing in the winter months when hackers are no longer lured away from their workstations by nice weather.

As the seven sins proclaim. It would be a bad move for Othermachine Co. to make too many mills. Let’s say they had made an extra 100 mills while demand was at a seasonal low. If they found a design or quality problem from customer feedback they’d have to commit to rework, potentially throwing away piles of defective parts. If they want to push a change to the machine or release a new model they’d either have to rework the machines, trash them, or wait till they all sold before improving their product. Even worse, they may find themselves twiddling their thumbs waiting for their supply to decrease enough to start manufacturing again. This deprives them of opportunities to improve their process and leads to a lax work environment.

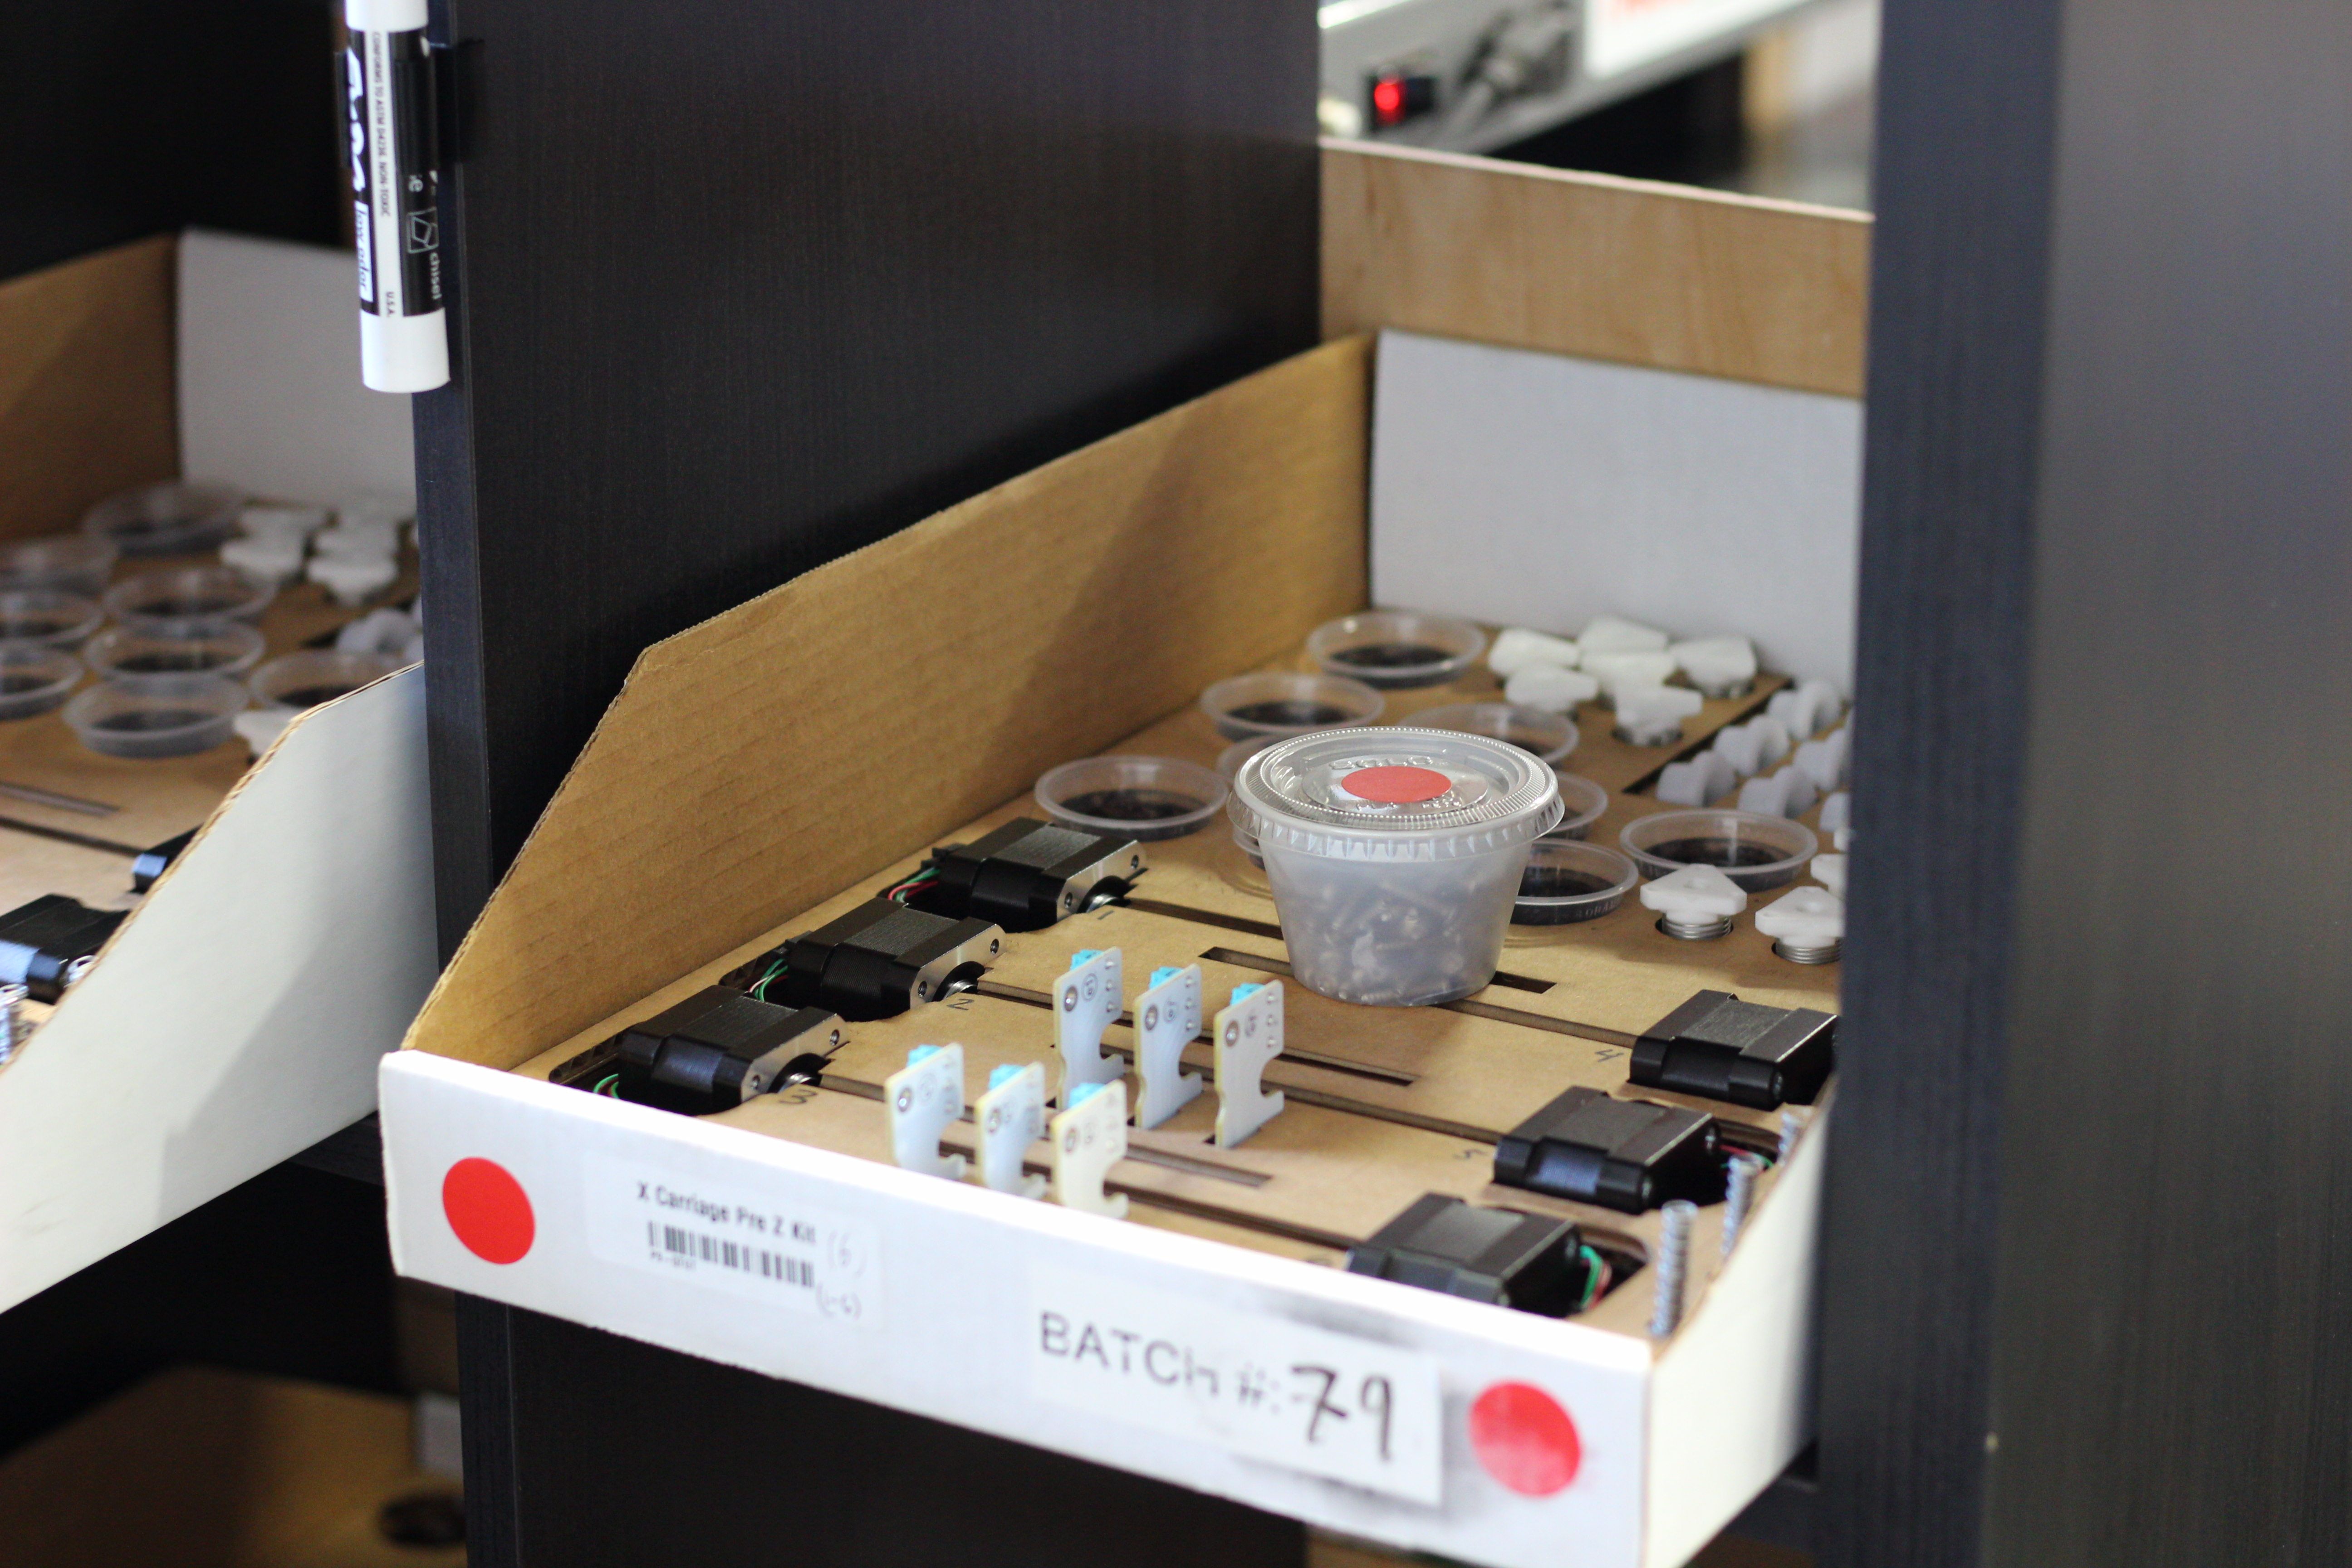
One way to ensure that parts are properly handled and inventory is kept to a minimum is with proper visual controls. To this end, Othermachine Co has custom cardboard bins made that perfectly cradle all the precision parts for each process in their own color coded container. Since the shop floor is quite small, it lets them focus on making spindle assemblies one day and motion assemblies another without having to waste time between each step. Also, someone can rekit the parts for a recently completed step easily without interrupting work on the current process going on.
IMG_0373

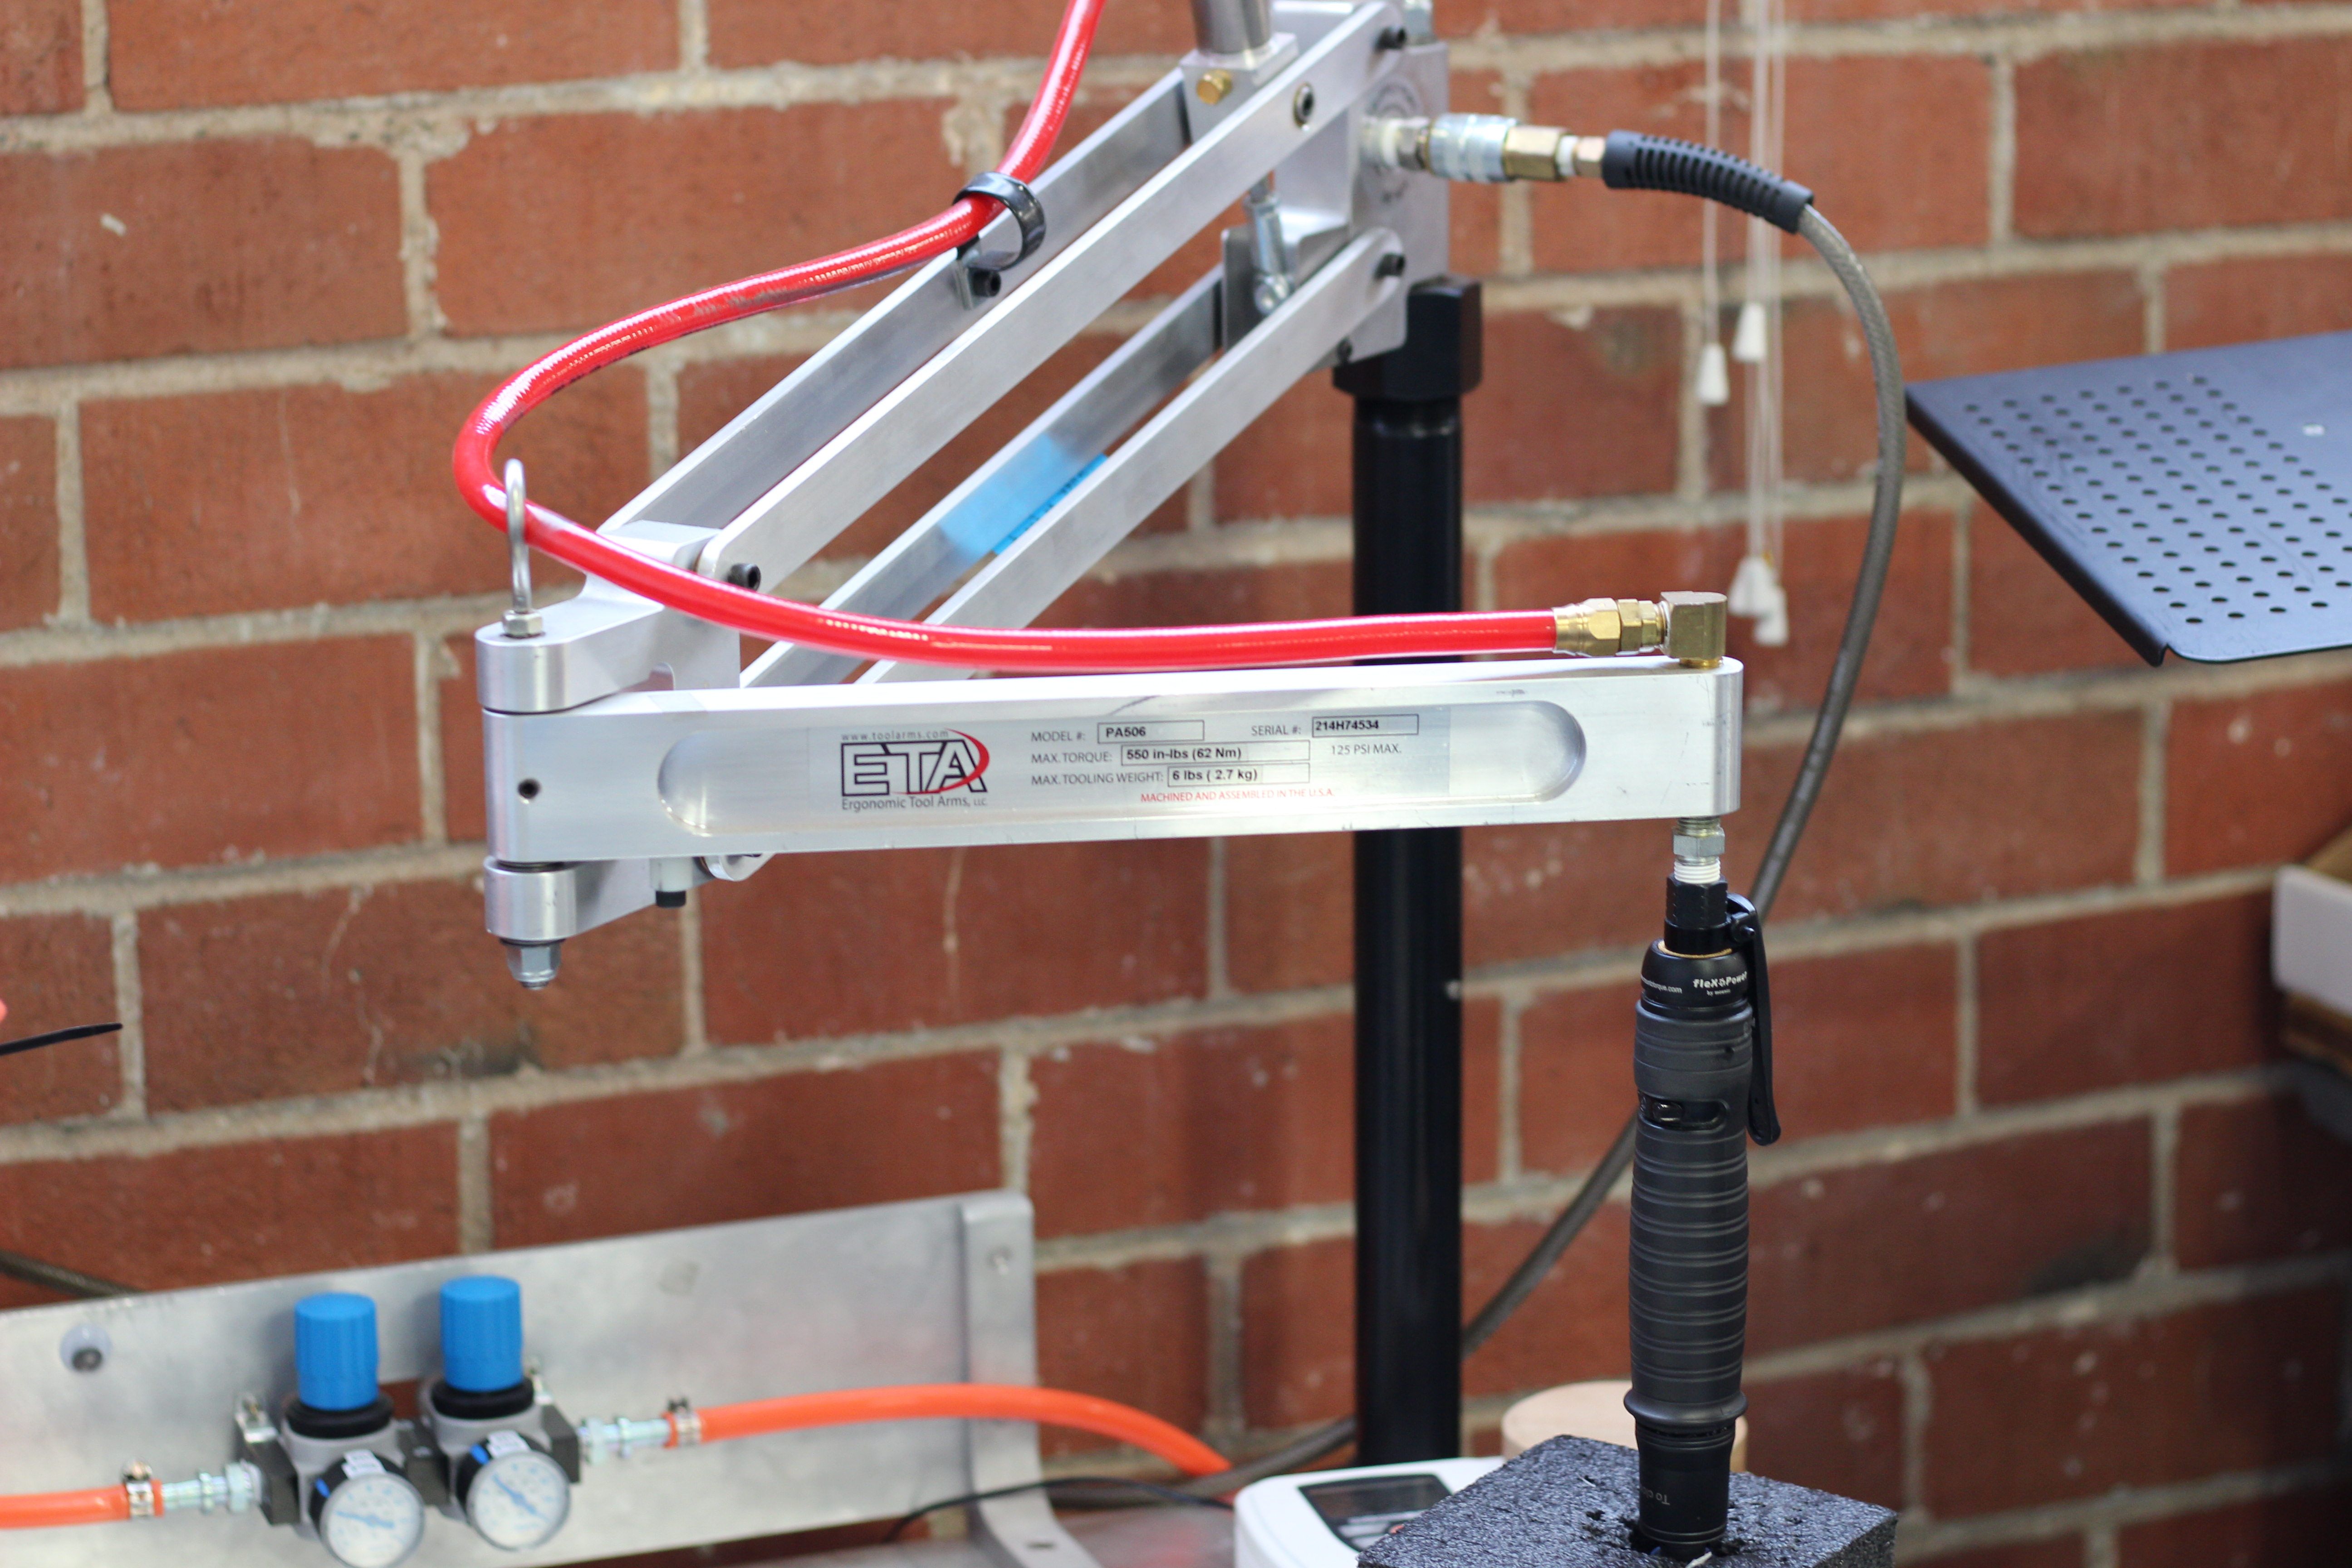
It’s hard to define what’s over processing and what isn’t. My favorite example of what isnt, and something I’ve fought for on nearly every factory floor I’ve worked on is proper torque limiting screwdrivers. They’re a little expensive, but they are a wonderful tool that helps to avoid costly rework and over processing. For example, let’s say you didn’t have a torque limiting screwdriver. Maybe your customers would complain that occasionally a screw came loose. Now, one way to solve this would be the liberal application of Loctite. Another way would be an additional inspection step. Both of these are additional and completely uneccessary steps as most screws will hold as long as they are torqued properly.

In one factory I worked in, it was often a problem that a recently hired worker would overtorque a screw, either stripping it or damaging the parts it was mating together. A torque limiting screwdriver takes the worker’s physical strength out of the equation, while reducing their fatigue throughout the day. It’s a win/win. Any time a crucial step can go from unknown to trusted with the application of a proper tool or test step it is worth it.

Another section where Othermachine Co. applied this principle is with the final machining step for the CNC bed. The step produces a large amount of waste chips. Rather than having an employee waste time vacuuming out every Othermill after it has gone through this process, they spent some time designing a custom vacuum attachment. This essentially removed an entire production step. Not bad!
IMG_0396 (2)

With the proper management of waste it is entirely possible to save money and improve a process at the same time. It takes a bit of training to learn how to see it. It helps to have an experienced person around in order to learn how to properly respond to them, but with a bit of practice it becomes a skill that spreads to all areas of life. Have any of you had experience with this kind of problem solving? I’ve really enjoyed learning from the work stories posted in the comments.


Bluetooth HID Gamepad And HC-05 Serial Hack

“Which came first, the chicken or the egg?” Don’t bother us with stupid questions, they both co-evolved into the forms that we now serve up in tasty sandwiches or omelets, respectively. “Which came first, the HC-05 serial-flash-hack, or the wireless Bluetooth Gamepad?” Our guess is that [mitxela] wanted to play around with the dirt-cheap Bluetooth modules, and that building the wireless controller was an afterthought. But for that, it’s a well-done afterthought! (Video below the break.)

It all starts with the HC-05 Bluetooth module, which is meant to transfer serial data, but which can be converted into a general-purpose device costing ten times as much with a simple Flash ROM replacement. The usual way around this requires bit-banging over a parallel port, but hackers have worked out a way to do the same thing in bit-bang mode using a normal USB/Serial adapter. The first part of [mitxela]’s post describes this odyssey.

Continue reading “Bluetooth HID Gamepad And HC-05 Serial Hack”