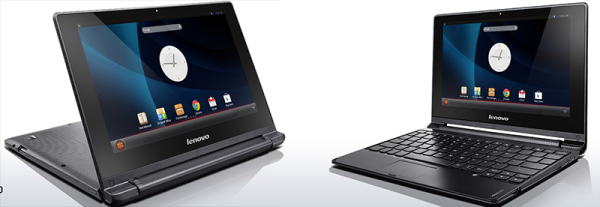
As obsolete as the original IBM Model 5150 PC may appear, it’s pretty much the proverbial giant’s shoulders upon which we all stand today. That makes the machine worth celebrating, so much so that we now have machines like the Book8088, a diminutive clamshell-style machine made from period-correct PC chips; sort of a “netbook that never was.”
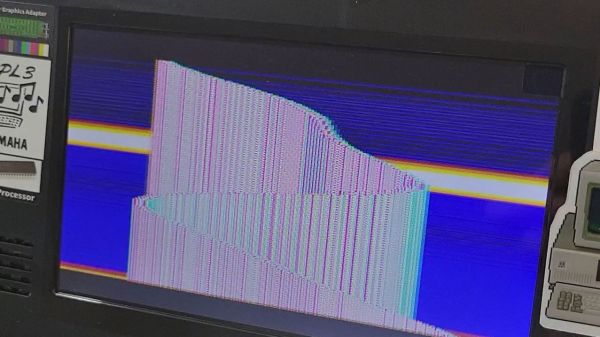
But the Book8088 only approximates the original specs of the IBM PC, making some clever hardware hacks necessary to run some of the more specialized software that has since been developed to really stretch the limits of the architecture. [GloriousCow]’s first steps were to replace the Book8088’s CPU, an NEC V20, with an actual 8088, and the display controller with a CGA-accurate Motorola MC6845. Neither of these quite did the trick, though, at least not on the demanding 8088MPH demo, which makes assumptions about CPU speed based on the quirky DRAM refresh scheme used in the original IBM PC.
Knowing this, [GloriousCow] embarked on a bodge-fest aimed at convincing the demo that the slightly overclocked Book8088 was really just a 4.77-MHz machine with a CGA adapter. This involved cutting a trace on the DMA controller and reconnecting it to the machine’s PIO timer chip, with the help of a 74LS74 flip-flop, a chip that made an appearance in the 5150 but was omitted from the Book8088. Thankfully, the netbook has plenty of room for these mods, and with the addition of a little bit of assembly code, the netbook was able to convince 8088MPH that it was running on the correct hardware.
We thoroughly enjoyed this trip down the DMA/DRAM rabbit hole. The work isn’t finished yet, though — the throttled netbook still won’t run the Area 5150 demo yet. Given [GloriousCow]’s recent Rust-based cycle-accurate PC emulation, we feel pretty good that this will come to pass soon enough.