Between 1976 and 1978, over one million Coleco Telstar video game consoles were sold. The Killer App that made them so desirable? PONG. Yep, those two paddles bouncing a ball around a blocky tennis court were all the rage and helped usher in a new era. And as [Dave] of Dave’s Garage shows us in the video below the break, the bringing the old console back to life proved simpler than expected!
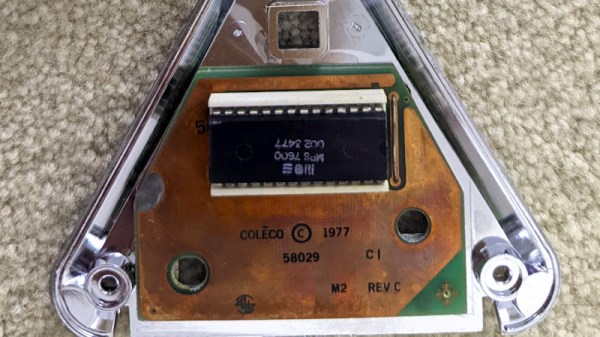
Thankfully, the console is built around what [Dave] quite aptly calls “PONG on a chip”, the General Instrument AY-3-8500 which was designed to make mass production of consoles possible. The chip actually contains several games, although PONG was the only one in use on the Coleco.
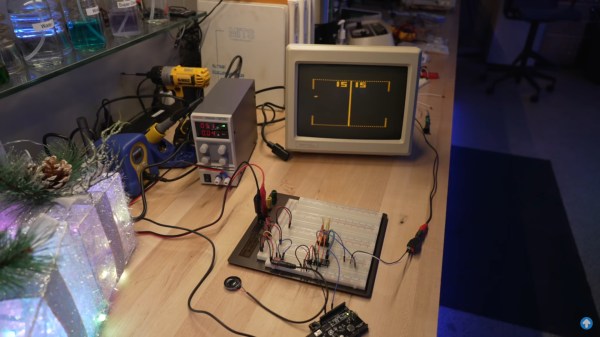
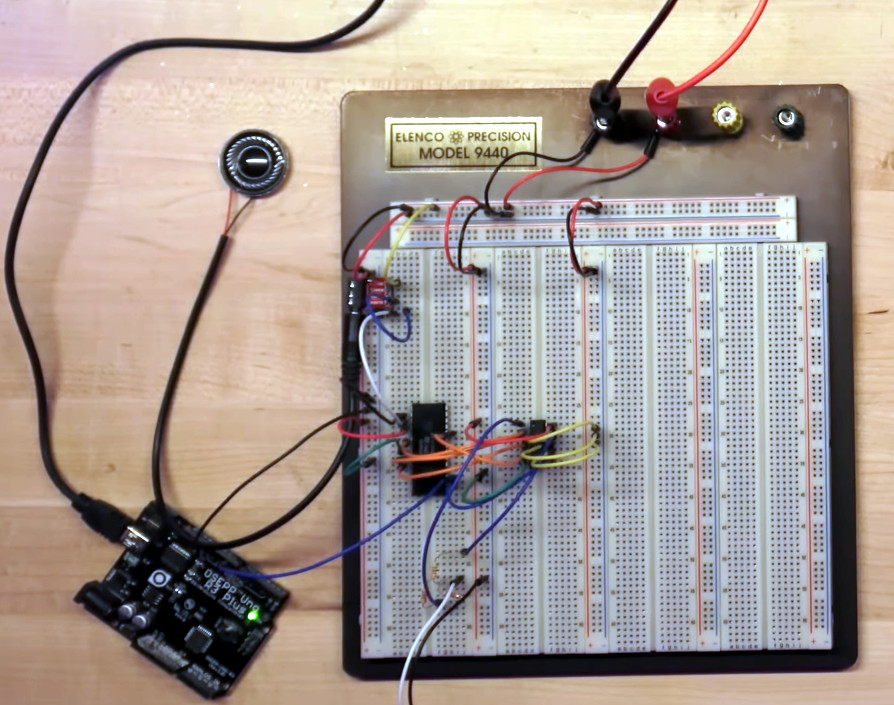
 After removing the CPU from the non-functional console, [Dave] breathed life into it by providing a 2 MHz clock signal that was generated by an Arduino, of all things. A typical 2N2222 amplifies the audio, and a quick power up showed that the chip was working and generating audio.
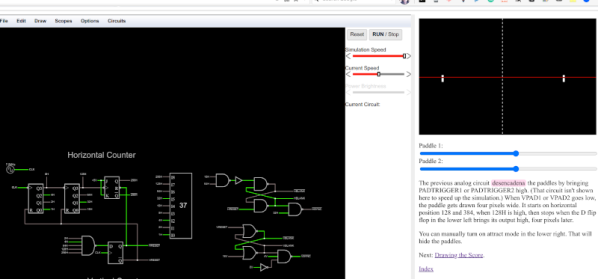
Video is smartly taken care of just as it was in the original design, by combining various signals with a 4072 OR gate. With various video elements and synchronization patterns combined into a composite video signal, [Dave] was able to see the game on screen, but then realized that he’d need to design some “paddles”. We’ll leave that up to you to watch in the video, but make sure to check the comments section for more information on the design.
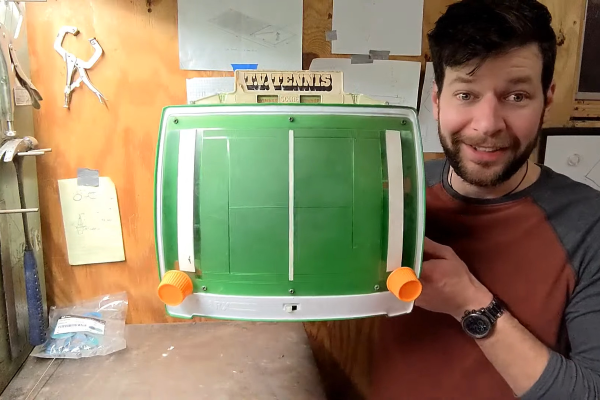
Is a breadboarded PONG console not retro enough for you? Then check out this old school mechanical version that was found languishing in a thrift store.
Continue reading “Resurrecting PONG, One Jumper Wire At A Time” →