Ah crowdfunding. You might say we have a love/hate relationship with it here at Hackaday. We’ve seen some great projects funded through sites like Kickstarter, IndieGoGo, and the like. We’ve also seen projects where the creators were promising more than they could deliver. While the missed deliveries and outright scams do get a lot of press, we believe that crowdfunding in general is a viable platform for getting a project funded.
Closer to home, Hackaday.io hosts thousands of projects. It’s no surprise that some of these have had crowdfunding campaigns. This week’s Hacklet focuses on those projects which have taken the leap into the crowdfunding arena.
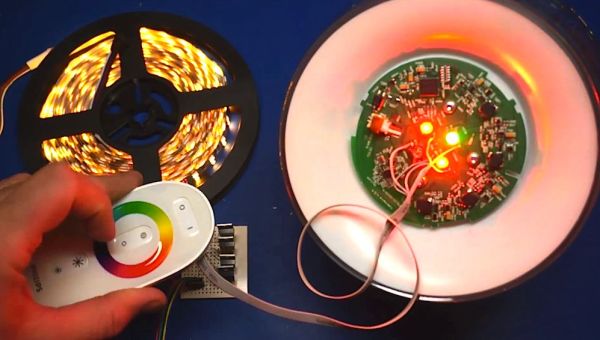
 We start with [Louis Beaudoin] and SmartMatrix. [Louis] has created an awesome Teensy 3.1 based system for displaying images, animated graphics, and random patterns on a 32×32 RGB LED panel. The LED panel is the same type used in commercial LED billboards. SmartMatrix is open source, and includes extra pins for hacking. Our own [Mike Szczys] hacked the SmartMatrix to create a 1-pixel PacMan clone. [Louis’] Kickstarter is almost over, and needs a huge boost for fully-assembled SmartMatrix to make its goal. Even if the campaign isn’t successful, we think its a great project and you can always get a solder-it-yourself kit from The Hackaday Store!
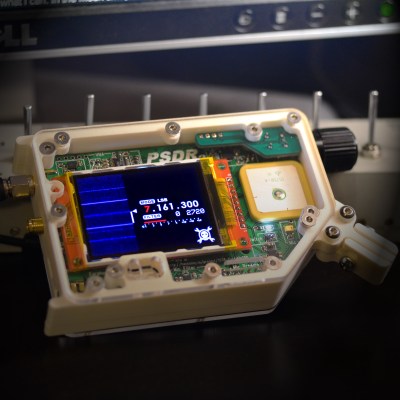 Next up is [Michael R Colton] with PortableSDR. PortableSDR was one of the five finalists in The 2014 Hackaday Prize. This pocket-sized software defined radio transceiver started as a ham radio project: a radio system which would be easy for hams to take with them on backpacking trips. It’s grown into so much more now, with software defined radio reception and transmission, vector network analysis, antenna analysis, GPS, and a host of other features. [Michael] raised a whopping $66,197 in his Kickstarter campaign, and he’s already delivered the hand assembled prototypes to their respective backers! Even the lower level rewards are awesome – [Michael’s] PSDR key chains are actually PCBs which can be turned into maple compatible ARM devboards with just about $10 of additional parts.
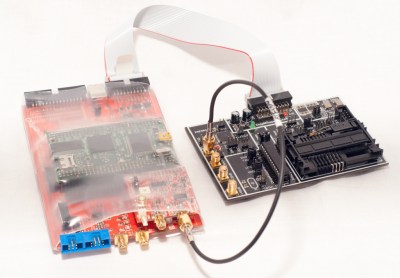 Next we have The ChipWhisperer, [Colin Flynn’s] embedded security testing system, which won second place in the 2014 Hackaday Prize. We’ve covered both [Colin] and the ChipWhisperer several times on the Blog. You can always buy the full ChipWhisperer from [Colin’s] company, NewAE Technology Inc. At $1500 USD, the ChipWhisperer is incredibly affordable for a hardware security tool. That price is still a bit high for the average hacker though. [Colin] created a Kickstarter campaign for a light version of the ChipWhisperer. This version is a great platform for learning hardware security, as well as an instrument for testing embedded systems. The campaign was a huge success, raising $72,079.
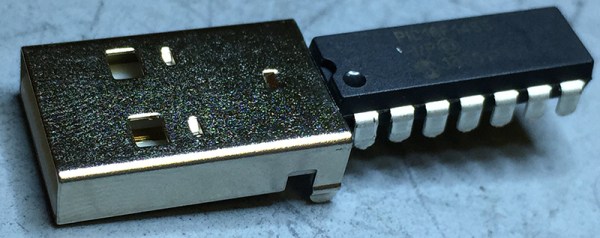
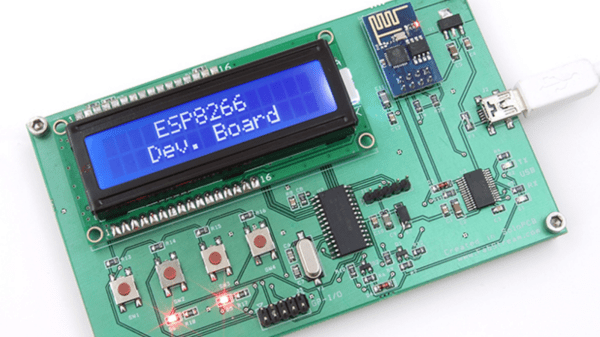
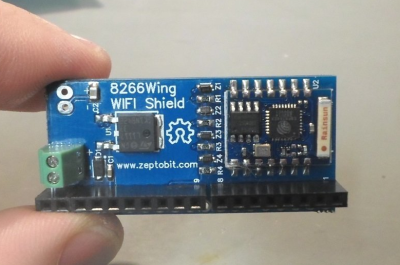 Not every crowdfunding project has to be a massive megabuck effort though. [ZeptoBit] just wanted to solve a problem, he needed a WiFi shield for Arduino using an ESP8266 module. ESP8266 WiFi modules have been all the rage for months now, but they can be a bit of a pain to wire up to an Arduino Uno. The dual row .100 headers are not bread board friendly. The ESP8266’s 3.3 V power and interface requirements mean that a regulator and level shifters are needed to get the two boards working together. [ZeptoBit] put all that and more on his wingboard. It worked so well that he launched a Kickstarter campaign for a small run of boards – his initial goal was kr3,500, or $425 USD. He ended up raising kr13,705, or $1665 USD. Not bad at all for a hobby project!
If this isn’t enough crowdfunding goodness for you, check out our Crowdfunding list! That’s it for this week’s Hacklet, As always, see you next week. Same hack time, same hack channel, bringing you the best of Hackaday.io!