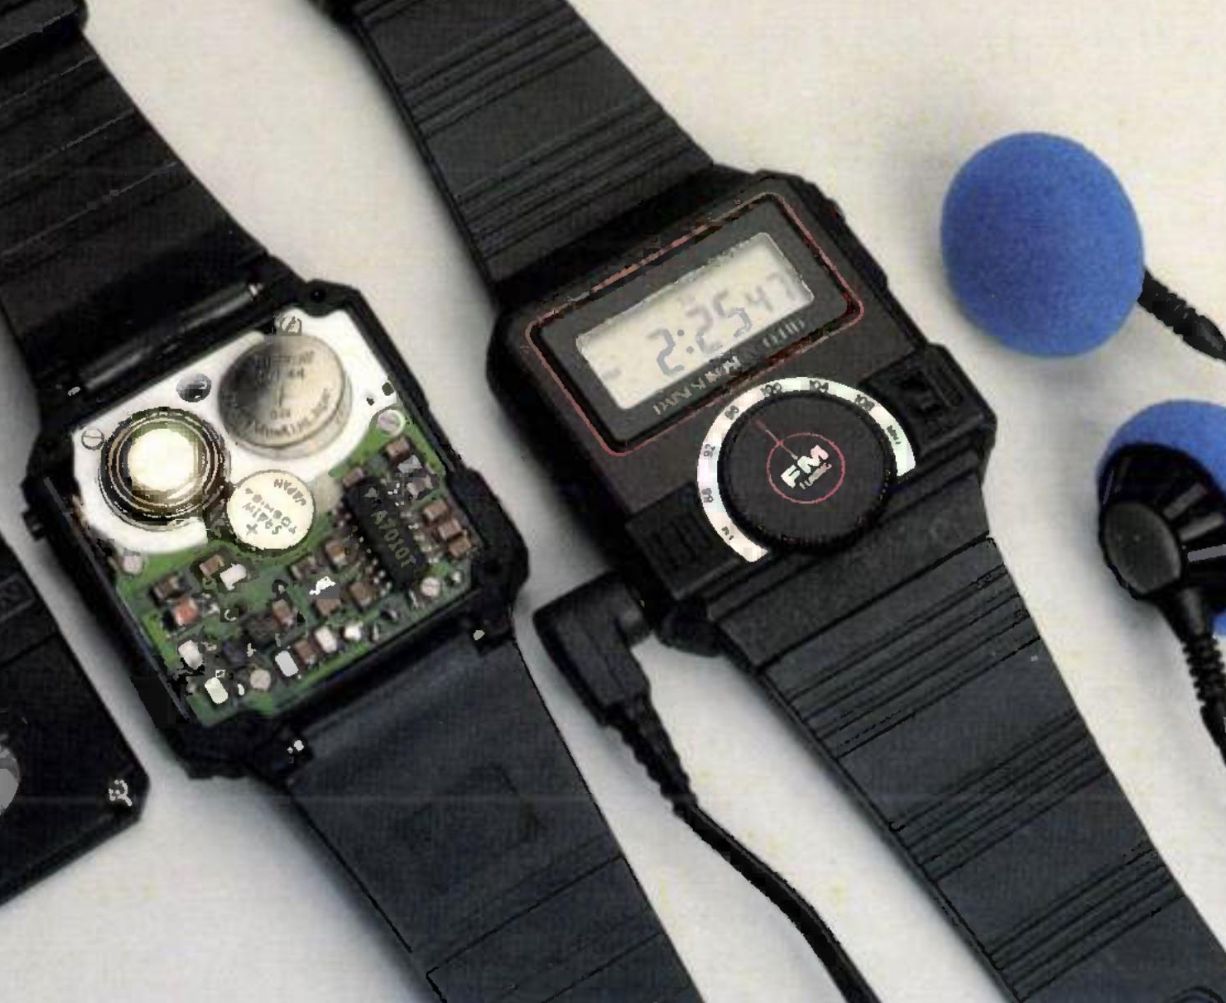
During the 1980s a lot of consumer devices suddenly got a lot smaller as large-scale integration using semiconductor technology took off. This included radios, with Philips’ TDA7000 FM radio receiver IC being the first to cram most of what you’d need for an FM radio receiver into a single chip. Recently, [Ken Shirriff] had a poke at analyzing a die shot of the TDA7000, reverse-engineering its functional blocks. How did the Philips engineers manage to miniaturize an FM radio? [Ken] will show you.
Although the most popular e-reader by far is the Kindle, some argue that its primary use isn’t even as an e-reader at all but rather as a storefront for one of the world’s richest companies. For those who want user-focused consumer electronics instead, we’ll often reach for something more untethered, like an off-brand ebook that’s nothing more than an Android tablet with an e-paper display or even a jailbroken Kindle freed from the chains of Amazon. But as our 555 enthusiast community continually points out, even these are overkill for reading books. Enter the ZEReader.
The ZEReader started out as a bachelor’s engineering thesis project by [Anna-Lena Marx], whose goal was an open-source, microcontroller-based e-reader instead of the Linux or Android ones most commonly available. She’s based the firmware around the Zephyr Real-Time Operating System, which is an RTOS geared towards embedded devices. With this as a backbone, it’s trivially easy to implement the e-reader on different microcontrollers as well as use a wide variety of screens. Although the firmware is a work-in-progress, it’s already mature enough to support all of the basics of an e-reader, such as reading .epub files, navigating through the book, and saving progress. It even includes basic HTML parsing.
When all else fails, there’s amateur radio — and handwritten notes. Both ham radio and clear thinking helped rescue a mother and her son from a recent California camping trip gone wrong. While driving to the campsite in the Stanislaus National forest, the 49-year-old mother had the not-uncommon experience of GPS leading her and her 9-year-old son on a merry chase, sending her down a series of forest roads. Eventually the foliage got too dense for the GPS signals to penetrate, leaving the pair stranded in the forest with no guidance on how to get out.
The Apple II was made in great numbers, as was the Commodore 64. But the Mimic Spartan? It was a weird Apple II clone that you needed a Commodore 64 to use. [ARC Javmaster] has found one of these obscure machines and has set about bringing it back to life. Check out the video below.
The story of the machine has been told online by one of the developers on the project, one [Brent Marykuca]. Basically, the Mimic Spartan was an Apple II clone that was intended to take advantage of a C64 as a host machine. It came in a beige box with a bunch of edge connectors and cables sticking out, and you were intended to nest it on the back of your C64 so it could hook up to all the ports. Then, you could use your machine as a C64 or an Apple II, or sort of… both… and even exchange data between both machines in some limited ways. There are also a few details of this obscure machine that have been collated by [Mike Naberezny], who is seeking the original disk that shipped with the machine when new.
It’s early days yet for [ARC Javmaster]’s efforts to restore the Mimic Spartan. Thus far, it’s had a clean and basic test. It was able to display a short line of text on a display before ceasing activity. A full boot hasn’t been achieved just yet, but we can’t wait to see where the resurrection efforts go next.
The depth of field you get with a cheap Tomlov DM9 digital microscope. Pictured is the tip of a ballpoint. (Credit: Outdoors55, YouTube)
We have all seen those cheap digital microscopes, whether in USB format or with its own screen, all of them promising super-clear images of everything from butterfly wings to electronics at amazing magnification levels. In response to this, we have to paraphrase The Simpsons: in this Universe, we obey the laws of physics. This applies doubly so for image sensors and optics, which is where fundamental physics can only be dodged so far by heavy post-processing. In a recent video, the [Outdoors55] YouTube channel goes over these exact details, comparing a Tomlov DM9 digital microscope from Amazon to a quality macro lens on an APS-C format Sony Alpha a6400.
First of all, the magnification levels listed are effectively meaningless, as you are comparing a very tiny image sensor to something like an APS-C sensor, which itself is smaller than a full-frame sensor (i.e., 35 mm). As demonstrated in the video, the much larger sensor already gives you the ability to see many more details even before cranking the optical zoom levels up to something like 5 times, never mind the 1,500x claimed for the DM9.
On the optics side, the lack of significant depth of field is problematic. Although the workarounds suggested in the video work, such as focus stacking and diffusing the light projected onto the subject, it is essential to be aware of the limitations of these microscopes. That said, since we’re comparing a $150 digital microscope with a $1,500 Sony digital camera with macro lens, there’s some leeway here to say that the former will be ‘good enough’ for many tasks, but so might a simple jeweler’s loupe for even less.
Guitar Hero was all the rage for a few years, before the entire world apparently got sick of it overnight. Some diehards still remember the charms of rhythm games, though. Among them you might count [Joseph Valenti] and [Daniel Rodriguez], who built a Keyboard Hero game for their ECE 4760 class at Cornell.
Keyboard Hero differs quite fundamentally from Guitar Hero in one major way. Rather than having the player tackle a preset series of “notes,” the buttons to press are instead procedurally generated by the game based on incoming audio input. It only works with simple single-instrument piano music, but it does indeed work. A Raspberry Pi Pico is charged with analyzing incoming audio and assigning the proper notes. Another Pi Pico generates the VGA video output with the game graphics, which is kept in sync with the audio pumped out from the first Pico so the user can play the notes in time with the music. Rather than a guitar controller, Keyboard Hero instead relies on five plastic buttons assembled on a piece of wood. It works.
It’s obviously not as refined as the game that inspired it, but the procedural generation of “notes” reminds us of old-school rhythm game Audiosurf. Video after the break.
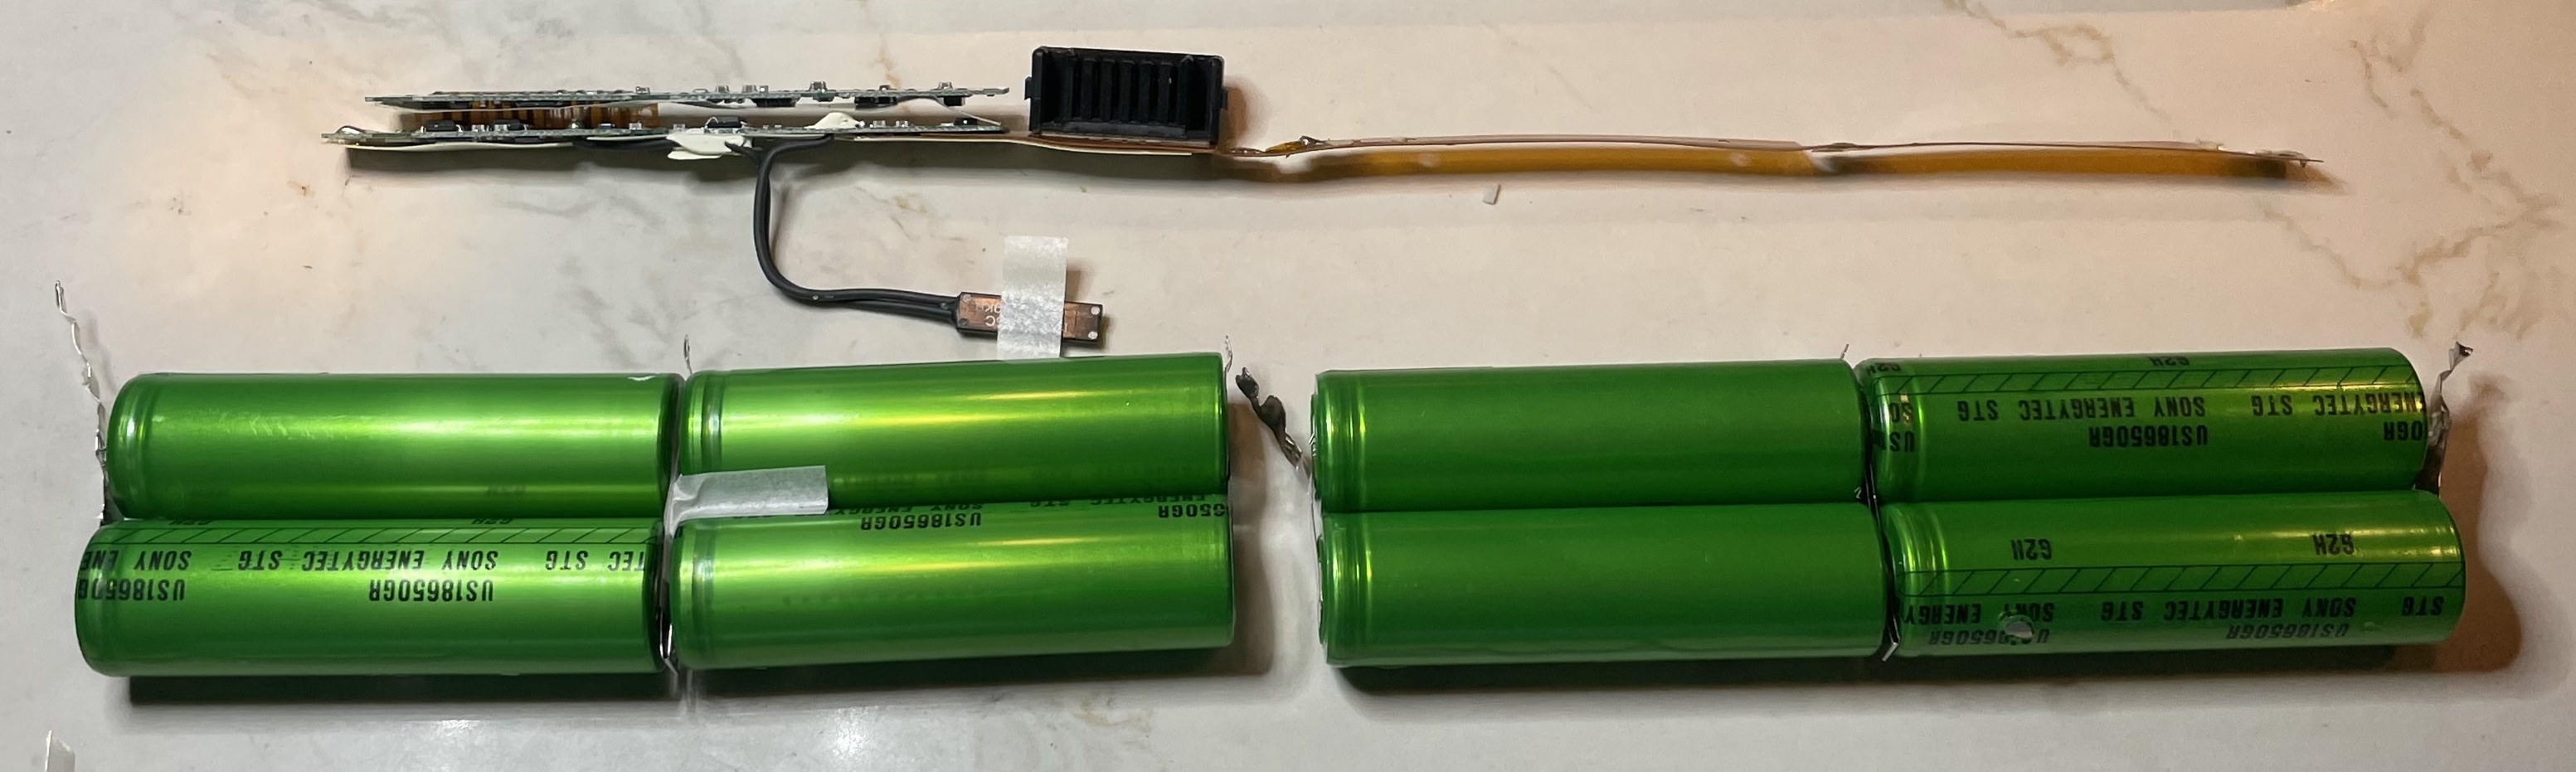
Keeping retrocomputers going can be tricky enough, but when you’re talking retro laptops, the battery packs add an extra challenge. While one could simply live without the battery, that’s not going to give you the full retro experience. Replacement batteries are long out of stock, so what can one do? Well, one can check out this excellent tutorial by [lazd] on rebuilding an iBook G3 Clamshell battery.
Even if you don’t have this particular laptop, the general process is likely to be similar for PC laptops of similar vintage. (Which we still can’t believe is a whole quarter-century ago.) Luckily for retrocomputer enthusiasts, even Apple used standard 18650 cells in those bygone, halcyon days when computers were allowed to be more than a few atoms thick. They do need to be unprotected, flat-top cells, but that’s easy enough to source.
So it’s really a matter of carefully prying apart the casing (apparently it needs to be Apple-branded; aftermarket cases can’t survive being opened), removing the old batteries, and welding nickel tabs onto the new cells in the proper configuration. One thing that surprised us is that, apparently, Apple did not go in for balancing in those days — so make sure your cells are all in perfect condition and all equally charged before you start, or things won’t end nicely.
As always, battery orientation matters! The cells are welded into two sets in this Clamshell iBook battery.
Assuming you can pull it off (and your battery pack’s control chip has lasted the 300 moons since its manufacture), you’ll get a not-insignificant 5-hour battery run out of what’s sure to be the cutest clamshell computer at the cafe.