A Hackvent calendar made of LEDs!

Hackvent Calendar Will Open The Door And Get Your Kids Soldering

Who says it’s too early to get in the holiday spirit? We say it’s not. After all, people need time to get in the spirit before it comes and goes. And what better way to count down the days until Christmas than an electronic Advent calendar?

Soldering up a bunch of LEDs to nails, old school style.[Tom Goff]’s kids had some pretty cool ideas for building a decoration, like a musical, lighted sleigh complete with robotic Santa Claus. While that’s a little much to pull off for this year, they did salvage the music and lights part for their Hackvent calendar.

There are 24 small LEDs for December 1st through the 24th, and a big white star for December 25th. Each day, the kids just push the button and the day’s LED lights up. On the big day, all the small lights cascade off and the white one lights up, then it plays Jingle Bells through a sound playback module.

Each LED is connected directly to an input on an Arduino Mega. While there are several ways of lighting up 25 LEDs, this one is pretty kid-friendly. We think the coolest part of this build is that [Tom] and the kids did it old school, with nails hammered into the laser-cut plywood and used as connection terminals. Be sure to check it out in action after the break.

The more time you have, the more you can put into your Advent calendar build. Like chocolates, for instance.

Continue reading “Hackvent Calendar Will Open The Door And Get Your Kids Soldering”

Abandoned Airplane Takes Off Again As Luxury RV

You remember how you wanted to combine everything as a kid? Like lions and tigers into ligers and so on? Well, some kids dream of transportation hybrids. For eighty-year-old [Gino Lucci], now an Air Force retiree, that dream involved a recreational vehicle that combined an airplane fuselage and a delivery truck.

There it was, rusting in a field outside Rolla, Missouri — the vintage plane that would start [Gino Lucci] on the path to fulfilling this dream. This project began when [Gino]’s son spotted the body of a 1943 Douglas R4D military transport aircraft.

Over the next year, [Gino] and his sons painstakingly fused the fuselage to the chassis of an International DuraStar 4400 medium-duty truck. We love how they went about it. [Gino] and the boys just kept putting the two together and cutting away the fuselage in stages until they got it right. After making it roadworthy, it took another two years to work out the kinks.

The Fabulous Flamingo is 38 feet (11.6 meters) long and stands 12.5 feet (3.81 meters) tall. But the best metric is the width. It’s unspecified, but is apparently half an inch (1.27 cm) under the definition of what is street legal in Michigan. They used the plane’s engine cowlings as fenders and got the mirrors off of a ’70s Ford pickup. Floor it past the break and check it out.

This build cost about $20,000 USD all told. If you’ve got that kind of money, you could instead stuff a powerful engine into a tiny plane to get your kicks.

Continue reading “Abandoned Airplane Takes Off Again As Luxury RV”

A robot that detects whether you are awake and gently taps you if not.

Wake-Up Robot Does It Gently

For hundreds of years, people have fallen asleep while reading in bed late at night. These days it’s worse, what with us taking phones to the face instead when we start to nod off. At least they don’t have pointy corners like books. While you may not want to share your bedroom with a robot, this wake-up robot by [Norbert Zare] may be just the thing to keep you awake.

Here’s how it works: a Raspberry Pi camera on a servo wanders around at eye level, and the Pi it’s attached to uses OpenCV to determine whether those eyes are open or starting to get heavy. The bot can also speak — it uses eSpeak to introduce itself as a bot designed not to let you sleep. Then when it catches you snoozing, it repeatedly intones ‘wake up’ in a bored British accent.

We were sure that the thing was designed to slap [Norbert] in the face a la [Simone Giertz]’s robot alarm clock, but no, that long-fingered hand just slowly swings down and gently taps [Norbert] on the arm (or whatever is in the path of the slappy hand). Check out the short demo and build video after the break.

Do you want to be awoken even more gently? Try a sunlight lamp. We’ve got dozens in stock, but this one gradually gets about as bright as the sun.

Continue reading “Wake-Up Robot Does It Gently”

An array of 3D-printed parts for old sewing machines.

Printed Sewing Machine Parts Extend Singer’s Range

[Grow Your Own Clothes] had finally found their ideal sewing machine for doing zig-zag stitches (/\/\/\) and converting to a treadle drive (mechanically foot-fed) — a Singer 411G. This is a well-respected workhorse of a machine, and if you see one in a secondhand store, you might want to grab it. The only problem is that its multi-step zig-zag stitch is a 4-stepper and not a 3-step, which is what [GYOC] prefers. Having heard it was possible to hack them into doing a 3-step, [GYOC] set out to learn Tinkercad and grow their own sewing machine parts.

A 3D-printed cam lets this machine do the zig-zag in three steps instead of four.
The new zig-zag top hat cam in place.

So once upon a time, sewing machines didn’t just do a bunch of things out of the box. They needed an array of plastic cams to do different stitches, kind of like trading out the element or disk in a typewriter to print in italics. While most machines still have exchangeable feet for different needs and special parts for sewing things like buttonholes, most domestics now have decorative stitches and their cams built in.

The 3-step zig-zag cam was just the beginning. [GYOC] decided to make a few more parts before their Tinkercad knowledge faded: a needle adapter with an improved design, some tension stud sprockets for a different machine, and a couple of buttonhole templates for making different sizes with a buttonholer. Although they aren’t giving away the files for free, all of these parts are available quite cheaply in their Shapeways store.

Got an old machine you don’t know what to do with? Try converting it to a computerized embroidery machine.

Thanks for the tip, [Raphael]!

Master craftsperson turns a huge bolt into a pneumatic engraving tool.

Impressive Hack Turns Bolt Into Pneumatic Engraver

Did you ever see one of those videos that causes you to look at an everyday object in a new light? This is one of those videos (embedded below). And fortunately for us, there’s a write-up to go along with it in case you don’t always understand what’s going on.

In this case, what’s going on is that [AMbros Custom] is masterfully turning a stainless steel M20 bolt into a pneumatic engraving tool. Yeah, you read that correctly. But the most amazing thing about this hack is the minimum of tools used to do it. For one thing, there’s not a lathe in sight — [AMbros Custom] just chucked it into the drill or added a few nuts and clamped it in a vise.

So, how does it work? [AMbros Custom] hooks it up to a compressor, which causes the piston inside to go up and down, agitating the engraving bit. If you don’t want to watch the video, there are a ton of build pictures in the write-up.

What else can you do with a bolt? If you have the tools, you can do plenty. You could even turn one into a secret cash stash for buying more large bolts.

Continue reading “Impressive Hack Turns Bolt Into Pneumatic Engraver”

Illustrated Kristina with an IBM Model M keyboard floating between her hands.

Keebin’ With Kristina: The One With The Cat Keyboard

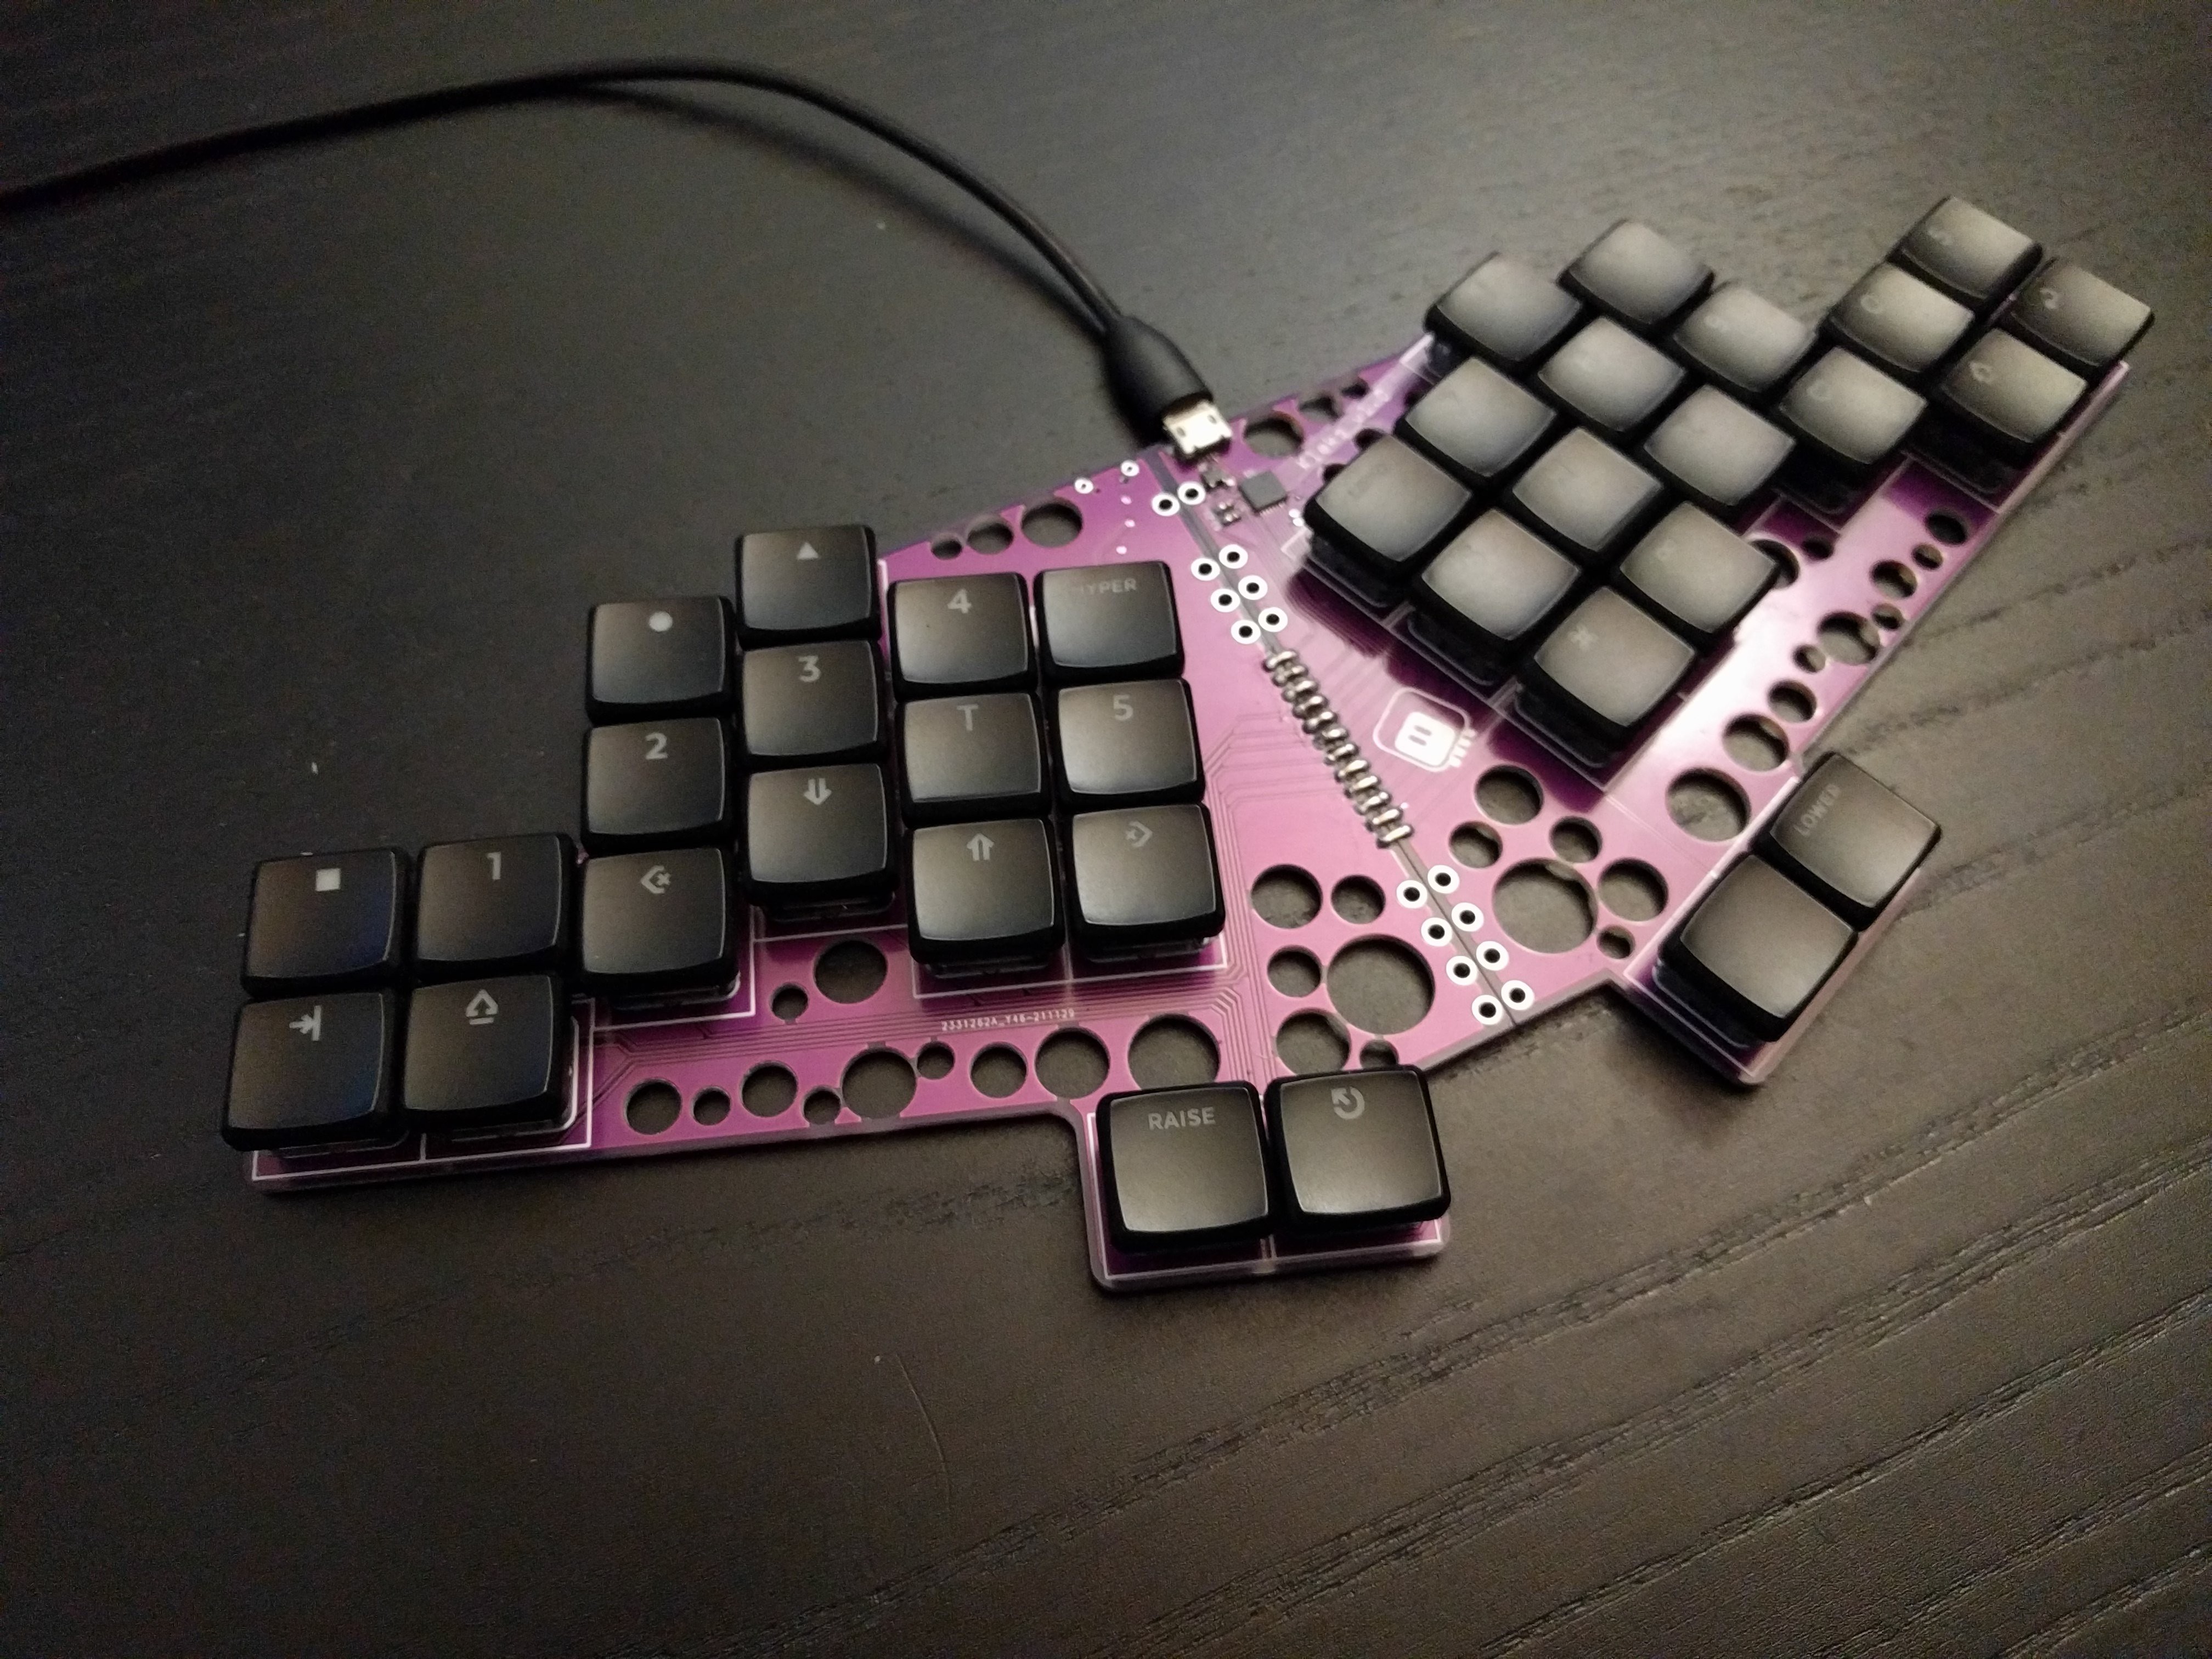
Special thanks to [Maarten], who stumbled upon this old gem of a geekhack thread by [suka]. It’s essentially a show and tell of their DIY keyboard journey, complete with pictures. [suka]’s interest started with a yen for ergonomic keyboard layout alternatives. They soon found the geekhack forum and started lurking around, practicing layouts like Neo and AdNW, which [suka] still uses today.

A pair of num pads wired up to a Teensy becomes a keyboard.When it was time to stop lurking and start building something, [suka] got plenty of support from the community. They knew they wanted a split ortho with a trackpoint and plenty of thumb keys. [suka] started by building them from old Cherry keyboards, which are easier to come by in Germany.

The first build was a pair of num pads turned landscape and wired up to a Teensy, but [suka] wanted those sweet, clacky Cherry MX switches instead of MLs. So the second version used a pair of sawed-off num pads from old MX boards.

When the Truly Ergonomic came out, it got [suka] interested in one-piece splits. Plus, they were tired of carrying around a two-piece keyboard. So their next build was a sexy monoblock split with a laser-sintered case and keycaps. But that was ultimately too uncomfortable, so [suka] went back to split-splits.

Everyone takes a different path into and through this hobby, and they’re all likely to be interesting. Is yours documented somewhere? Let us know.

What Could Have Been: The Dygma Raise

I do some streaming here and there, mostly for the sense of focus I get out of being live on camera. I like to find out what my people in chat are clacking on, and one of them told me they have a staggered split called the Dygma Raise. I hadn’t heard of it before that day, but this keyboard has been around for a few years now.

This same person told me that Dygma might make an ortholinear version sometime soon, but apparently Dygma wanted it that way from the beginning. According to the timely video below sent to the tips line by [deʃhipu], Dygma’s original plan was a split ortho with few keys and presumably a layer system.

Continue reading “Keebin’ With Kristina: The One With The Cat Keyboard”

A scrolling name badge that uses LED matrices.

Scrolling Name Badge Is Sure To Break The Ice

Most makerspaces and hackerspaces have one night per week or month where the ‘space is open to the public in order to entice new people into joining up. Whereas most members just write their name in Sharpie on a piece of masking tape, [Madison] wanted to do something extra. And what better way to get people interested in your ‘space than by wearing something useful that came out of it?

The badge runs on an ATtiny45 and uses three 8×8 ultra-bright LED matrices for scrolling [Madison]’s name. It’s powered by a tiny LiPo battery that is boosted to 5 V. This build really shows off a number of skills, especially design. We love the look of this badge, from the pink silkscreen to the the typography. One of the hardest things about design is finding fonts that work well together, and we think [Madison] chose wisely. Be sure to check it out in action after the break.

Custom name badges are a great way to start conversations no matter where you go. Here’s one that uses EL wire and LEDs that light up in sequence for an animated effect.

Continue reading “Scrolling Name Badge Is Sure To Break The Ice”