Most of our projects are, to some extent, an exercise in glitch-reduction. Whether they’re self-inflicted software or hardware mistakes, or even if the glitches in question come from sources beyond our control, the whole point of the thing is to get it running smoothly and predictably.
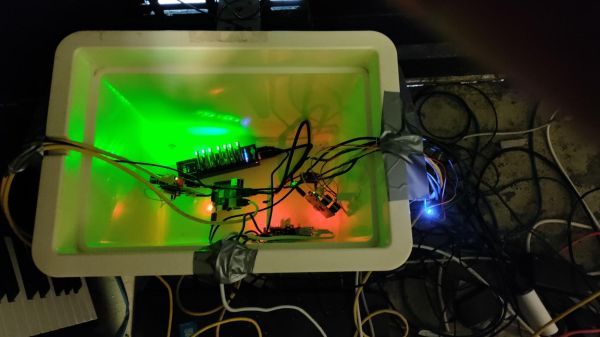
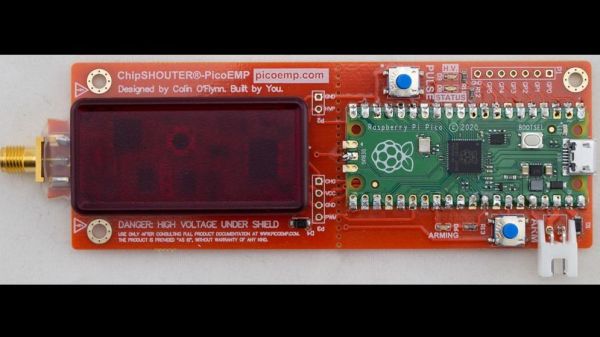
That’s not always the case, though. Sometimes inducing a glitch on purpose can be a useful tool, especially when reverse engineering something. That’s where this low-cost electromagnetic fault injection tool could come in handy. EMFI is a way to disrupt the normal flow of a program running on an embedded system; properly applied and with a fair amount of luck, it can be used to put the system into an exploitable state. The PicoEMP, as [Colin O’Flynn] dubs his EMFI tool, is a somewhat tamer version of his previous ChipSHOUTER tool. PicoEMP focuses on user safety, an important consideration given that its business end can put about 250 volts across its output. Safety features include isolation for the Raspberry Pi Pico that generates the PWM signals for the HV section, a safety enclosure over the HV components, and a switch to discharge the capacitors and prevent unpleasant surprises.
In use, the high-voltage pulse is applied across an injection tip, which is basically a ferrite-core antenna. The tip concentrates the magnetic flux in a small area, which hopefully will cause the intended glitch in the target system. The video below shows the PicoEMP being used to glitch a Bitcoin wallet, as well as some tests on the HV pulse.
If you’re interested in the PicoEMP and glitching in general, be sure to watch out for [Colin]’s 2021 Remoticon talk on the subject. Until that comes out, you might want to look into glitching attacks on a Nintendo DSi and a USB glitch on a Wacom tablet.
Continue reading “Glitch Your Way To Reverse-Engineering Glory With The PicoEMP”