433 On A Stick

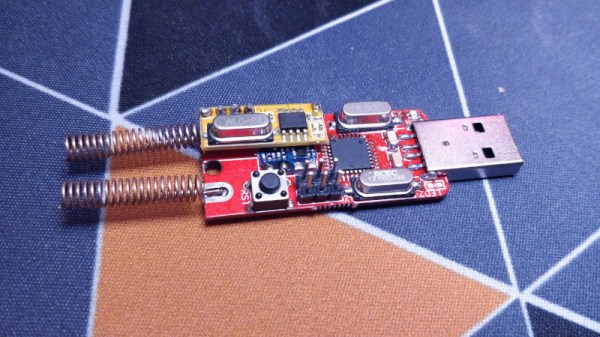
Cheap 433 MHz wireless switches are a tempting way to enter the world of home automation, but without dedicated hardware, they can be less easy to control from a PC. That’s the position [TheStaticTurtle] was in, so the solution was obvious. Build a USB 433 MHz transceiver.

At the computer end is a CH340 USB-to-serial chip and the familiar ATmega328 making this a compact copy of the Arduino. At the RF end are a pair of modules for transmit and receive, unexpectedly with separate antennas. This device is a second revision, after initial experiments with a single antenna connector and an RF switch proved not to work. On the software side the Arduino uses the rc-switch library, while on the PC side there’s a Python library to make sense of it all. The code and hardware files are all on GitHub, should you wish to experiment.

The problem of making a single antenna transceiver is not for the faint-hearted RF engineer, as while diode switches seem on paper to deliver the goods, they can be extremely difficult to get right and preserve linearity. We’re curious that a transceiver module wasn’t used instead, but we’re guessing that cost played a significant part in the equation.

Over the years we’ve featured quite a few fascinating 433 MHz projects, like this TP-Link router conversion.

The Trouble With Tamagotchis…

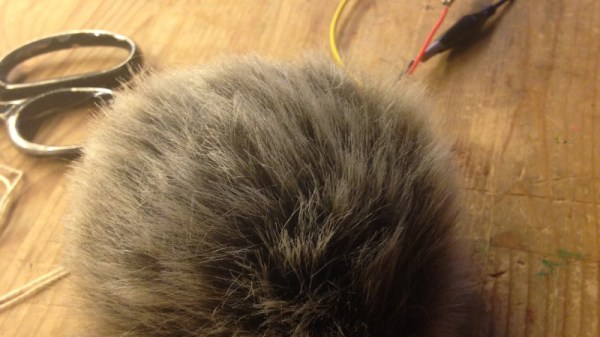
The must-have toy of a couple of decades ago was the Tamagotchi, a virtual pet in an LCD screen on a keyring, that demanded your attention and which would die were you to neglect it. Fortunately it had a reset button on the back through which it could be resuscitated, but even so it lacked a satisfying tactile experience. [Nadine] has done something about this with her Tamagotchi-style Tribble, an anthropomorphic ball of fluff that demands attention and purrs when it receives some.

Inside the ball of fake fur is an Adafruit Circuit Playground with a capacitive touch pad and a haptic motor. After a random time with no attention it “cries”, and its owner strokes it, after which it responds with a purring vibration. It’s quite cute as you can  see in the Twitter video below, and fortunately it won’t multiply and fill up your starship. We wonder whether a small resistive heater to give it a body temperature would complete its appeal as a virtual pet.

Given the popularity of Star Trek TOS among Hackaday readers perhaps it’s surprising that we don’t see more Tribble related projects. They have made a notable appearance as a DEF CON badge though.

Continue reading “The Trouble With Tamagotchis…”

Double The RAM Of A Dreamcast Console For A Cool 32 MB

The Sega Dreamcast is the forgotten orphan of the console wars, an extremely capable machine never able to escape the shadow of its PlayStation rivals and because it marked the end of Sega’s console line, never redeemed in reputation by a more popular successor. It retains a significant following a couple of decades after its heyday though, and still sees hardware hacks such as [Tsowell]’s doubling of its available RAM to 32 MB.

The console shipped with 16 MB of memory in two banks, but while the SH4 processor can address twice that figure the designers at Sega never brought the required address line out from under the BGA. So it should be impossible to give it a memory expansion, but when hardware hackers are at work nothing should be ruled out. The hack involves manipulation of the bank switching addressing, and took several careful readings for us to fully understand. The new RAM chips have two address lines tied together and wired to another, a job for some fine but ultimately not impossible soldering. To take advantage of the extra RAM there are a set of patched BIOS images.

So, if you either have a spare Dreamcast you care little enough about to risk, or you consider your console hacking skills to be so advanced that it will be a piece of cake, you can now double the platform’s RAM. Extra points if you also make it portable.

Thanks [John Little] for the tip.

Header: Evan-Amos / CC BY-SA 3.0

Ask Hackaday: Is Our Power Grid Smart Enough To Know When There’s No Power?

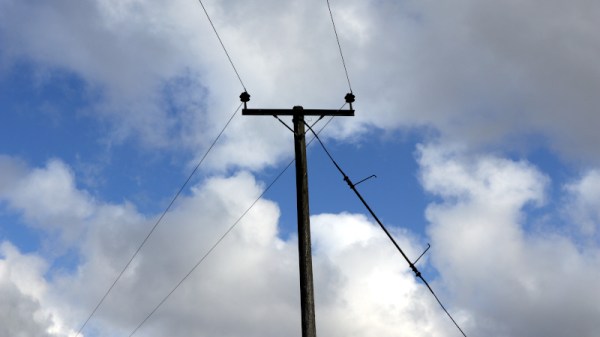
Just to intensify the feeling of impending zombie apocalypse of the COVID-19 lockdown in the British countryside where I live, we had a power cut. It’s not an uncommon occurrence here at the end of a long rural power distribution network, and being prepared for a power outage is something I wrote about a few years ago. But this one was a bit larger than normal and took out much more than just our village. I feel very sorry for whichever farmer in another village managed to collide with an 11kV distribution pole.

What pops to mind for today’s article is the topic of outage monitoring. When plunged into darkness we all wonder if the power company knows about it. The most common reaction must be: “of course the power company knows the power is out, they’re the ones making it!”. But this can’t be the case as for decades, public service announcements have urge us to report power cuts right away.

In our very modern age, will the grid become smart enough to know when, and perhaps more importantly where, there are power cuts? Let’s check some background before throwing the question to you in the comments below.

Continue reading “Ask Hackaday: Is Our Power Grid Smart Enough To Know When There’s No Power?”

Vulkan For The Older Raspberry Pi

You’d be forgiven for thinking that the newer Raspberry Pi 4 gets all the love. For instance, the Raspberry Pi Foundation is working on drivers for the GPU to  support the Vulkan 3D graphics API.

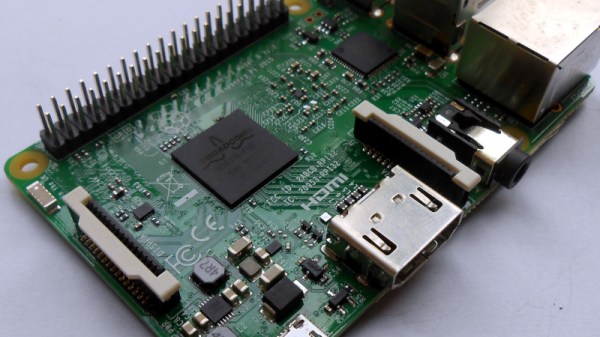
But those of you with crusty old Pi boards shouldn’t despair. [Martin Thomas], a  developer working for Nvidia has produced a driver in his spare time that brings Vulkan to the Broadcom VideoCore IV. He’s hailed it as the first low-level driver for this GPU, and shown it running Quake III on a Pi 3.

Technically it’s not officially Vulkan as it doesn’t have all the required standards conformance, but it’s as near as possible given the limitations of the hardware. Full instructions for building the driver and for installing the Vulkan loader are given in the repository, so it should be possible for tinkerers to have a try. This is likely to be of most interest to gamers as many game engines support Vulkan.

The Pi 4 might be about to take the family further in a 64-bit direction, but this proves that there’s life in the old dogs yet.

Just How Do Aircraft Transponders Work Anyway?

Most of us will have a hazy idea of how radar works to detect aircraft by listening for reflected radio waves. And we’ll probably also know that while radar can detect aircraft, it’s not the most efficient or useful tool in the hands of an air traffic controller. Aircraft carry transponders so that those on the ground can have a clearer picture of the skies, as each one reports its identity, altitude, and position. [Yeo Kheng Meng] was lucky enough to secure a non-functioning aircraft transponder and do a teardown, and his write-up makes for interesting reading as he explains their operation before diving into the hardware.

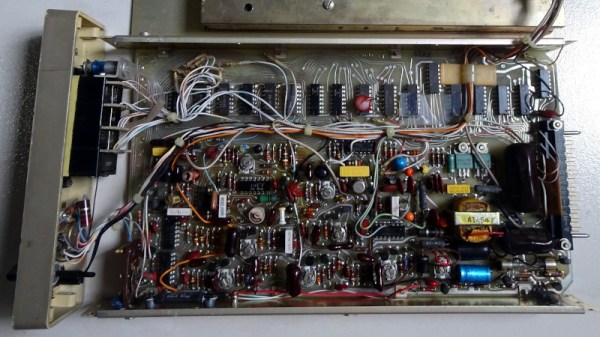
The 1978 and 1979 date codes on the various integrated circuits and transistors identify it as having been made in 1979, so not having a CPU is not entirely unsurprising given its age. Instead this is a straightforward device that responds to pulse lengths of different timings with sequential bursts of data.

[Yeo Kheng] is mystified by the RF strip and associated components, which look to us like a typical crystal oscillator and frequency multiplier strip from that era, along with some screened boxes that probably contain cavity filters and given that there is also a high voltage power supply present, a tube RF power amplifier. GHz-capable semiconductors were quite exotic in the 1970s, while high-frequency tubes had by then a long history.

It’s evident that the tech behind aircraft transponders has moved on since this unit was built, but one thing’s certain. Hackers in 1978 would have had to go to a lot of work to listen to them and interpret the results, while here in the 21st century it’s something we do routinely.

Help Thrust Open Source Satellites To The Next Level

To place a satellite in orbit satisfactorily it is necessary not only to hitch a ride on a rocket, but also to put it in the right orbit for its task, and once it is there, to keep it there. With billions of dollars or roubles of investment over six decades of engineering behind them the national space agencies and commercial satellite builders solved these problems long since, but replicating those successes for open source microsatellites still represents a significant engineering challenge. One person working in this field is [Michael Bretti], who is doing sterling work with a shoestring budget on open source electric thrusters for the smallest of satellites, and he needs your help in crowdfunding a piece of equipment.

Beware suspiciously cheap eBay vacuum pumps!

As part of his testing he has a vacuum chamber, and when he places a thruster inside it he has to create a space-grade vacuum . This is no easy task, and to achieve it he has two pumps. The first of these, a roughing pump, is a clapped-out example that has clearly reached the end of its days, and it is this that he needs your help to replace. His GoFundMe page has a modest target of only $4,200 which should be well within the capabilities of our community in reaching, and in supporting it you will help the much wider small satellite community produce craft that will keep giving us interesting things from space for years to come.

We’ve mentioned his work before here at Hackaday, and we hope that in time we’ll have a chance to look in more detail at his thrusters. Meanwhile you can follow along on Twitter.

Thanks [Bruce Perens K6BP] for the tip.