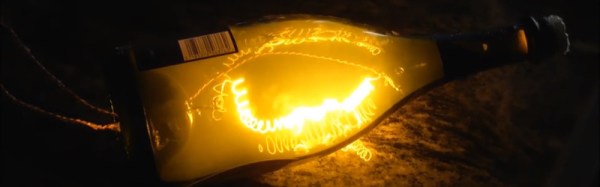
We’re all used to making our own lighting projects. Triac dimmers, LEDs, Neopixels, EL wire, there is a huge array of lighting components and technologies at our fingertips. But how many of us have made our own lighting rather than buying off-the-shelf? [Confined Maker] set out to do just that by creating an incandescent light bulb from scratch, and since he’s obviously a hacker with a bit of class he did it in an empty Dom Perignon champagne bottle.
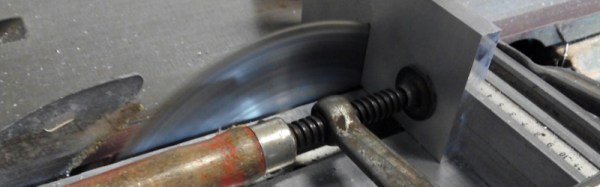
It might seem a daunting project, but as he shows us in the video below the break, it turns out to be surprisingly straightforward with no exotic tooling required. He starts by winding a fine coil of thin tungsten wire round a dowel to act as his filament, before bringing a pair of enameled copper wires through holes drilled in the base of the bottle and out of the neck. The ends of these wires are then spliced to his filament and secured with conductive epoxy before the whole assembly is carefully slid back into the bottle. The holes are caulked with silicone, and the bottle is then carefully charged with argon. Argon is heavier-than-air, so he can do this on the bench with nothing more than a bicycle tube inflator and a drinking straw. The bottle is then sealed with a cork and more silicone, and his bulb is ready.
The first power-up with 120V mains power sees a puff of smoke inside the bottle as a coating on the tungsten is vapourised, but after that the bulb does its job well. He’s concerned about his epoxy melting, and the filament has moved to one side of the bottle so he’s not sure about the lifetime he can expect, but to make a working light bulb with such basic equipment is still an impressive accomplishment. His video below the break is eleven and a half minutes long, but well worth watching every minute.
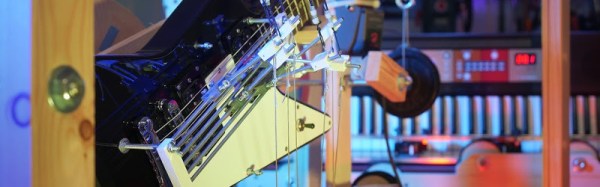
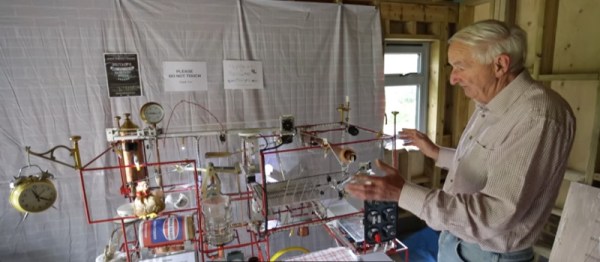
 [Niklas Roy] however has a different vision when it comes to mechanical music. He’s created