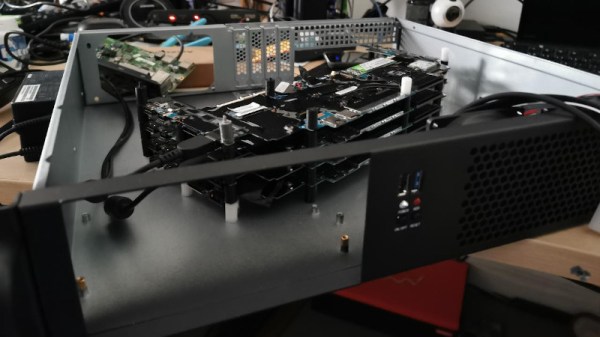
The Z80 was a big deal in the 1970s and 1980s, and while its no longer a dominant architecture today, its legacy lives on. [James Andrew Fitzjohn] is a fan of the Z, and decided to interface the real silicon with the Raspberry Pi, by and large for the fun of it!
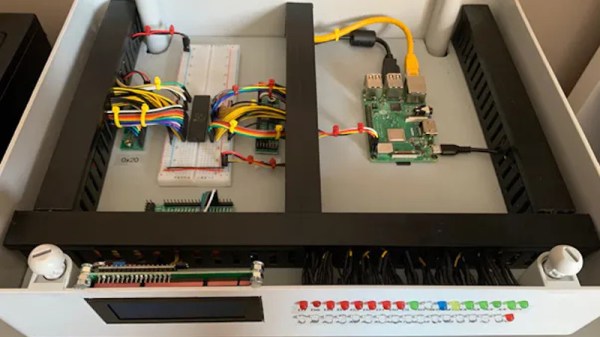
The Z80’s address and data lines, as well as the clock, are hooked up to the Raspberry Pi through several MCP23017 GPIO expanders. The Pi’s GPIO lines aren’t known for their speed, of course, and using expanders through I2C isn’t exactly quick either. However, speed isn’t necessary, as the clock only goes as fast as the Raspberry Pi desires, since it’s controlling the clock along with everything else. There’s also an LCD for viewing the Z80s status, along with some era-appropriate blinkenlights.
This setup allows the Pi to run code directly on the Z80 itself, while managing the CPU’s RAM in its own memory, all through a Python script. It’s a fun hack that lets you run retro code on retro silicon without using an emulator. Techniques like these are useful for finding undocumented or edge case performance of a processor. If this hack isn’t enough Zilog for your liking, consider throwing one in your pocket as well!