Join us on Wednesday, June 15 at noon Pacific for the Low-Cost Nanopositioning Hack Chat with En-Te Hwu!
It may sound like a provocative statement to make, but technology has been on a downward trend for a long time. That’s not a moral or ethical proclamation, but rather an observation about the scale of technology. Where once the height of technology was something like a water-powered mill, whose smallest parts were the size of a human hand and tolerances were measured in inches, today we routinely build machines by etching silicon chips with features measured in nanometers, look inside the smallest of cells and manipulate their innards, and use microscopes that can visualize materials at the atomic level.
The world has gotten much, much smaller lately, and operating on that scale requires thinking about motion in a different way than we’ve been used to. Being able to move things at nanometer resolutions isn’t easy, but it’s not impossible, and it can even be accomplished on a DIYer’s budget — if you know what you’re doing.
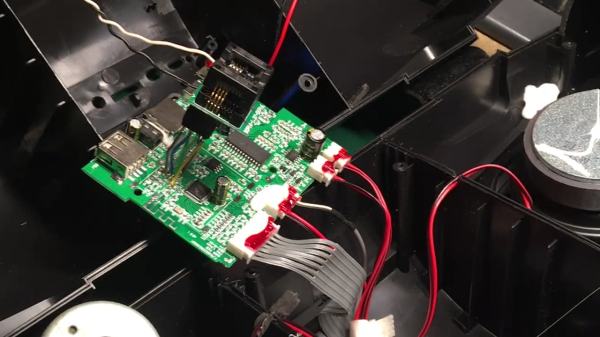
 To help us sort through the realities of nano-scale positioning, En-Te Hwu, a professor at the Technical University of Denmark who works on micromachines for intelligent drug delivery, has spun up some really interesting low-cost nanopositioning systems. Using old DVD players or off-the-shelf linear slides, he’s able to achieve nanoscale movement and sensing for a variety of purposes. He’ll stop by the Hack Chat to discuss how we can build nanopositioning and sensing into our projects, and to start exploring the world we can’t even see.
Our Hack Chats are live community events in the Hackaday.io Hack Chat group messaging. This week we’ll be sitting down on Wednesday, June 15 at 12:00 PM Pacific time. If time zones have you tied up, we have a handy time zone converter.
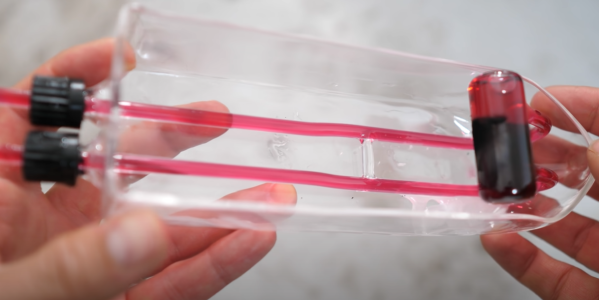
Featured image: Low-cost, open-source XYZ nanopositioner for high-precision analytical applications, CC-BY-4.0
Continue reading “Low-Cost Nanopositioning Hack Chat” →