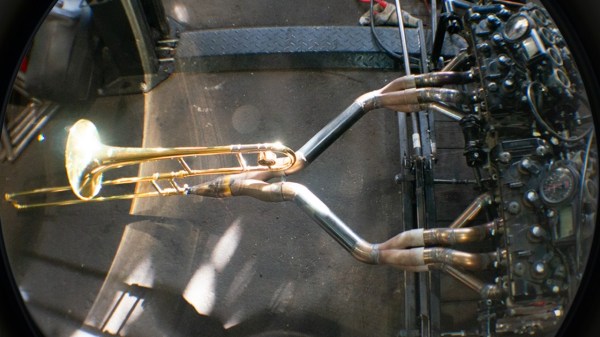
Back during WWII, Chrysler bodged five inline-6 engines together to create the powerful A57 multibank tank engine. [Maisteer] has some high-revving inline-4 motorcycle engines he’s trying to put together too, but unlike 1940s Chrysler, he also has a trombone… and a lot more RPMs to deal with.
The Chrysler flatheads were revving at a few thousand RPM– their redline was almost certainly in the three-thousand range. [Maisteer] is working at 15,000 RPM, which is where the real challenge of this build lies: the trombone in the image is just for fun. He wanted to use a heavy chain to link the crankshafts, but at that rotational speed, a heavy chain becomes really heavy— or at least, it feels a force many times its weight due to centrifugal force. The lietmotief of this video is a quote by an automotive engineer to the effect that chains don’t work over 10,000 RPM.
That leads to a few problems for the intrepid “not an engineer” that take most of the video to deal with and ultimately doom the engine linkage– for now. Not before he gets an iconic 8-cylinder sound out (plus some fire) out of a trombone, though. Of particular note is the maker-type workflow Hackaday readers will appreciate: he 3D scans the engines, CADs up parts he needs and sends away to have them CNC’d and SLS printed.
Hacking motorcycle engines into cars is nothing new. Hacking them together into franken-engines is something we see less often.
Thanks to [Keith Olson] for the tip! Remember, if you want to toot your own horn– or toot about someone else’s project, for that matter–the tips line is always open.
Continue reading “Franken-engine Plays Its Own Swan Song At 15k RPM”


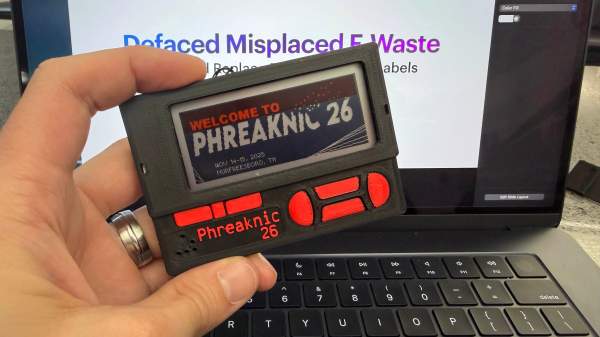
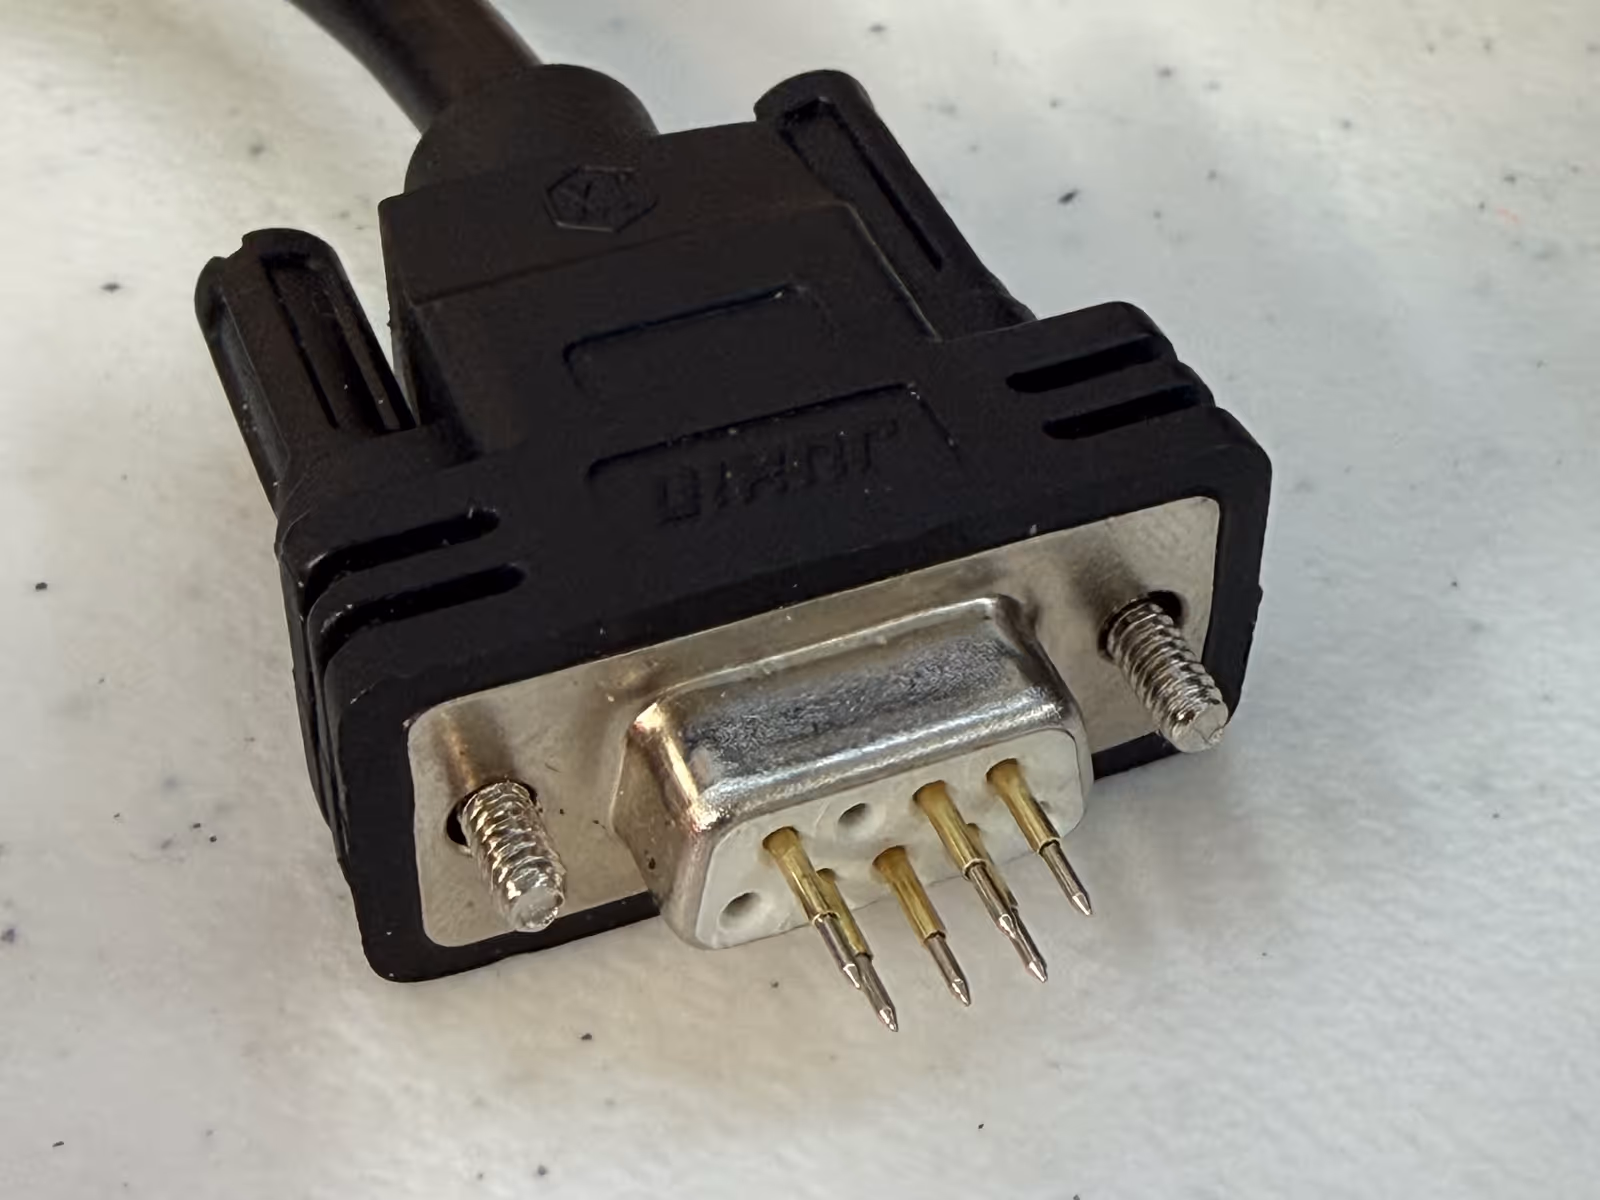 Another hacker assisting with the badge project, [Mog], noticed that the spacing of the programming pads on the PCB was very close to the spacing of a DB9/DE9 cable. This gave way to a very clever hack for programming the badges: putting pogo pins into a female connector. The other end of the cable was connected to a TI CC Debugger which was used to program the firmware on the displays. But along the way, even this part of the project got an upgrade with moving to an ESP32 for flashing firmware, allowing for firmware updates without a host computer.