Tesla coils are beautiful examples of high voltage hardware, throwing sparks and teaching us about all kinds of fancy phenomena. They can also be quite intimidating to build. [William Fraser], however, has come up with a design using just three components.
It’s a simplified version of the “Slayer Exciter” design, which nominally features a transistor, resistor and LED, along with a coil, and runs on batteries. [William] learned that adding a capacitor in parallel with the batteries greatly improved performance, and allowed the removal of the LED without detriment. [William] also learned that the resistor was not necessary either, beyond starting the coil oscillating.
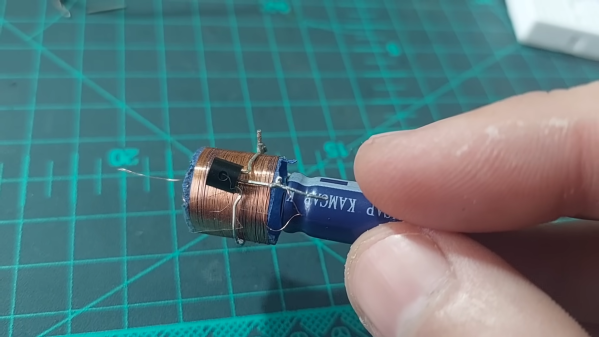
The actual 3-component build uses a 10 farad supercapacitor as a power source, hooked up to a 2N3904 NPN transistor and an 85-turn coil. It won’t start oscillating on its own, but when triggered by a pulse of energy from a piezo igniter, it jerks into life. The optimized design actually uses the shape of the assembled component leads to act as the primary coil. The tiny Tesla coil isn’t big and bold enough to throw big sparks, but it will light a fluorescent tube at close proximity.
If you like your Tesla coils musical, we have those too.
Continue reading “Build A Tesla Coil With Just Three Components”